|
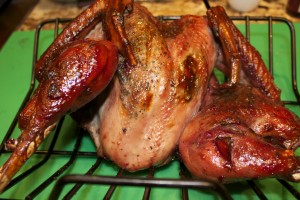
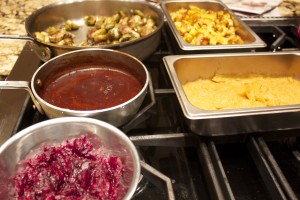
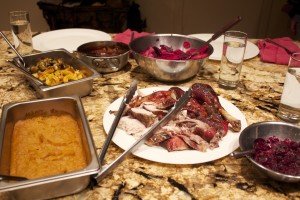
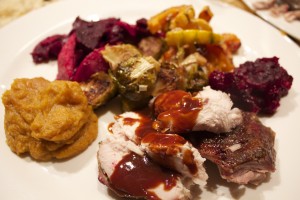
Wednesday Night Thanksgiving Even though the family was going out for the Thursday Thanksgiving meal, I still felt that yearly drive to make a whole turkey with lots of sides. It’s not important to me exactly which day I cook, as long as it’s around the holiday. The local farmer from the food club that I belong to had beautiful pasture-raised turkeys, so a friend and I decided to cook Wednesday, and have a mini celebration one day before the holiday. We split all the dishes we made – she had enough for her family the next day, and we had enough for one full meal of leftovers, which my husband and I enjoyed for lunch today. I had picked what vegetables looked good at the greenmarket, and we improvised a bunch of easy-to-make sides to go along with our beautiful turkey. Our turkey was small, about 10 pounds, perfect for about ten people. Tuesday night I chopped a couple tablespoons sage and mixed it with about a tablespoon of salt. I butterflied the turkey (I set aside the backbone along with the neck for stock), and slipped the sage-salt mixture under the skin. I sprinkled salt and pepper over the outside. I set the turkey on a rack in a roasting pan breast-side-down overnight. I took the bird out of the refrigerator an hour before baking and brushed the back with olive oil and added a couple cups water to the roasting pan. I roasted it at 350 for about an hour, then flipped the bird using wadded up aluminum foil, and cooked the bird another ½ hour. I then brushed it with cranberry glaze (made from 1 cup of cranberries cooked with ½ cup maple syrup and ¼ cup rice syrup until the cranberries burst.The mix was then strained.) I returned the turkey to the oven for 10 minutes, then added more glaze and roasted it another 15 to 20 minutes, until the temperature of the thigh was about 180˚F. I added water to the bottom a couple of times to keep the juiced from burning. The result: a beautiful deep red turkey – juicy and flavorful.
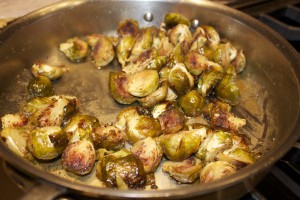
Gravy: I deglazed the pan with turkey stock (the neck and backbone I cooked in about 4 cups water for an hour while the turkey was roasting.) with about ½ cup of red wine. I made a roux of 2 tablespoons butter and 2 tablespoons flour cooked until light brown. I added the liquid and cooked it until thickened. The gravy was delicious – a deep red brown with hints of cranberry flavor. Cranberry sauce: I simmered 2 cups cranberries with the juice of one orange and 1/3 cup maple sugar. I added a splash brown rice vinegar and a teaspoon fresh thyme. I baked sweet potatoes (3 cups flesh), scooped them out and added a jar (1 ½ cups) chestnuts, ¼ cup butter, 1 tablespoon brandy, splash roasted vegetable stock to thin, salt, butter, and sprinkle of nutmeg, and puréed the whole lot. I roasted Brussels sprouts with extra virgin olive oil and salt for twenty minutes at 375˚F. I added a couple tablespoons butter with a small scoop mustard and about a cup roasted vegetable stock to a skillet. The mix was cooked until it reduced to a glaze, then the Brussels sprouts were stirred in.
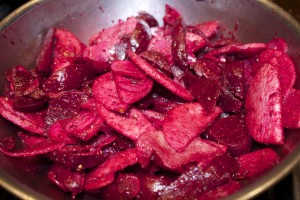
Beets: Beets were roasted in the oven for about 2 hours, then mixed with thinly sliced Asian pears, thinly sliced radishes, 1 teaspoon ground star anise and 1 teaspoon coriander warmed with 2 tablespoons extra virgin olive oil, 2 tablespoons aged balsamic vinegar, salt and black pepper.
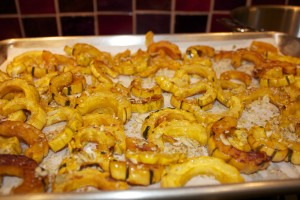
Delicata squash: Half rings were roasted with extra virgin olive oil and salt at 375˚F, then drizzled with pumpkin seed oil, lime juice, cayenne, and crushed pumpkin seeds. It was loads of fun – and good therapy too – hanging with a friend and cooking the day away. You don’t have to have a huge gathering to enjoy a delicious feast! Share on Facebook and Twitter | Dinner, Main course, Sauces, Side Dishes | No comments
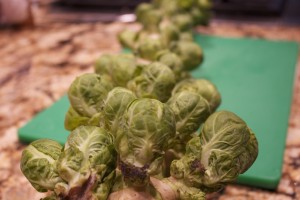
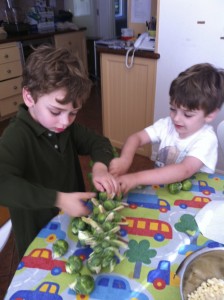
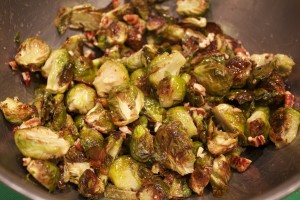
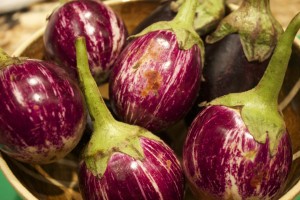
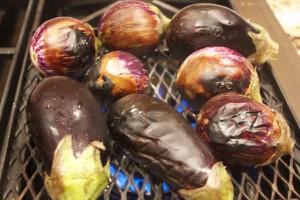
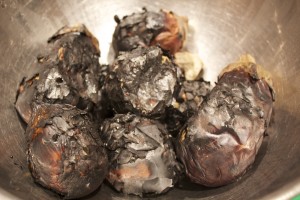
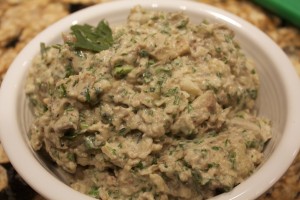
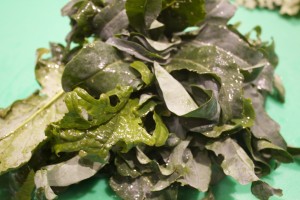
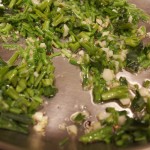
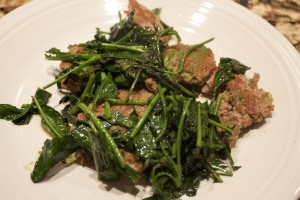
Seasonal Vegetable Dishes from Union Square Greenmarket Last week was beautiful at the Union Square greenmarket. The whole stalks of Brussel Sprouts were too enticing to resist, so I bought a whole stalk. I’m not the only ones enamored with snapping off the the nuggets from the stalk. Over the weekend, the little nephews had a wonderful time snapping off the sprouts as well. I halved the stalks, tossed them with extra virgin olive oil and salt, and roasted them at 375˚ for 20 minutes. Meanwhile, I made a quick glaze of maple syrup, mustard, and butter that I heated on the stove. I tossed the Brussels sprouts with this mix and sprinkled the whole lot with chopped pecans. It’s nearing the end of eggplant season as well, so I purchased these miniature varieties and roasted them on the my chile grate (these grates are wonderful for roasting multiple vegetables at once.) I like the chile grate especially for small chiles and eggplants, since they don’t fall into the open flame. The smokey flavor of eggplants cooked directly over the fire is irresistible. After I covered them and let them cool a bit, I scraped off the skin, chopped the flesh, and mixed them with tahini, lemon juice, garlic, parsley, and pomegranate molasses. I served the chunky dip on rye bread from Rui’s, a fairly new Friday and Saturday Union Square Greenmarket addition. These guys make traditional hearty, delicious Scandinavian (100 per cent) rye bread. I also picked up an interesting vegetable called spigariella. It actually is a kind of broccoli without florettes, and tastes like a sweeter version of broccoli raab. It cooks in just minutes. I cut off the stems and cooked them first with garlic, olive oil, and red pepper flakes.
Share on Facebook and Twitter | Greenmarket Bits, Greens, ingredients, Side Dishes, Vegetables | No comments
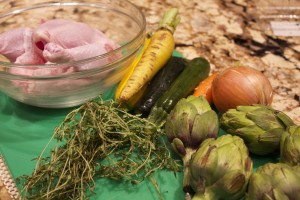
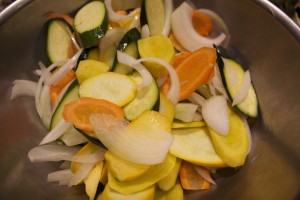
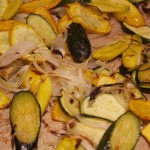
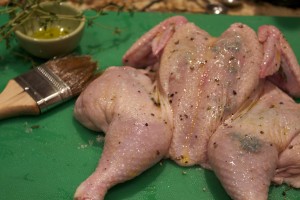
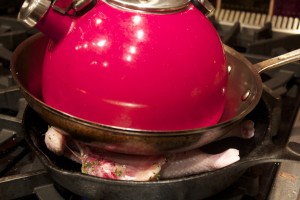
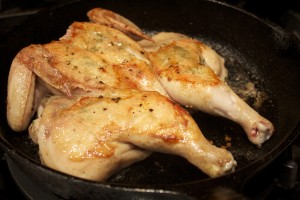
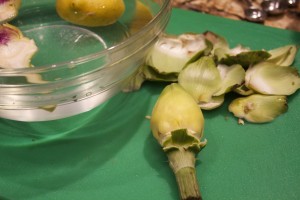
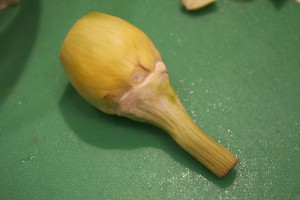
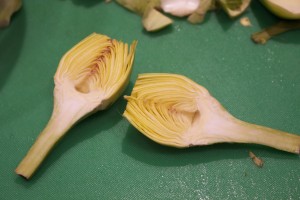
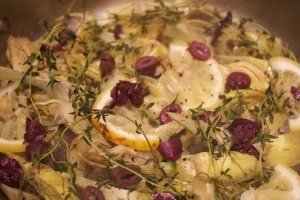
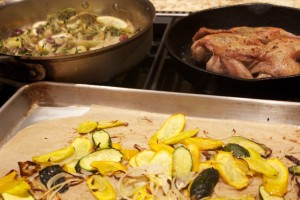
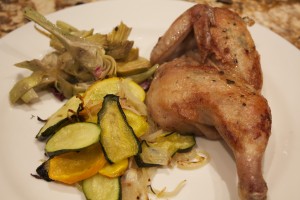
Fast but Unhurried I was leaving on a vacation last Thursday, so I wanted to make use of the beautiful vegetables that I had acquired on a pre-hurricane buying frenzy. My only new purchase at Union Square greenmarket Wednesday was a Cornish hen sized perfectly for two. Ben, the proprietor of Garden of Spices, has the tastiest pastured hens I’ve ever come across. I had a few baby artichokes as well as some yellow and orange carrots, zucchini, onions, and fresh thyme left over that I didn’t want to spoil. My meal thus had a focus. I peeled and cut the carrots on a diagonal, sliced the onions along the grow lines, and cut the zucchini into slim diagonal slices. I tossed the vegetables with coconut oil and salt, and placed them in a 400˚F oven to roast. Twenty minutes later they came out beautifully cooked. Meanwhile, while the vegetables were roasting, I prepped the hen. I cut out the backbone, opened up the bird (in other words I butterflied it), slipped some thyme and salt under the skin, sprinkled the top with black pepper, and brushed the skin with extra virgin olive oil. I seared the bird over medium-high heat face down in a cast iron skillet, weighted the top with another skillet, and placed a teapot on top to make sure the hen was pressed against the skillet. Get creative here. You need to weight that bird so that the maximum surface area touches the skillet. This way the bird can brown evenly. Once the skin side was browned – after about 10 minutes – I flipped the bird and placed it in the oven to finish cooking. 1o minutes later the bird was cooked to perfection – only 20 minutes total from start to finish. Lastly, I started on the artichokes. I prefer baby artichokes to the larger ones most of the time (with notable exceptions, of course) since there’s no hairy chokes to remove. Here’s a step by step method of how to prep a baby artichoke: Have ready a bowl of acidulated water (that’s water with a lemon squeezed into it) for the prepped artichokes, to keep them from discoloring. First, peel the layers of leaves off one by one until you strip the vegetables down to where yellow-green leaves cover the artichoke (except for the tip). Use a Y-shaped (the wide kind) peeler to peel off the tough green part around the base as well as the layer covering the stem. Cut off the tip. (A serrated knife works well for this.) Slice the artichokes in half and place them in the water as you finished prepping each one. I prepped six artichokes for the two of us. I then sliced the halves into several pieces, and placed them in a skillet with a dash of water, olive oil, salt, lemon slices, and thyme branches. I covered the skillet and steamed them for about five minutes, then uncovered the pan and cooked them a few minutes more. I then tossed in a few sliced kalamata olives.
Share on Facebook and Twitter | Dinner, Main course, Recipes, Side Dishes | No comments
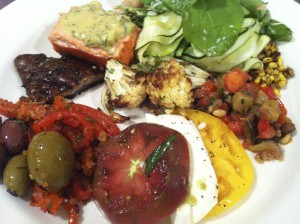
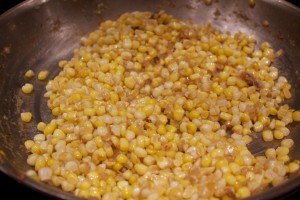
Sautéed Corn with Shallots and Balsamic Vinegar Last Friday evening I taught an antipasto class at the Natural Gourmet. The recipes were designed specifically with August entertaining in mind. Everything is at room temperature and can be made in advance, including these blackberry parfaits. The students did a great job on the whole menu. A lot of the recipes were really simple. Monday I was thinking about the sautéed corn with balsamic vinegar and shallots, one of the dishes from the class. Fresh local corn is stunning right now, so I picked some up at Union Square. Since Hudsen Valley Farms are at the Union Square Greenmarket on Mondays, I decided that a good duck confit with the corn would be a special meal, but would require only minutes of active time. Here’s the recipe for my Sautéed Corn with Balsamic Vinegar and Shallots which is a quick version of Swiss Chard with Corn and Balsamic Vinegar from The Healthy Hedonist.
Serves 4 1/4 tablespoon extra virgin olive oil 1/2 cup minced shallots 4 ears corn, husked and silk removed, kernels removed (about 2 cups) 1/2 teaspoon salt 1 tablespoon + 1 teaspoon balsamic vinegar freshly ground black pepper Warm the olive oil in a large skillet over medium heat. Add the shallots and corn kernels and salt. Sauté over medium heat until the corn has released its liquid and the shallots have started to brown, about 4 minutes. Stir in the balsamic vinegar, scrape up the brown bits and turn off the heat. Sprinkle with freshly ground black pepper. Remove the corn to a serving dish. Serve warm or at room temperature. Share on Facebook and Twitter | Corn, Dinner, ingredients, Recipes, Side Dishes | No comments
|
