
|
Homemade Nut Milk In today’s video, I show just how easy it is to make your own nut milks. Homemade versions are not only fresher than the store-bought (which contain synthetic vitamins, thickeners, and sweeteners): they are also healthier and more flavorful. You can use these versatile beverages as a base for smoothies, hot chocolate, or cereal, or as an alternative to dairy in your baked goods. Or, add a touch of natural sweetener and a dash of spice to make a simple nut-milk drink. The basic prep technique is the same for most nuts. Step one is to soak the nuts. Almonds require a good overnight soak; it’s even okay to let them go for as long as 12 hours. The reason for the soak is as follows: nuts and seeds are naturally adapted to lie dormant in nature until proper sprouting conditions are present. When it rains, nuts and seeds get wet; then they germinate, and the plants grow. When we soak the almonds, we are mimicking nature’s incubating process. When there is moisture, enzyme inhibitors and toxic substances called phytic acid are washed away naturally. In other words, phytic acid is nature’s padlock, and water is the key. Once the nuts are soaked, all of the enzymes & minerals available in them—almonds have phosphorous, magnesium, manganese, & copper—become available to the body. These soaked nuts become swollen and soft so that they blend easily into a rich nut milk, and they are noticeably easy to digest. Next you rinse and drain the nuts. If you’re not ready to make nut milk right away, leave the drained nuts refrigerated for up to 3 days. When ready, blend them with fresh water at a ratio of 3 parts water to 1 part nuts. A high-speed blender, such as a Vitamix, is convenient for whizzing the nuts into a foamy beverage in a blink; other blenders take a couple of minutes. The last step is to squeeze the frothy liquid through a nylon mesh nut bag, which you can conveniently use over and over again, or a double layer of cheesecloth draped over a strainer. The leftover pulp has all the flavor squeezed out of it; you can simply compost or discard it. Cashew milk is different from the typical nut milk. Cashews blend up so pulverized that the particles squeeze through the fine mesh of the bag, so don’t bother to strain them! Do add an extra cup water for a 4 to 1 ratio of water to cashews; this way your milk won’t be too heavy or too thick. In the last part of the video, I demo a speedy hot chocolate made with only two other ingredients besides the cashew milk. I stir a tablespoon of cocoa powder and 2 tablespoons maple syrup in the bottom of a small pot until bubbling; then I add a couple cups of nut milk and let the liquid come to a boil. That’s it: soothing and delectable, and just one of the many luscious comestibles that you can concoct with homemade nut milk.
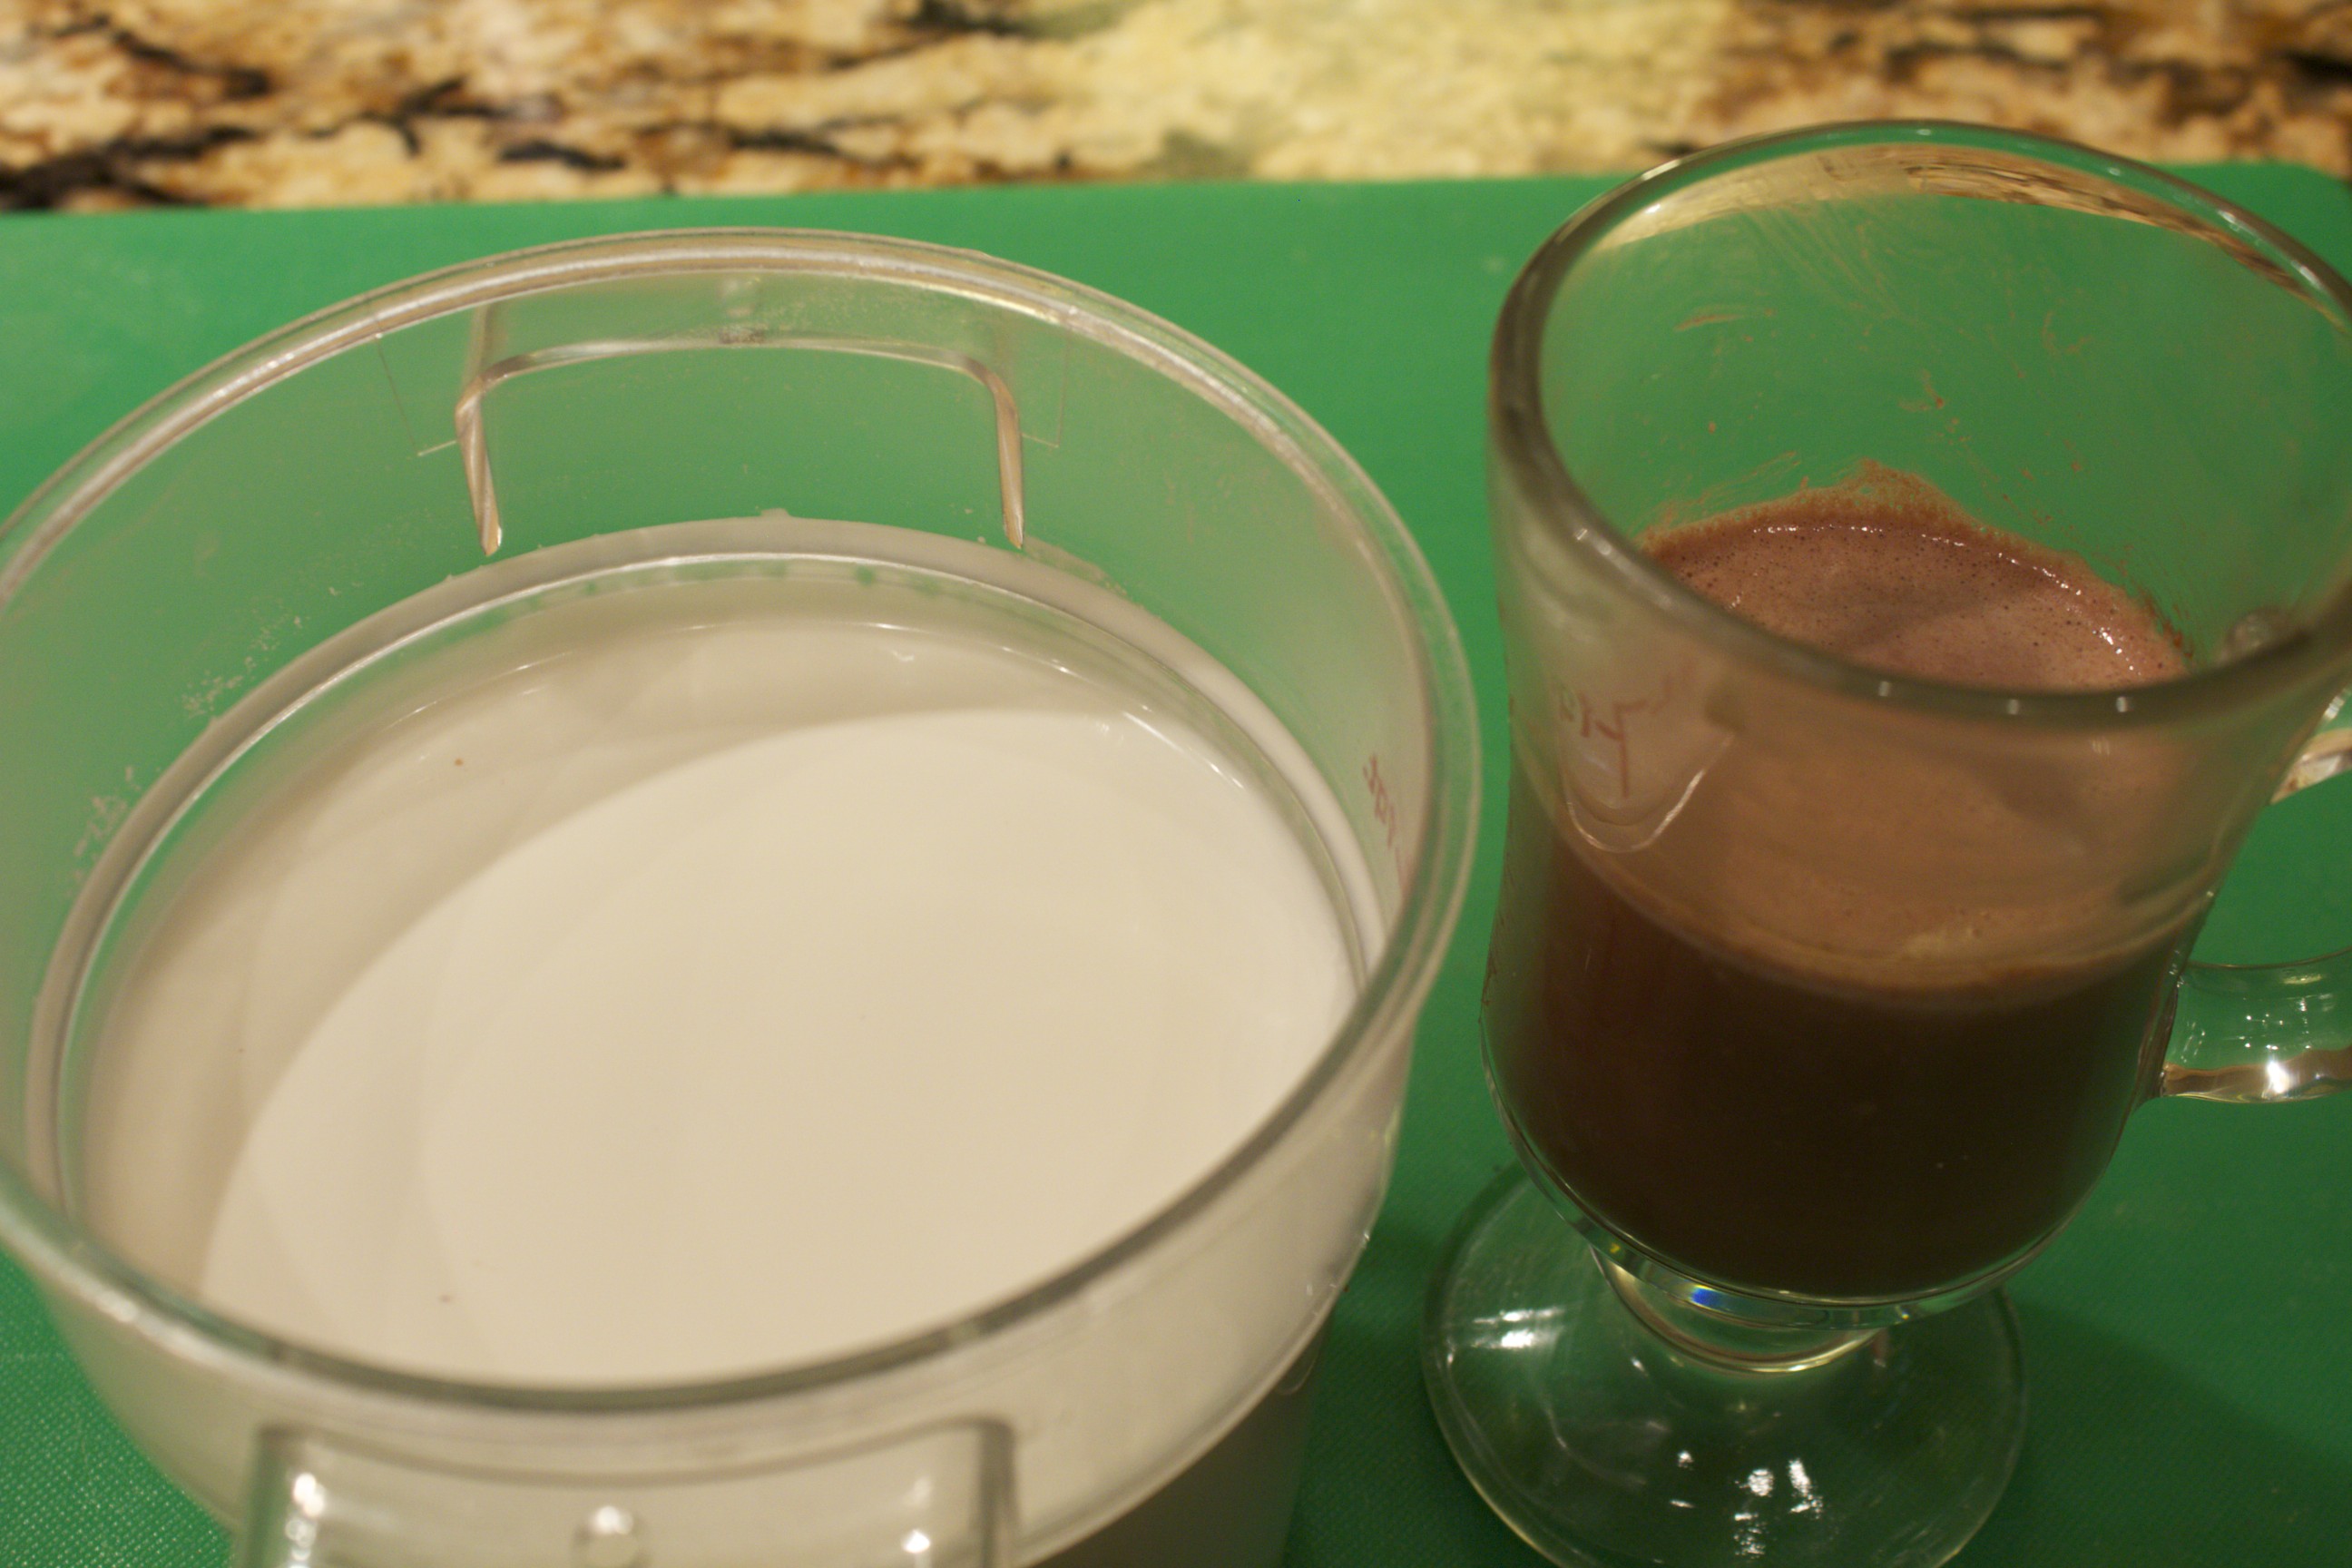 Cashew Milk and Hot Chocolate Share on Facebook and Twitter | Beverages, Chocolate, Gluten Free, Kitchen Tips, Natural Sweeteners, nuts and seeds, Snacks, techniques | No comments
Cake-in-a-Jar Next week I am going to be making about 40 cakes-in-a-jar for a catering job, so I spent some time in the kitchen working out the technical challenges. I’ve been having a blast experimenting. These packed jars are not only adorable, they are delicious as well. My version here has chocolate cake, layers of raspberry or strawberry jam, and a thick layer of ganache.  Ready for the Lid I’ve been using pint ball jars, which serve two, and are a good size for gifts. The smaller 1-cup ball jars are perfect for individual servings. First I coat the jars with spray. I rarely use spray fat, but since I’m about to make over 40 cakes, I’m looking to streamline the process. Plus, I just found a coconut oil spray from Spectrum.  First you Prep the Jars Next, I spoon a layer of jam on the bottom. I’ve used strawberry and raspberry jam, for the color as well as the flavor. It’s a treat to dig up with a long spoon the cooked jam under the baked cake.  Dollop a Layer of Jam Use any favorite chocolate cake recipe and fill the containers half full. A cake recipe that makes two layer cakes is perfect for 6 pint-sized jars. I baked the cakes at 350˚ for about 25 minutes. Don’t worry, the jars won’t explode or anything — this is like baking in pyrex. The cakes do take a little less time than when they’re in cake pans, so check on them a little earlier than you might otherwise.  Ready to Bake The cakes emerge from the oven looking like they’ve risen too high, but they settle a lot after a few minutes.  Fresh out of the Oven  After 10 minutes I then added a bit more jam around the top dome to fill in the gap (for 6 cakes you will need a 16-ounce jar) as well as a thick layer of ganache on top. (I flavored my ganache with Chambord.) Keep in mind that the weight of the ganache will eventually sink the cake about an inch. That makes the whole cake compress and taste extra fudgey. The whole concoction tastes like a trifle. Screw on the lid and refrigerate. These are tastiest if you refrigerate them for a couple of hours before eating to let the ganache settle.  Refrigerated Cakes The cakes stay fresh for at least five days. Dig a long spoon in and get all of the layers in each bite. (I feel positively naughty eating these, kind of like I’ve been caught eating out of the jar.)  A Spoonful of Decadence The larger ones are fun to share. Pass the jar around, and dig in. At least it’s not illegal.
Share on Facebook and Twitter | Chocolate, desserts, Kitchen Tips, Musings, Recipes, techniques | No comments
Camera in the Food 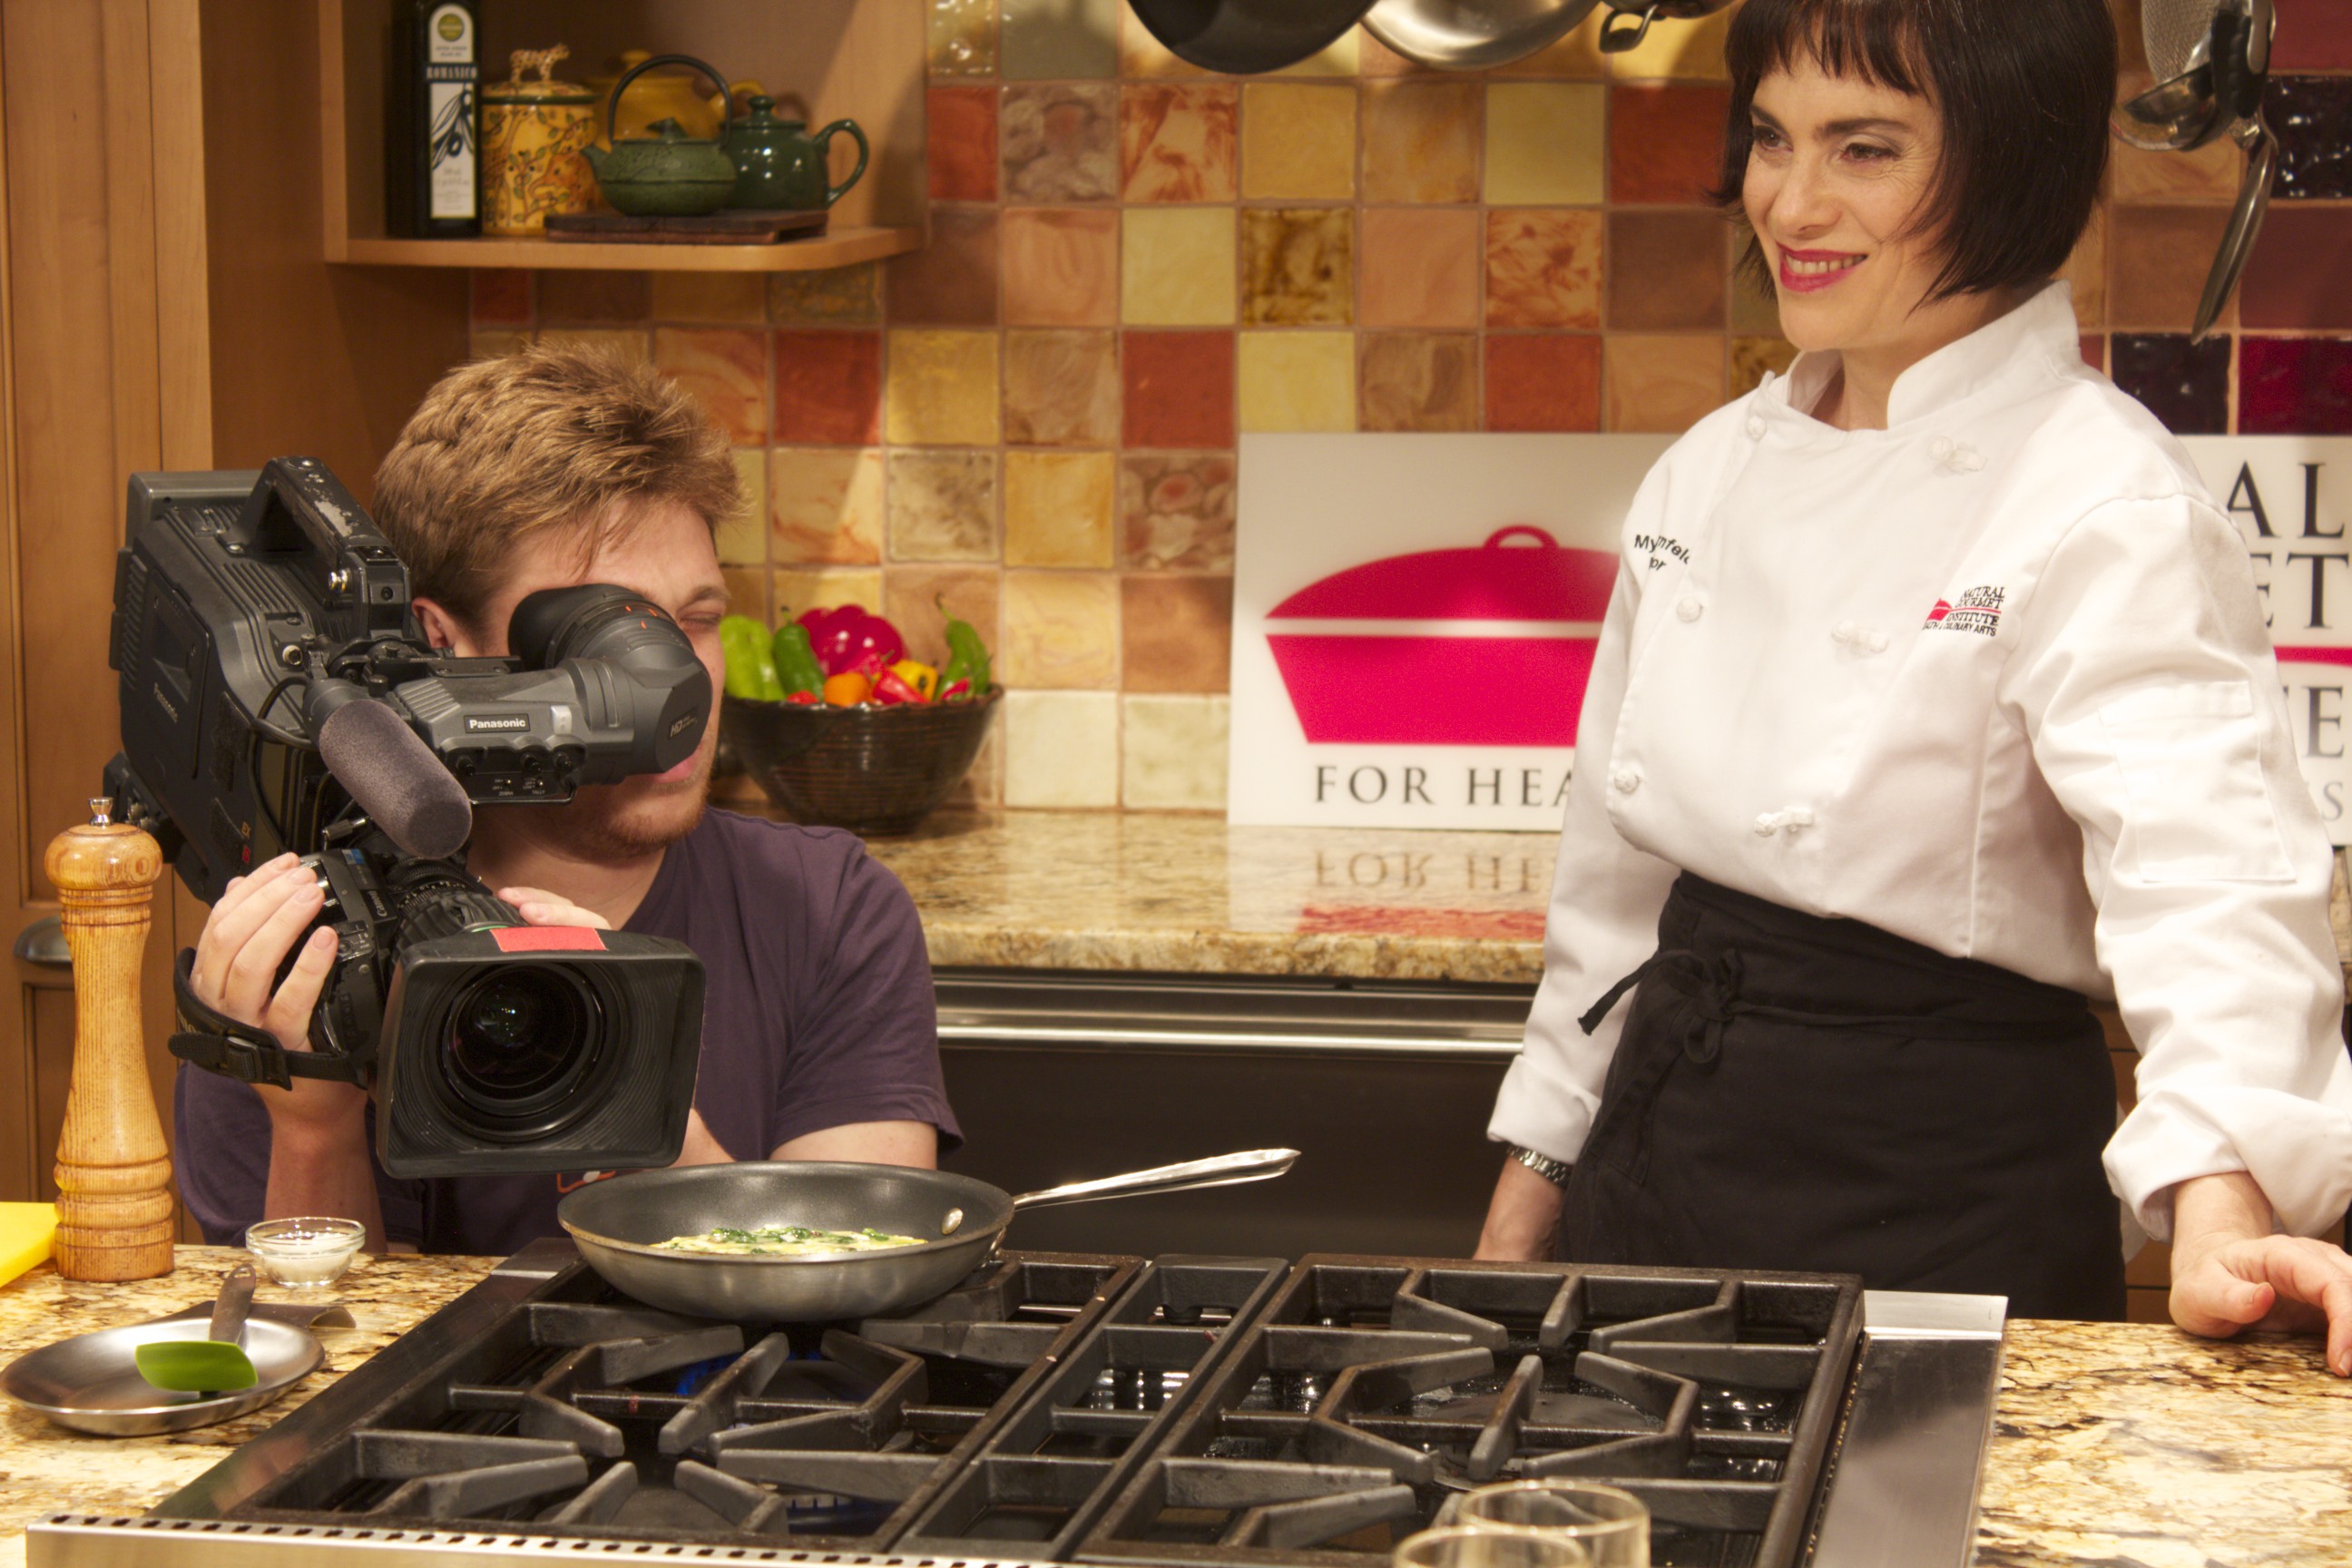 Camera in the Food For nine hours last Tuesday I had a camera crew in my kitchen with a large video camera pointed at food that I was preparing. This was PR for the Natural Gourmet Cooking School. The Sundance Channel is doing a series called Love/Lust and the food that they shot in the kitchen was from the chocolate and the breakfast episodes. They will have people on camera speaking about various aspects of chocolate – history, cultural impact, etc. while they show shots of chocolate melting or baking or being spooned into champagne glasses. On camera I made four chocolate desserts as well as seven breakfasts. Chocolate desserts included chocolate mousse, chocolate lava cakes, brownies, and cloud cookies. 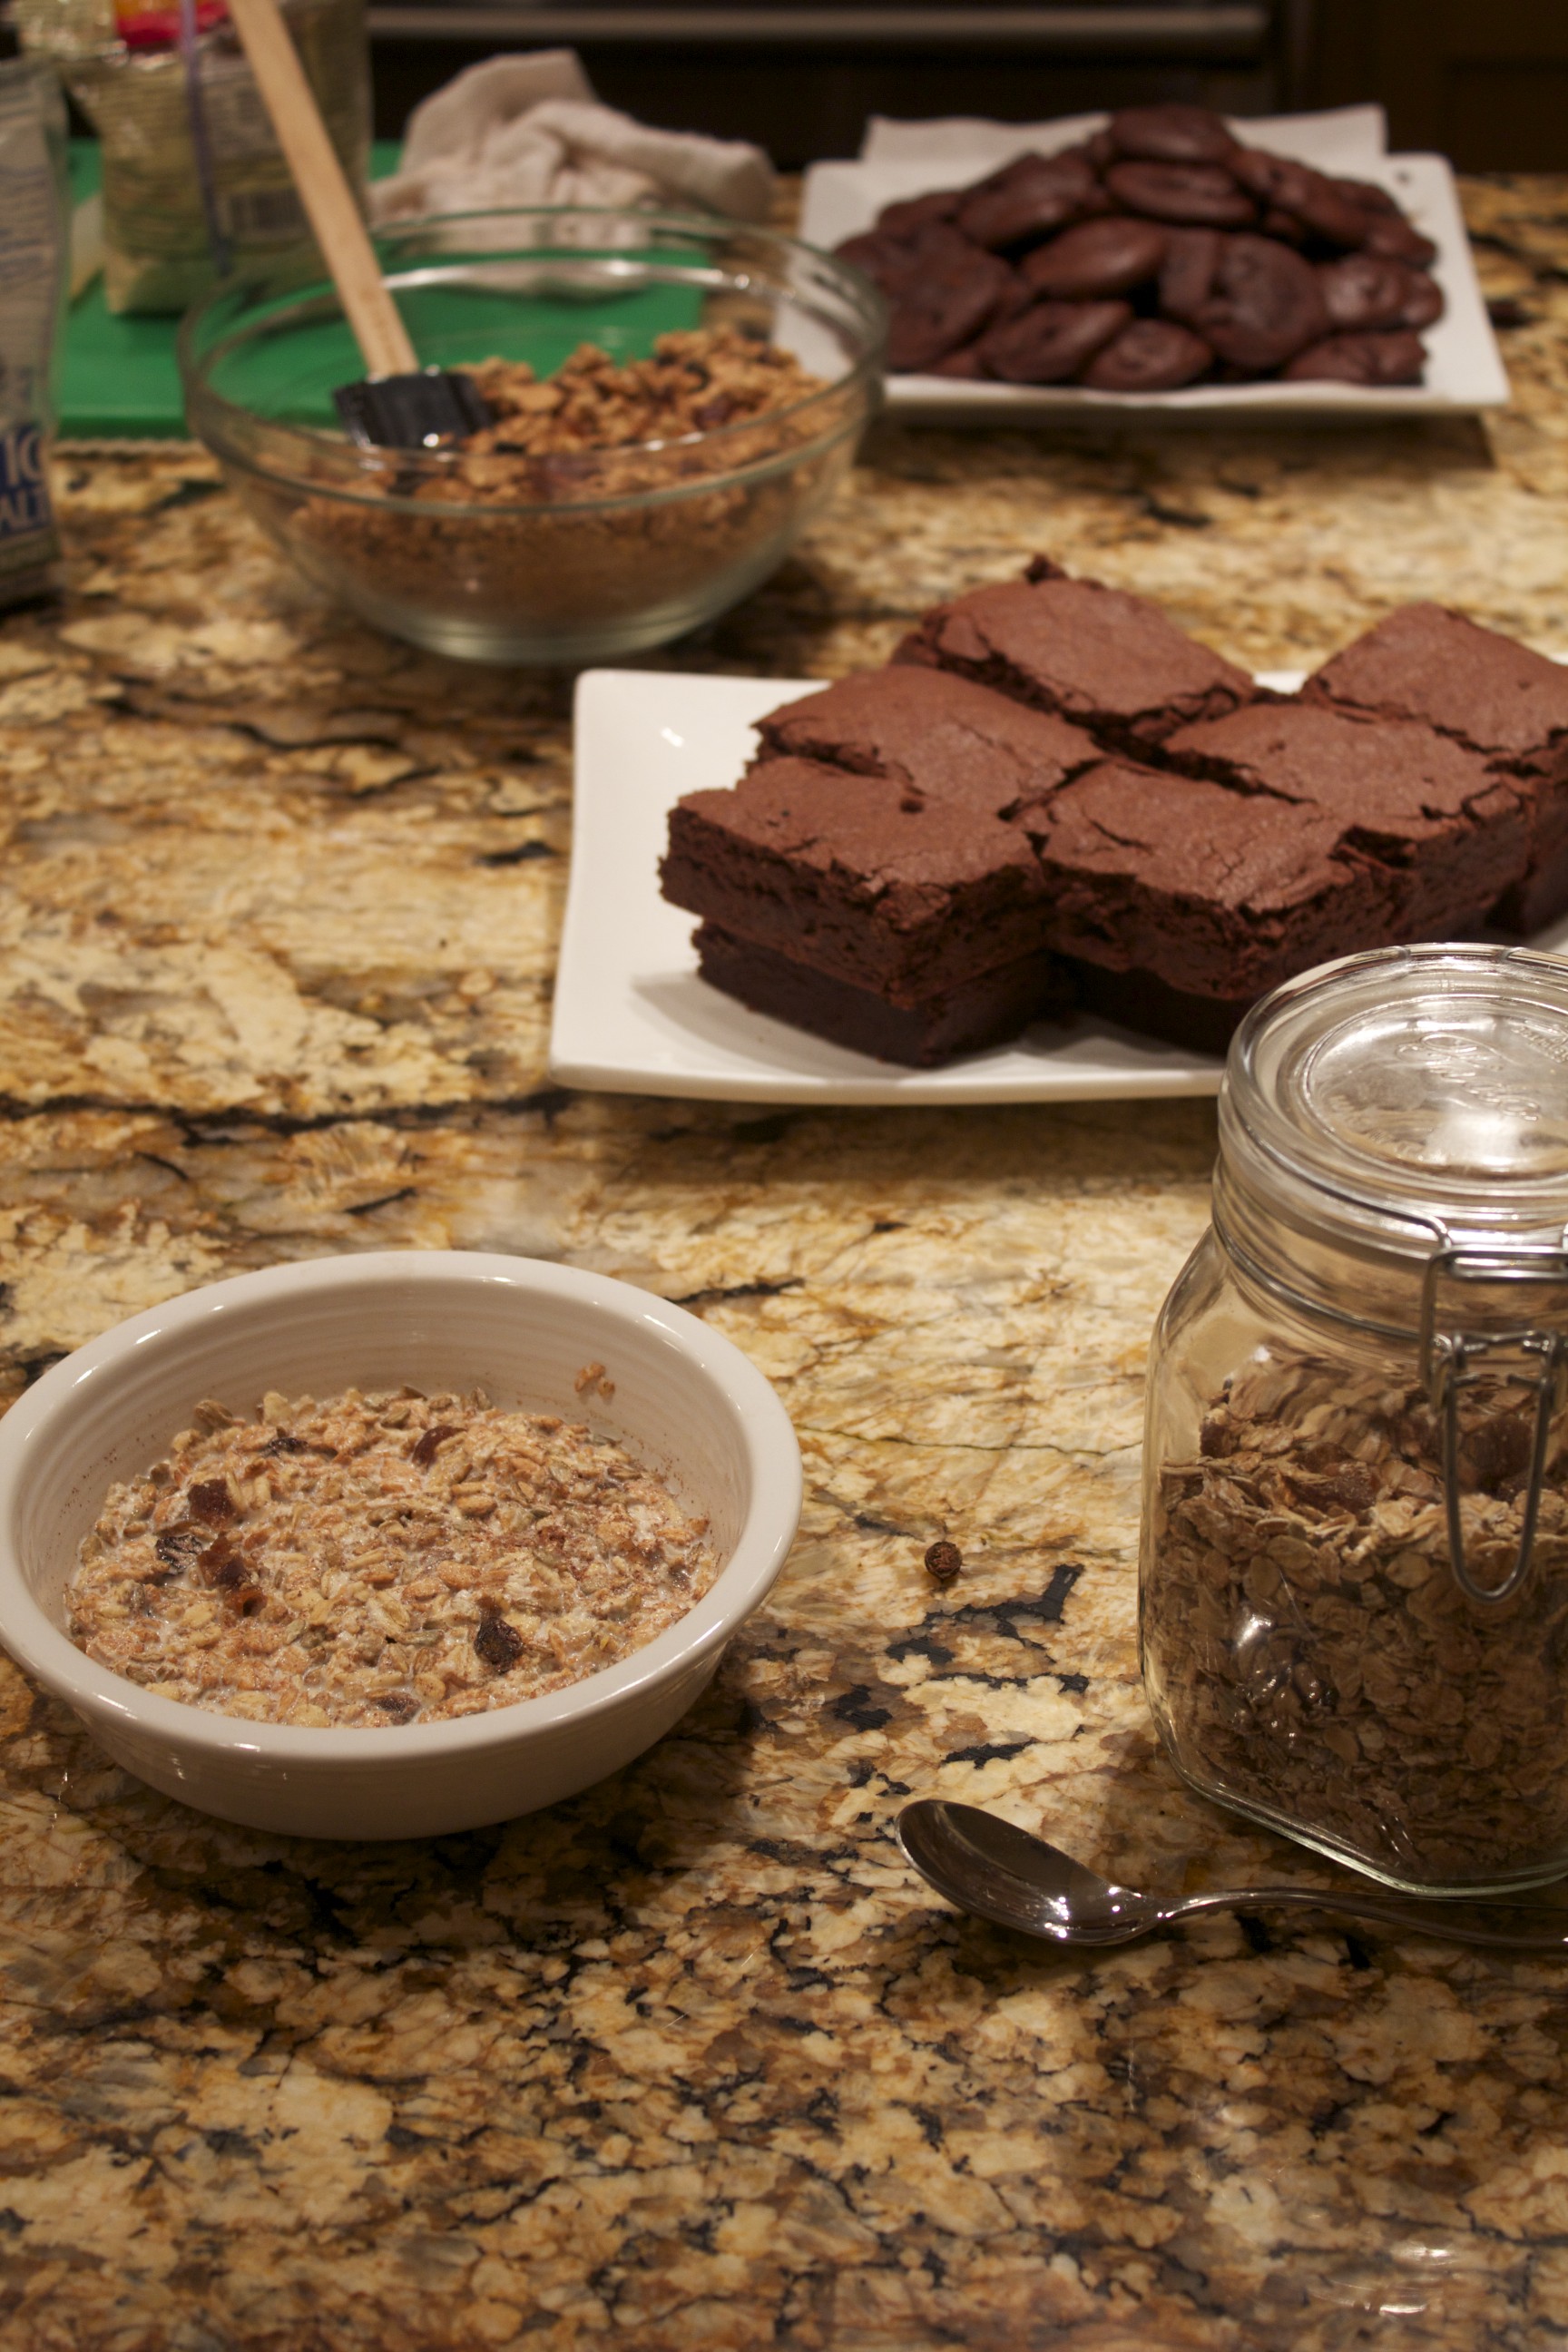 Brownies, Cloud Cookies, Muesli, Granola Breakfasts included hot cereal with sautéed apples, muesli, granola, frittata, classic eggs benedict, a variation of eggs benedict, and huevos rancheros. Some of these were their choices, some mine. Preparation for the shoot was time-consuming. Mousse, for instance, needs a couple of hours to set, so I had to have a back-up made as well as berry sauce and whip cream so they could film the parfait being layered. I had to have two batches of brownies made in advance, as well as one batch of cloud cookies ready to go, because the cloud cookie batter needs to sit for an hour. The only dessert that was made and completed on camera was the souffle cakes. I did have the raspberry sauce and the whipped cream made beforehand, however.  Freshly Made Lava Cake with Raspberry Sauce and Whipped Cream As for the breakfasts, I made in advance a batch of granola, I had muesli all ready to soak, I had salsa and beans prepared for the huevos rancheros, and I had spinach, mushrooms, and cheese ready to mix into the fritatas. I made three hollandaise sauces that day, so I had to have plenty of clarified butter as well.  Close-up on the eggs  View from the HD Monitor The actual cooking for the camera was not difficult once everything was in order. It was really interesting to look into the monitor and see what the high definition screen saw. Look at this egg compared to what was in the pan! So close; the human eye just doesn’t see food that way. They took many close-ups of chocolate melting, of chocolate oozing out of the cake, of bacon frying, and of eggs cooking.  Huevos Rancheros After each dish was completed they brought the dish over to a table and took “beauty shots.” The day was one of slow and painstaking work. It was interesting, however, and we churned out some tasty food. I’m certain that on the shows the food will be presented in quick fragments.  Artichoke and Smoked Salmon Eggs Benedict I’m now wild for muesli and this variation of eggs benedict that includes smoked salmon and artichokes in lieu of the English muffin and bacon. The variation on the classic eggs benedict was a delicious dinner that night. Share on Facebook and Twitter | Breakfast, Chocolate, Happenings/Events, Musings | No comments
|
