
|
Homemade Nut Milk In today’s video, I show just how easy it is to make your own nut milks. Homemade versions are not only fresher than the store-bought (which contain synthetic vitamins, thickeners, and sweeteners): they are also healthier and more flavorful. You can use these versatile beverages as a base for smoothies, hot chocolate, or cereal, or as an alternative to dairy in your baked goods. Or, add a touch of natural sweetener and a dash of spice to make a simple nut-milk drink. The basic prep technique is the same for most nuts. Step one is to soak the nuts. Almonds require a good overnight soak; it’s even okay to let them go for as long as 12 hours. The reason for the soak is as follows: nuts and seeds are naturally adapted to lie dormant in nature until proper sprouting conditions are present. When it rains, nuts and seeds get wet; then they germinate, and the plants grow. When we soak the almonds, we are mimicking nature’s incubating process. When there is moisture, enzyme inhibitors and toxic substances called phytic acid are washed away naturally. In other words, phytic acid is nature’s padlock, and water is the key. Once the nuts are soaked, all of the enzymes & minerals available in them—almonds have phosphorous, magnesium, manganese, & copper—become available to the body. These soaked nuts become swollen and soft so that they blend easily into a rich nut milk, and they are noticeably easy to digest. Next you rinse and drain the nuts. If you’re not ready to make nut milk right away, leave the drained nuts refrigerated for up to 3 days. When ready, blend them with fresh water at a ratio of 3 parts water to 1 part nuts. A high-speed blender, such as a Vitamix, is convenient for whizzing the nuts into a foamy beverage in a blink; other blenders take a couple of minutes. The last step is to squeeze the frothy liquid through a nylon mesh nut bag, which you can conveniently use over and over again, or a double layer of cheesecloth draped over a strainer. The leftover pulp has all the flavor squeezed out of it; you can simply compost or discard it. Cashew milk is different from the typical nut milk. Cashews blend up so pulverized that the particles squeeze through the fine mesh of the bag, so don’t bother to strain them! Do add an extra cup water for a 4 to 1 ratio of water to cashews; this way your milk won’t be too heavy or too thick. In the last part of the video, I demo a speedy hot chocolate made with only two other ingredients besides the cashew milk. I stir a tablespoon of cocoa powder and 2 tablespoons maple syrup in the bottom of a small pot until bubbling; then I add a couple cups of nut milk and let the liquid come to a boil. That’s it: soothing and delectable, and just one of the many luscious comestibles that you can concoct with homemade nut milk.
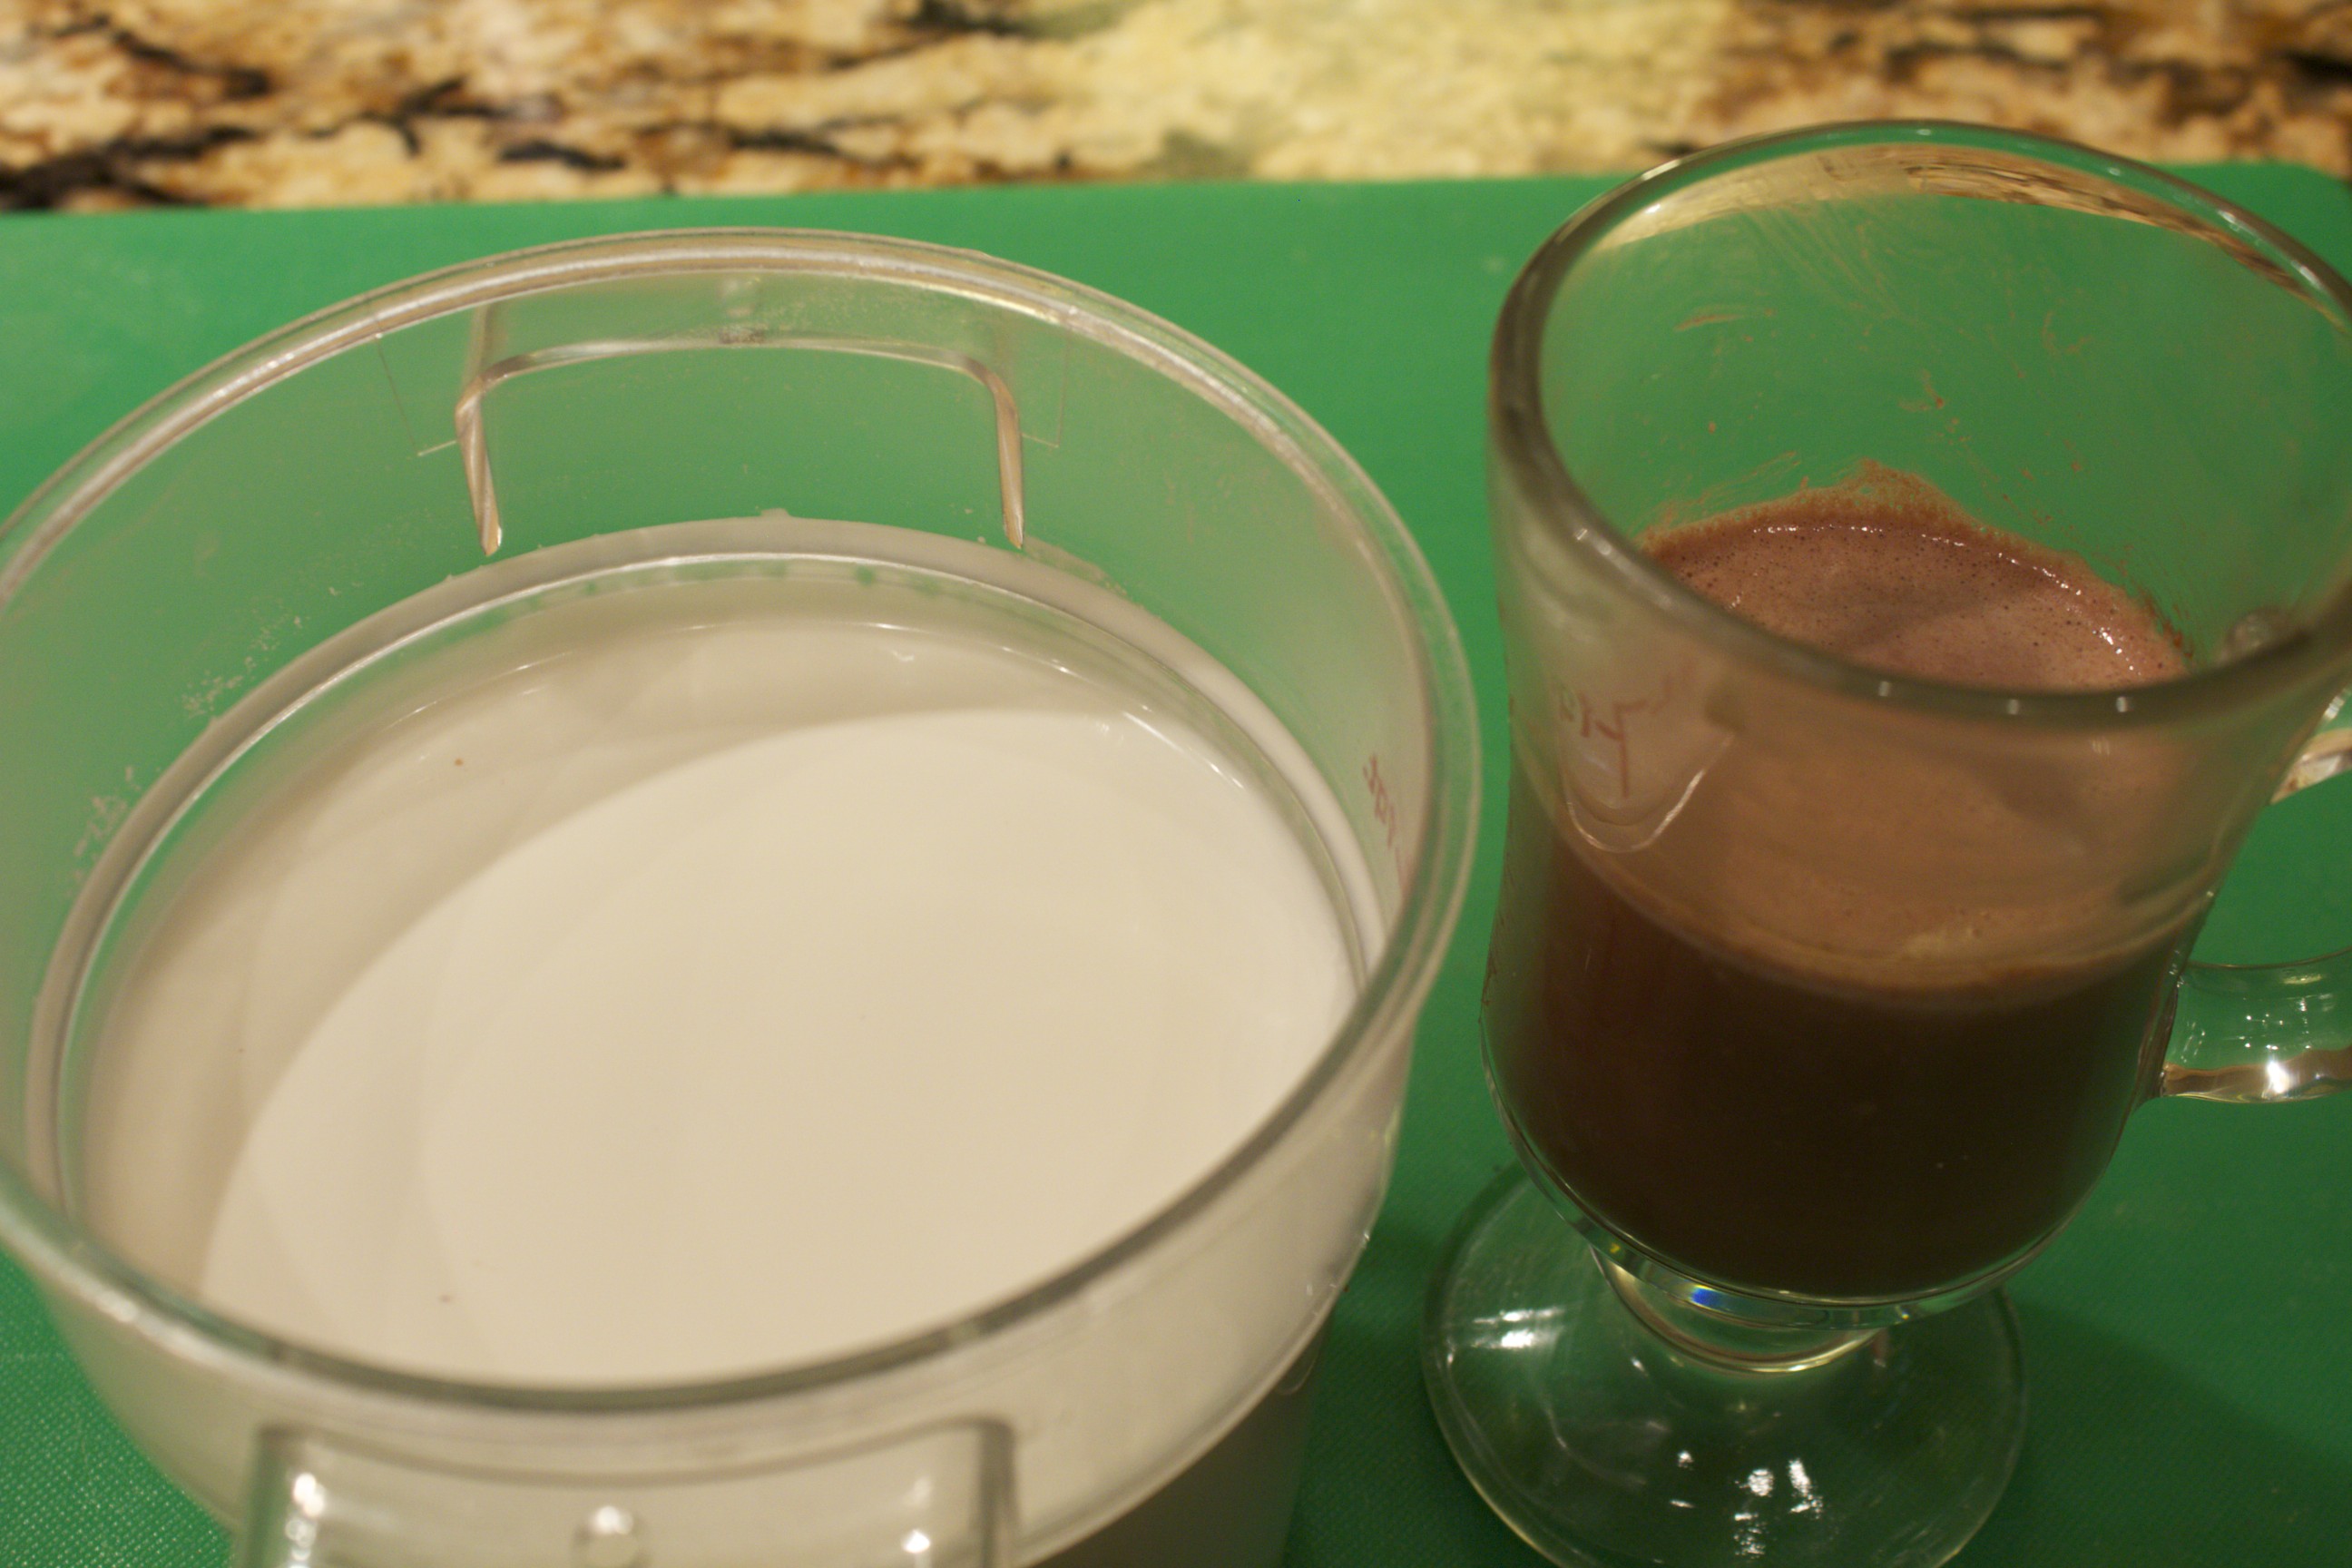 Cashew Milk and Hot Chocolate Share on Facebook and Twitter | Beverages, Chocolate, Gluten Free, Kitchen Tips, Natural Sweeteners, nuts and seeds, Snacks, techniques | No comments
Toffee-Ginger Nut Squares Delicious treats are part of the joy of any celebration. In this video, I show you how to make one of my absolute favorite delectables: toffee-ginger nut squares. These melt-in-your-mouth bars are nutty, buttery, gingery, and salty—a taste combination that lingers tinglingly on your palette. Even a small square is satisfying. You can make up a batch and freeze them. You can even make these gluten-free, by replacing the pastry flour with sorghum flour. Best of all, these bite-sized morsels make special edible holiday gifts your loved ones will really appreciate. Start by buttering an 8×8 baking dish, then line it with parchment that overhangs the edges on two sides; these handles are convenient for when you transfer the finished bars to the cutting board. Begin with the crust. Sift together one cup of whole wheat pastry flour with ¼ teaspoon each baking powder and salt, and set it aside. Use an electric or hand mixer to beat 6 tablespoons butter with 1/3 cup of maple sugar (or any other unprocessed granulated sugar) for a couple of minutes, until well-combined. Then beat in the sifted flour mixture, followed by ¼ cup finely chopped nuts. In the video, I make the squares with pecans, but cashews and macadamia nuts are delicious as well. Press the crust (which looks crumbly at first) into the prepared baking dish, and bake it for 10 minutes in a 350˚F preheated oven, just until lightly colored. While the crust is baking, make the topping. Melt 6 tablespoons butter and ¾ cup chopped pecans (use the same variety of nuts that you added to the crust) in a small pot. Cook for a couple of minutes over medium-high heat, stirring constantly, until the butter is foamy and the nuts are fragrant. Then stir in the rest of the ingredients: ¼ cup maple sugar (or the same sugar that you used for the crust), 2 tablespoons brown rice syrup, and ½ cup finely chopped crystallized ginger. Let the mixture simmer for a couple of minutes. Whisk two eggs in a medium bowl. Add the hot liquid slowly at first to temper the eggs, then faster as the eggs warm. Stir in 2 tablespoons pastry flour (or sorghum flour). Pour this mix, spreading evenly with a spatula, over the crust; bake for 20 to 25 minutes, until the top sets and develops a luscious caramel color. Let the squares cool to room temperature in the pan, then sprinkle the top with coarse sea salt; lightly press the salt granules into the top. Using the flaps of the parchment as handles, lift the bars out of the pan and transfer them to a cutting board. Cut into squares: sixteen if they are for a full dessert, and twenty-five if they are tea treats or holiday gifts. Keep the squares covered, at room temperature, for up to five days, refrigerate them for up to two weeks, or freeze to have on hand any time. This way, you’ll have an exciting delight ready for when you have guests over, or for when you want a little extra pleasure. Happy holidays!  Toffee-Ginger Nut Squares
Share on Facebook and Twitter | desserts, Gluten Free, Natural Sweeteners, nuts and seeds, Snacks | No comments
Amaretti Cookies Amaretti cookies are chewy Italian cookies studded with pine nuts. These are festive enough for your holiday gift-giving but simple enough to make any time. This video shows the ins and outs of making these gluten-free cookies. I start with 2 cups almond flour, then add 1½ cups natural sugar. My favorite sweetener for these is maple sugar, but succanat ™ and rapadura™ work as well. Keep in mind that different natural sugars affect the flavor and moisture and can alter the texture slightly. I then stir in a pinch of salt and a couple teaspoons almond extract to heighten the almond flavor. The next step is to whip three egg whites in a separate bowl until they form peaks. You can do this by hand or with a hand-held or stand mixer, but my tool of choice to make the job efficient is an immersion blender. I then stir the fluffy egg whites into the flour mix. Finally, I brown the butter. I melt half a stick of butter, and cook it until it is copper-colored and fragrantly nutty. I keep a watchful eye on the pot after the butter melts—the process takes only a few minutes, and I want to make sure to stir the butter into the batter when it is browned, not burnt. At this point, I’m ready to form cookies. The batter is sticky, so using 2 spoons is the easiest way to drop the batter onto a parchment-covered baking tray. In order to leave enough room for these cookies to spread, I use 2 trays and drop the batter 1 ½ inches apart, making about 30 cookies. I sprinkle each cookie with pine nuts before it goes into a 300˚F oven to bake. Halfway through the cooking, after ten minutes, I rotate the trays to help them to color evenly. They smell heavenly while they bake. Once I’ve let the cookies cool, I store the extras in the refrigerator for up to two weeks, or I freeze them for up to two months. What a wonderful way to start off the holiday season.
Share on Facebook and Twitter | desserts, Gluten Free, Natural Sweeteners | No comments
Very Berry Power Smoothie Sometimes an antioxidant, nutrient-dense smoothie makes a quick and powerful meal. The one in this video is rich and filling enough to keep your energy and blood sugar stable for hours. Best of all, it tastes delicious. It’s a combo of mixed frozen berries, yogurt, avocado, raw honey, coconut oil, egg yolks from pastured eggs, and coconut water. I also added a splash of macadamia nut oil because I like the nutty flavor. I made this video for Vital Choice, a company whose products I love. Not only do they have the finest wild Alaskan seafood, but they also have some other choice products such as frozen berries and macadamia nut oil, an oil that has similar nutritional properties to extra virgin olive oil. They presented the video on their newsletter, and I received the question from a viewer of why I don’t use the egg whites in the smoothie. Here is my answer: I don’t use the raw egg white because it contains a protein called avidin that interferes with the body’s absorption of biotin (Vitamin B7). It also contains a protein called “conalbumin,” which binds to iron (making it not biologically available to the body.) Also, trypsin inhibitors make digestion of the protein in the raw egg white more difficult. All of these is deactivated when the white is cooked. That being said, I still may use a raw egg white in a classic Caesar salad dressing or–once in a great white, a mousse–but I don’t make a practice of it, especially for something like a breakfast smoothie. The raw yolk, on the other hand, is great to eat raw or barely cooked. It’s great to have a lot of quick breakfast ideas in your repertoire.
Share on Facebook and Twitter | Breakfast, Eggs, Fats & Oils, Fruit, Health Tips, ingredients, Natural Sweeteners | No comments
Maple Sugar and Candied Nuts When I want to use a granulated sugar, I invariably reach for maple sugar as my first choice. This natural sweetener has a subtle maple taste, and works well in many recipes that call for granulated sugar. Maple sugar is simply maple syrup that has been cooked until the water in the syrup has evaporated off. The clumps that are left are ground into smaller pieces, then sifted according to size – powder, granules, or a combination of the two. Nothing is added during the processing.
Maple sugar is relatively expensive. However, when purchased from the source, shipping and all, it is considerably less expensive than purchasing it in a store. I get mine directly from Coombs family farms, a wonderful sugar plant based in Vermont. Their phone number is 888 266-6271 and their website is Coombsfamilyfarms.com. They ship quickly, and you can purchase a choice of maple granules, powdered maple sugar, or a combination or the two. I use the maple powder for all of my maple sugar recipes, since this grind is the most like granulated sugar.
This morning I made a couple batches candied nuts to give away. I love candied nuts. When you make them yourself, you can use just the right amount of high quality sweetener to enhance great nutty flavor. A sprinkling of these crunchy nuts add so much pizzazz to hot breakfast cereals, desserts, salads and soups. They stay fresh in the pantry for two to three months, making them wonderful hostess gifts and edible presents. Bundle them in festive party bags for a treat that everyone will enjoy.
Here are a couple of my favorite combinations. These recipes both take a minimum of prep time and the oven does most of the work. Watch the video on how to make candied nuts. This first recipe is for candied pecans. I toss one cup roughly chopped pecans with 2 tablespoons maple syrup and 2 tablespoons maple sugar. I spread them on a parchment-covered baking dish and place them in the oven for 20 minutes. I stir the pecans one time during the baking, so that they caramelize evenly. The pecans are ready when they are dry all the way through. This technique works well with chopped walnuts, almonds, and blanched hazelnuts as well. When I remove the pecans from the oven, I let them cool before packing them. These pecans keep covered, at room temperature, for two to three months.
 Candied Pecans The second recipe is for coconut cashews, one of my favorites. The mix is an exciting combination of sweet, spicy, and crunchy, which makes, among other uses, an excellent garnish for a zesty carrot soup. I toss together in a medium bowl one cup of roughly chopped cashews, ½ cup unsweetened coconut, 1/3 cup maple sugar, ¼ teaspoon salt, and ¼ teaspoon cayenne. I then add one egg white to bind the whole mix together. Again, I’m spreading it on a parchment-covered baking sheet and baking it for 15 to 20 minutes at 325˚. I have to stir this mix twice during the baking session to ensure that the more delicate coconut colors evenly. (By the way, I pull out my tray to stir the mix, so I don’t lower the temperature of the oven. Then I return the tray to the oven to finish baking.) When the mix is evenly browned, I remove the tray from the oven and let it cool to room temperature. I break up the clumps into small clusters that are now ready to be stored or packed. Sweet holidays!  Candied Coconut-Cashews
 Edible Gift Packages
Share on Facebook and Twitter | Kitchen Tips, Natural Sweeteners, Recipes, Snacks, Where To Buy (Sources) | No comments
|


