
|
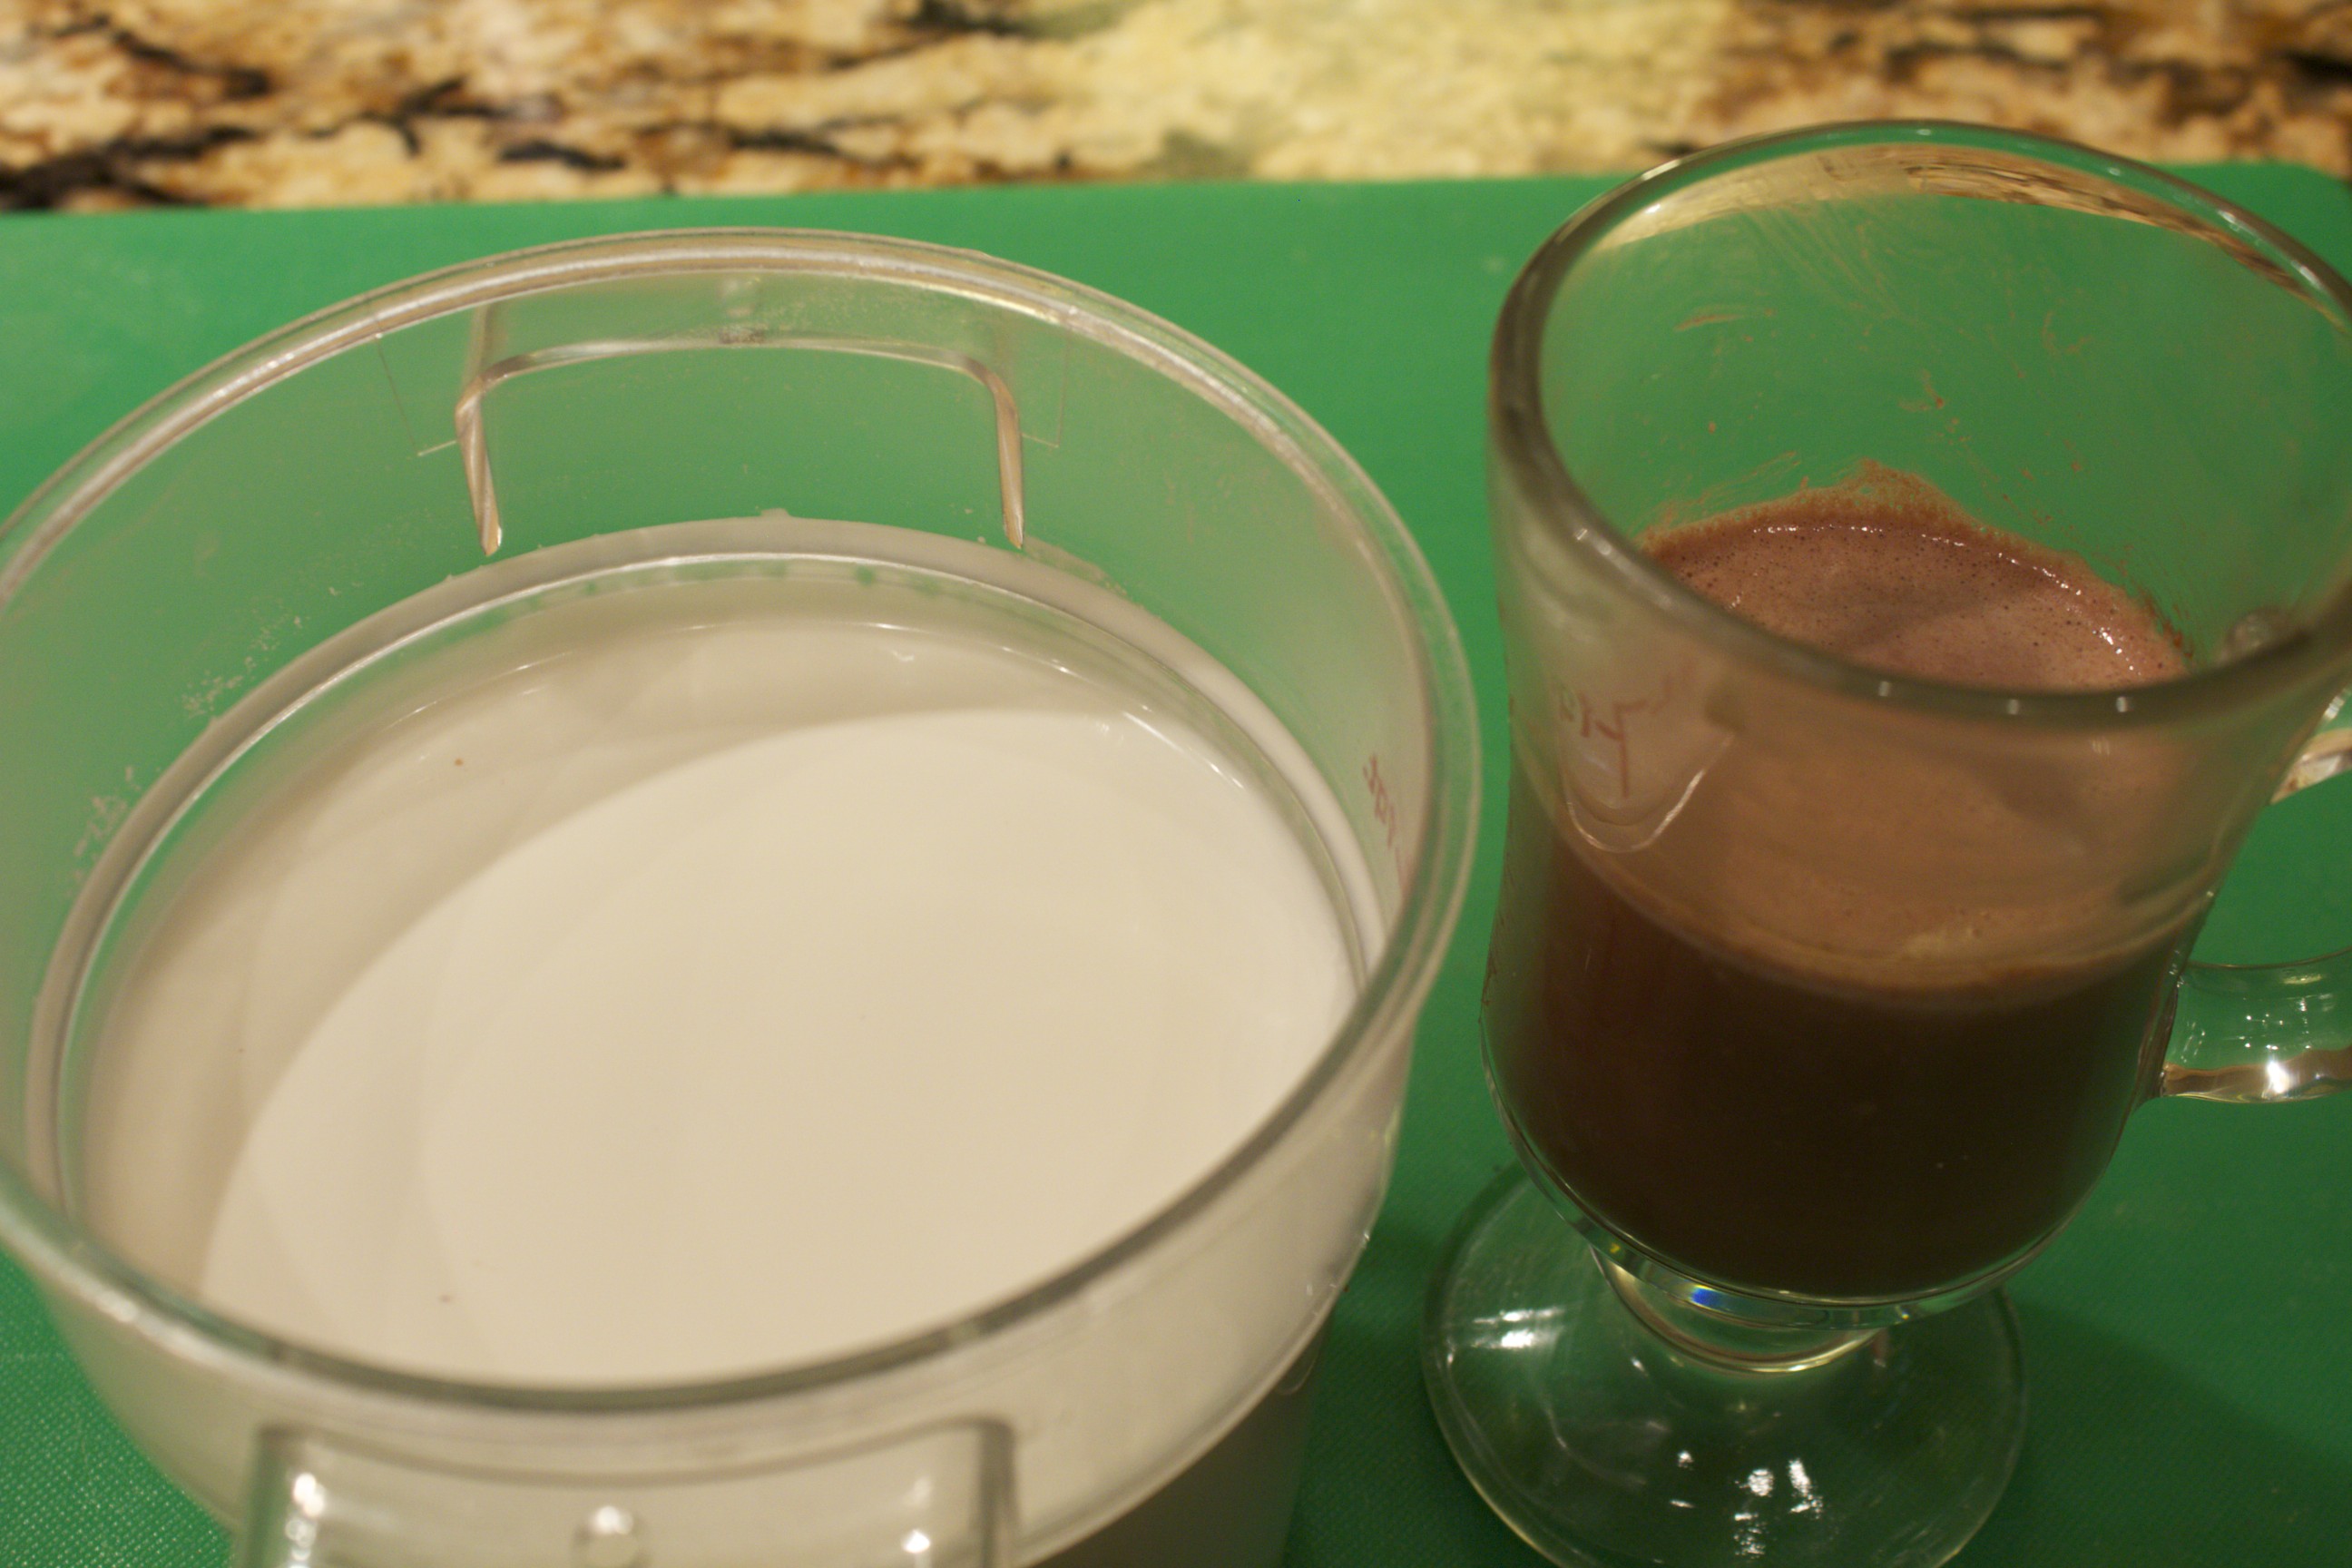
Homemade Nut Milk In today’s video, I show just how easy it is to make your own nut milks. Homemade versions are not only fresher than the store-bought (which contain synthetic vitamins, thickeners, and sweeteners): they are also healthier and more flavorful. You can use these versatile beverages as a base for smoothies, hot chocolate, or cereal, or as an alternative to dairy in your baked goods. Or, add a touch of natural sweetener and a dash of spice to make a simple nut-milk drink. The basic prep technique is the same for most nuts. Step one is to soak the nuts. Almonds require a good overnight soak; it’s even okay to let them go for as long as 12 hours. The reason for the soak is as follows: nuts and seeds are naturally adapted to lie dormant in nature until proper sprouting conditions are present. When it rains, nuts and seeds get wet; then they germinate, and the plants grow. When we soak the almonds, we are mimicking nature’s incubating process. When there is moisture, enzyme inhibitors and toxic substances called phytic acid are washed away naturally. In other words, phytic acid is nature’s padlock, and water is the key. Once the nuts are soaked, all of the enzymes & minerals available in them—almonds have phosphorous, magnesium, manganese, & copper—become available to the body. These soaked nuts become swollen and soft so that they blend easily into a rich nut milk, and they are noticeably easy to digest. Next you rinse and drain the nuts. If you’re not ready to make nut milk right away, leave the drained nuts refrigerated for up to 3 days. When ready, blend them with fresh water at a ratio of 3 parts water to 1 part nuts. A high-speed blender, such as a Vitamix, is convenient for whizzing the nuts into a foamy beverage in a blink; other blenders take a couple of minutes. The last step is to squeeze the frothy liquid through a nylon mesh nut bag, which you can conveniently use over and over again, or a double layer of cheesecloth draped over a strainer. The leftover pulp has all the flavor squeezed out of it; you can simply compost or discard it. Cashew milk is different from the typical nut milk. Cashews blend up so pulverized that the particles squeeze through the fine mesh of the bag, so don’t bother to strain them! Do add an extra cup water for a 4 to 1 ratio of water to cashews; this way your milk won’t be too heavy or too thick. In the last part of the video, I demo a speedy hot chocolate made with only two other ingredients besides the cashew milk. I stir a tablespoon of cocoa powder and 2 tablespoons maple syrup in the bottom of a small pot until bubbling; then I add a couple cups of nut milk and let the liquid come to a boil. That’s it: soothing and delectable, and just one of the many luscious comestibles that you can concoct with homemade nut milk.
 Cashew Milk and Hot Chocolate Share on Facebook and Twitter | Beverages, Chocolate, Gluten Free, Kitchen Tips, Natural Sweeteners, nuts and seeds, Snacks, techniques | No comments
Leave a Reply
|
