|
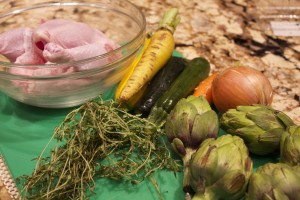
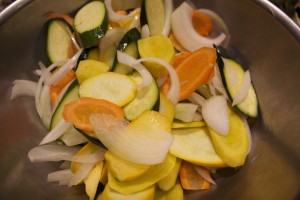
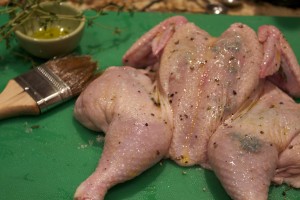
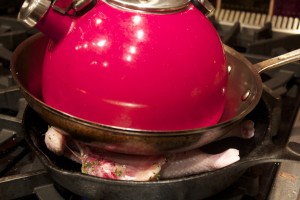
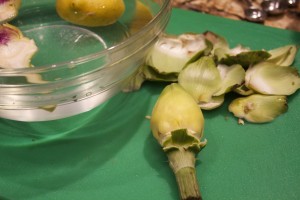
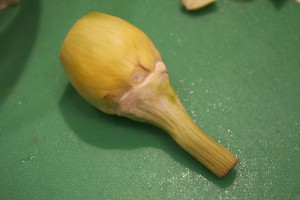
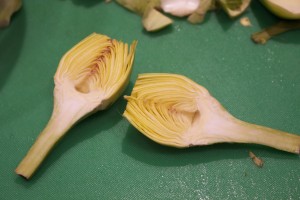
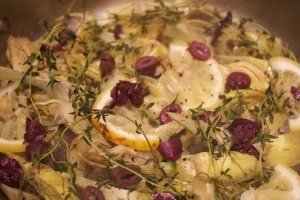
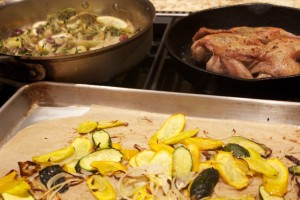
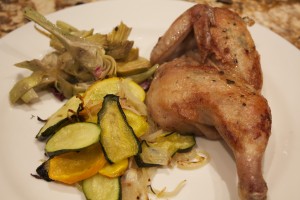
Fast but Unhurried I was leaving on a vacation last Thursday, so I wanted to make use of the beautiful vegetables that I had acquired on a pre-hurricane buying frenzy. My only new purchase at Union Square greenmarket Wednesday was a Cornish hen sized perfectly for two. Ben, the proprietor of Garden of Spices, has the tastiest pastured hens I’ve ever come across. I had a few baby artichokes as well as some yellow and orange carrots, zucchini, onions, and fresh thyme left over that I didn’t want to spoil. My meal thus had a focus. I peeled and cut the carrots on a diagonal, sliced the onions along the grow lines, and cut the zucchini into slim diagonal slices. I tossed the vegetables with coconut oil and salt, and placed them in a 400˚F oven to roast. Twenty minutes later they came out beautifully cooked. Meanwhile, while the vegetables were roasting, I prepped the hen. I cut out the backbone, opened up the bird (in other words I butterflied it), slipped some thyme and salt under the skin, sprinkled the top with black pepper, and brushed the skin with extra virgin olive oil. I seared the bird over medium-high heat face down in a cast iron skillet, weighted the top with another skillet, and placed a teapot on top to make sure the hen was pressed against the skillet. Get creative here. You need to weight that bird so that the maximum surface area touches the skillet. This way the bird can brown evenly. Once the skin side was browned – after about 10 minutes – I flipped the bird and placed it in the oven to finish cooking. 1o minutes later the bird was cooked to perfection – only 20 minutes total from start to finish. Lastly, I started on the artichokes. I prefer baby artichokes to the larger ones most of the time (with notable exceptions, of course) since there’s no hairy chokes to remove. Here’s a step by step method of how to prep a baby artichoke: Have ready a bowl of acidulated water (that’s water with a lemon squeezed into it) for the prepped artichokes, to keep them from discoloring. First, peel the layers of leaves off one by one until you strip the vegetables down to where yellow-green leaves cover the artichoke (except for the tip). Use a Y-shaped (the wide kind) peeler to peel off the tough green part around the base as well as the layer covering the stem. Cut off the tip. (A serrated knife works well for this.) Slice the artichokes in half and place them in the water as you finished prepping each one. I prepped six artichokes for the two of us. I then sliced the halves into several pieces, and placed them in a skillet with a dash of water, olive oil, salt, lemon slices, and thyme branches. I covered the skillet and steamed them for about five minutes, then uncovered the pan and cooked them a few minutes more. I then tossed in a few sliced kalamata olives.
Share on Facebook and Twitter | Dinner, Main course, Recipes, Side Dishes | No comments
Leave a Reply
|
