|
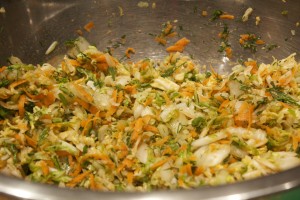
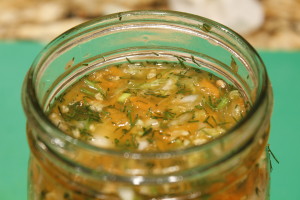
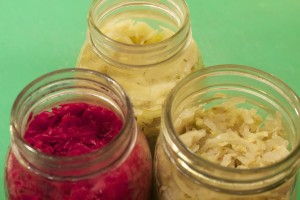
Lacto-fermented Sauerkraut In today’s video, I show how to make traditional sauerkraut, one of the popular dishes that Eastern Europeans of yore would put up in storage in November so that they could have vegetables that would last the entire winter. Cabbage is especially amenable to culturing. While giving it a delightfully tangy flavor, the time-honored fermentation process turns pedestrian cabbage into an uber-raw natural probiotic. Lactobacilli are delightful microorganisms already present on the leaves and roots of plants. With a little encouragement, they convert the starches and sugars in the leaves to lactic acid—thus the term “lacto-fermentation.” Salt initiates the process; it inhibits the growth of undesirable bacteria long enough for the lactic acid to start forming. Enzymes break down the cabbage into more digestible molecules, and the lactic acid preserves it by eliminating unwanted organisms and increases the level of Vitamin C. In the end, “predigested” fermented cabbage also promotes the growth of healthy flora throughout the intestines, making harder-to-digest foods much more digestible. Here’s how you make the ferment: In the video I demonstrate the process with a medium head of green cabbage, shredded finely; you should have 10 cups or so. Stir in a couple of grated carrots and four teaspoons salt, a good amount for a quart-worth of packed kraut. Use a good quality unadulterated salt that has trace minerals, such as celtic sea salt. To help get the juices of the cabbage flowing, massage the cabbage with your hands; get in there and squeeze hard. You can also pound the cabbage with a mallet to help it start to sweat. Once you have a lot of shiny, juicy cabbage in the bowl, stir in the other ingredients. In today’s ferment, I’m adding a tablespoon each of minced ginger and garlic, about ½ cup of sliced scallions, and a minced red Fresno chile, a mild and colorful chile which I found at my local grocer. Stuff the juicy cabbage mixture into a 1-quart bell jar, pressing down hard to make sure that there is liquid floating on the top. (A blunt, wooden, club-like instrument called a “kraut-pounder” is quite helpful for pressing down the vegetables, but you can improvise with the end of a tapered rolling pin as well.) Leave a generous inch of space at the top of the jar in order to prevent liquid from seeping out the top. Let your imagination reign when it comes to the variations. Start with a base of cabbage: red, savoy, or nappa. I’ve enjoyed all kinds of additions to my slaws, including onions, fennel, daikon, fennel seed, juniper berries, chiles, and curry powder (but not all in the same slaw, of course). Leave the ferment on the counter from 5 days to 2 weeks. The insert in the middle of the bell jar will be hard to press down once the ferment really gets going. Start tasting the kraut at that point. It will be fermented after a few days; but, if you can leave the kraut for the full two weeks, you’ll have a tangier, richer flavor. (After tasting, make sure that the cabbage is still tightly packed and submerged in liquid.) Transfer the jar to the refrigerator; it’s ready to eat, but it tastes even better if you can leave it for a couple of additional weeks before opening. Once opened, the ferment stays fresh at least a good three months refrigerated. Start off slow; a few tablespoons added to your meals is sufficient. You can increase the amount as your belly becomes acclimated to all the additional probiotic flora. It’s deeply satisfying to make your own krauts; you might just find yourself with a refrigerator full of delicious varieties.
Share on Facebook and Twitter | condiments, Health Tips, Kitchen Tips, Side Dishes, Vegetables | No comments
Leave a Reply
|


