|
Toffee-Ginger Nut Squares Delicious treats are part of the joy of any celebration. In this video, I show you how to make one of my absolute favorite delectables: toffee-ginger nut squares. These melt-in-your-mouth bars are nutty, buttery, gingery, and salty—a taste combination that lingers tinglingly on your palette. Even a small square is satisfying. You can make up a batch and freeze them. You can even make these gluten-free, by replacing the pastry flour with sorghum flour. Best of all, these bite-sized morsels make special edible holiday gifts your loved ones will really appreciate. Start by buttering an 8×8 baking dish, then line it with parchment that overhangs the edges on two sides; these handles are convenient for when you transfer the finished bars to the cutting board. Begin with the crust. Sift together one cup of whole wheat pastry flour with ¼ teaspoon each baking powder and salt, and set it aside. Use an electric or hand mixer to beat 6 tablespoons butter with 1/3 cup of maple sugar (or any other unprocessed granulated sugar) for a couple of minutes, until well-combined. Then beat in the sifted flour mixture, followed by ¼ cup finely chopped nuts. In the video, I make the squares with pecans, but cashews and macadamia nuts are delicious as well. Press the crust (which looks crumbly at first) into the prepared baking dish, and bake it for 10 minutes in a 350˚F preheated oven, just until lightly colored. While the crust is baking, make the topping. Melt 6 tablespoons butter and ¾ cup chopped pecans (use the same variety of nuts that you added to the crust) in a small pot. Cook for a couple of minutes over medium-high heat, stirring constantly, until the butter is foamy and the nuts are fragrant. Then stir in the rest of the ingredients: ¼ cup maple sugar (or the same sugar that you used for the crust), 2 tablespoons brown rice syrup, and ½ cup finely chopped crystallized ginger. Let the mixture simmer for a couple of minutes. Whisk two eggs in a medium bowl. Add the hot liquid slowly at first to temper the eggs, then faster as the eggs warm. Stir in 2 tablespoons pastry flour (or sorghum flour). Pour this mix, spreading evenly with a spatula, over the crust; bake for 20 to 25 minutes, until the top sets and develops a luscious caramel color. Let the squares cool to room temperature in the pan, then sprinkle the top with coarse sea salt; lightly press the salt granules into the top. Using the flaps of the parchment as handles, lift the bars out of the pan and transfer them to a cutting board. Cut into squares: sixteen if they are for a full dessert, and twenty-five if they are tea treats or holiday gifts. Keep the squares covered, at room temperature, for up to five days, refrigerate them for up to two weeks, or freeze to have on hand any time. This way, you’ll have an exciting delight ready for when you have guests over, or for when you want a little extra pleasure. Happy holidays!  Toffee-Ginger Nut Squares
Share on Facebook and Twitter | desserts, Gluten Free, Natural Sweeteners, nuts and seeds, Snacks | No comments
Two Ways to Shred Brussels Sprouts I love shaved Brussels Sprouts. The thin wispy shreds sauté in minutes; they also make a hearty raw salad that holds up to assertive dressings. In the video I show two ways to shred the little globes: one is by hand, the other is with a plastic mandolin. To shred the sprouts by hand, position your hand in a tight claw, with your forefinger pushing against the blade. This helps you cut thinly, it gives you stability, and keeps your fingers safe; in essence, it turns you into a human mandolin. If that method is daunting, try the second one in which you use an actual mandolin. A mandolin is a cutting device that helps you to slice your produce paper thin. There’s no need to purchase a fancy metal one–the plastic Japanese keeps a sharp edge better than the pricier varieties. Since Brussels Sprouts are small, here’s a tip for making the shaving process safe and effective: stick a fork into the root end (Make sure not to trim the root end first.) Position a sprout against the mandolin and shave away; shred all the way down to the root. Repeat with the next Brussels Sprouts, and so forth, until you have a nice little pile of wispy pieces, ready to be tossed into your favorite recipe. Watch the video (it’s less than 1 1/2 minutes) to see both ways of shredding. Share on Facebook and Twitter | Kitchen Tips, Vegetables | No comments
Turkey Hash I’ve already cooked a couple of turkeys this season while testing recipes, so I’ve had a good deal of practice using up the inevitable leftovers. While I enjoy consuming my fill of turkey sandwiches and turkey soup, this year one of my favorite ways to make a new dish out of the cooked turkey has been to make it into a hash—a quick delicious one-skillet meal that is equally tasty for breakfast, lunch, or supper. I incorporate wild rice into my version—a departure from the more usual turkey-potato variety—so I make sure to have a little extra on hand as a “deliberate” leftover. Wild rice has an impressive nutrient profile and adds a nutty earthy quality to the other ingredients. Preparing hash is also a good way to use up other odds and ends of vegetables and herbs. To make the mélange, I start with a half cup of diced onions. I sweat these in clarified butter or ghee, butter, or olive oil for about 10 minutes in a large skillet until quite soft. In the video I use ghee, one of my favorite cooking fats. While the onions are slowly cooking, I prep the rest of the ingredients: I dice my turkey and vegetables so that I’m ready to add these as soon as the onions are tender. I then add 2 cups finely chopped turkey, 1 cup of cooked wild rice, ½ cup diced green bell pepper, and another cup of vegetables as well, which varies depending on what I have on hand. In the video, I add ½ cup each of chopped celery and carrots, but shaved Brussels sprouts, broccoli, or cauliflower—all chopped small— are delicious too. If I have ½ cup of chestnuts, I add those as well. To moisten the ingredients, I stir in ½ cup of chicken or turkey broth, about ½ teaspoon dried thyme (or 2 teaspoons fresh), ¼ teaspoon dried sage (or 1 teaspoon fresh), and ½ to ¾ teaspoon salt, depending on how salty my broth is. I cook the mix uncovered over medium heat, stirring from time to time, until the broth is absorbed and the flavors have married. I sprinkle a generous grind of fresh pepper and a tablespoon of fresh-chopped parsley over the dish. This is truly a versatile one-pot meal. 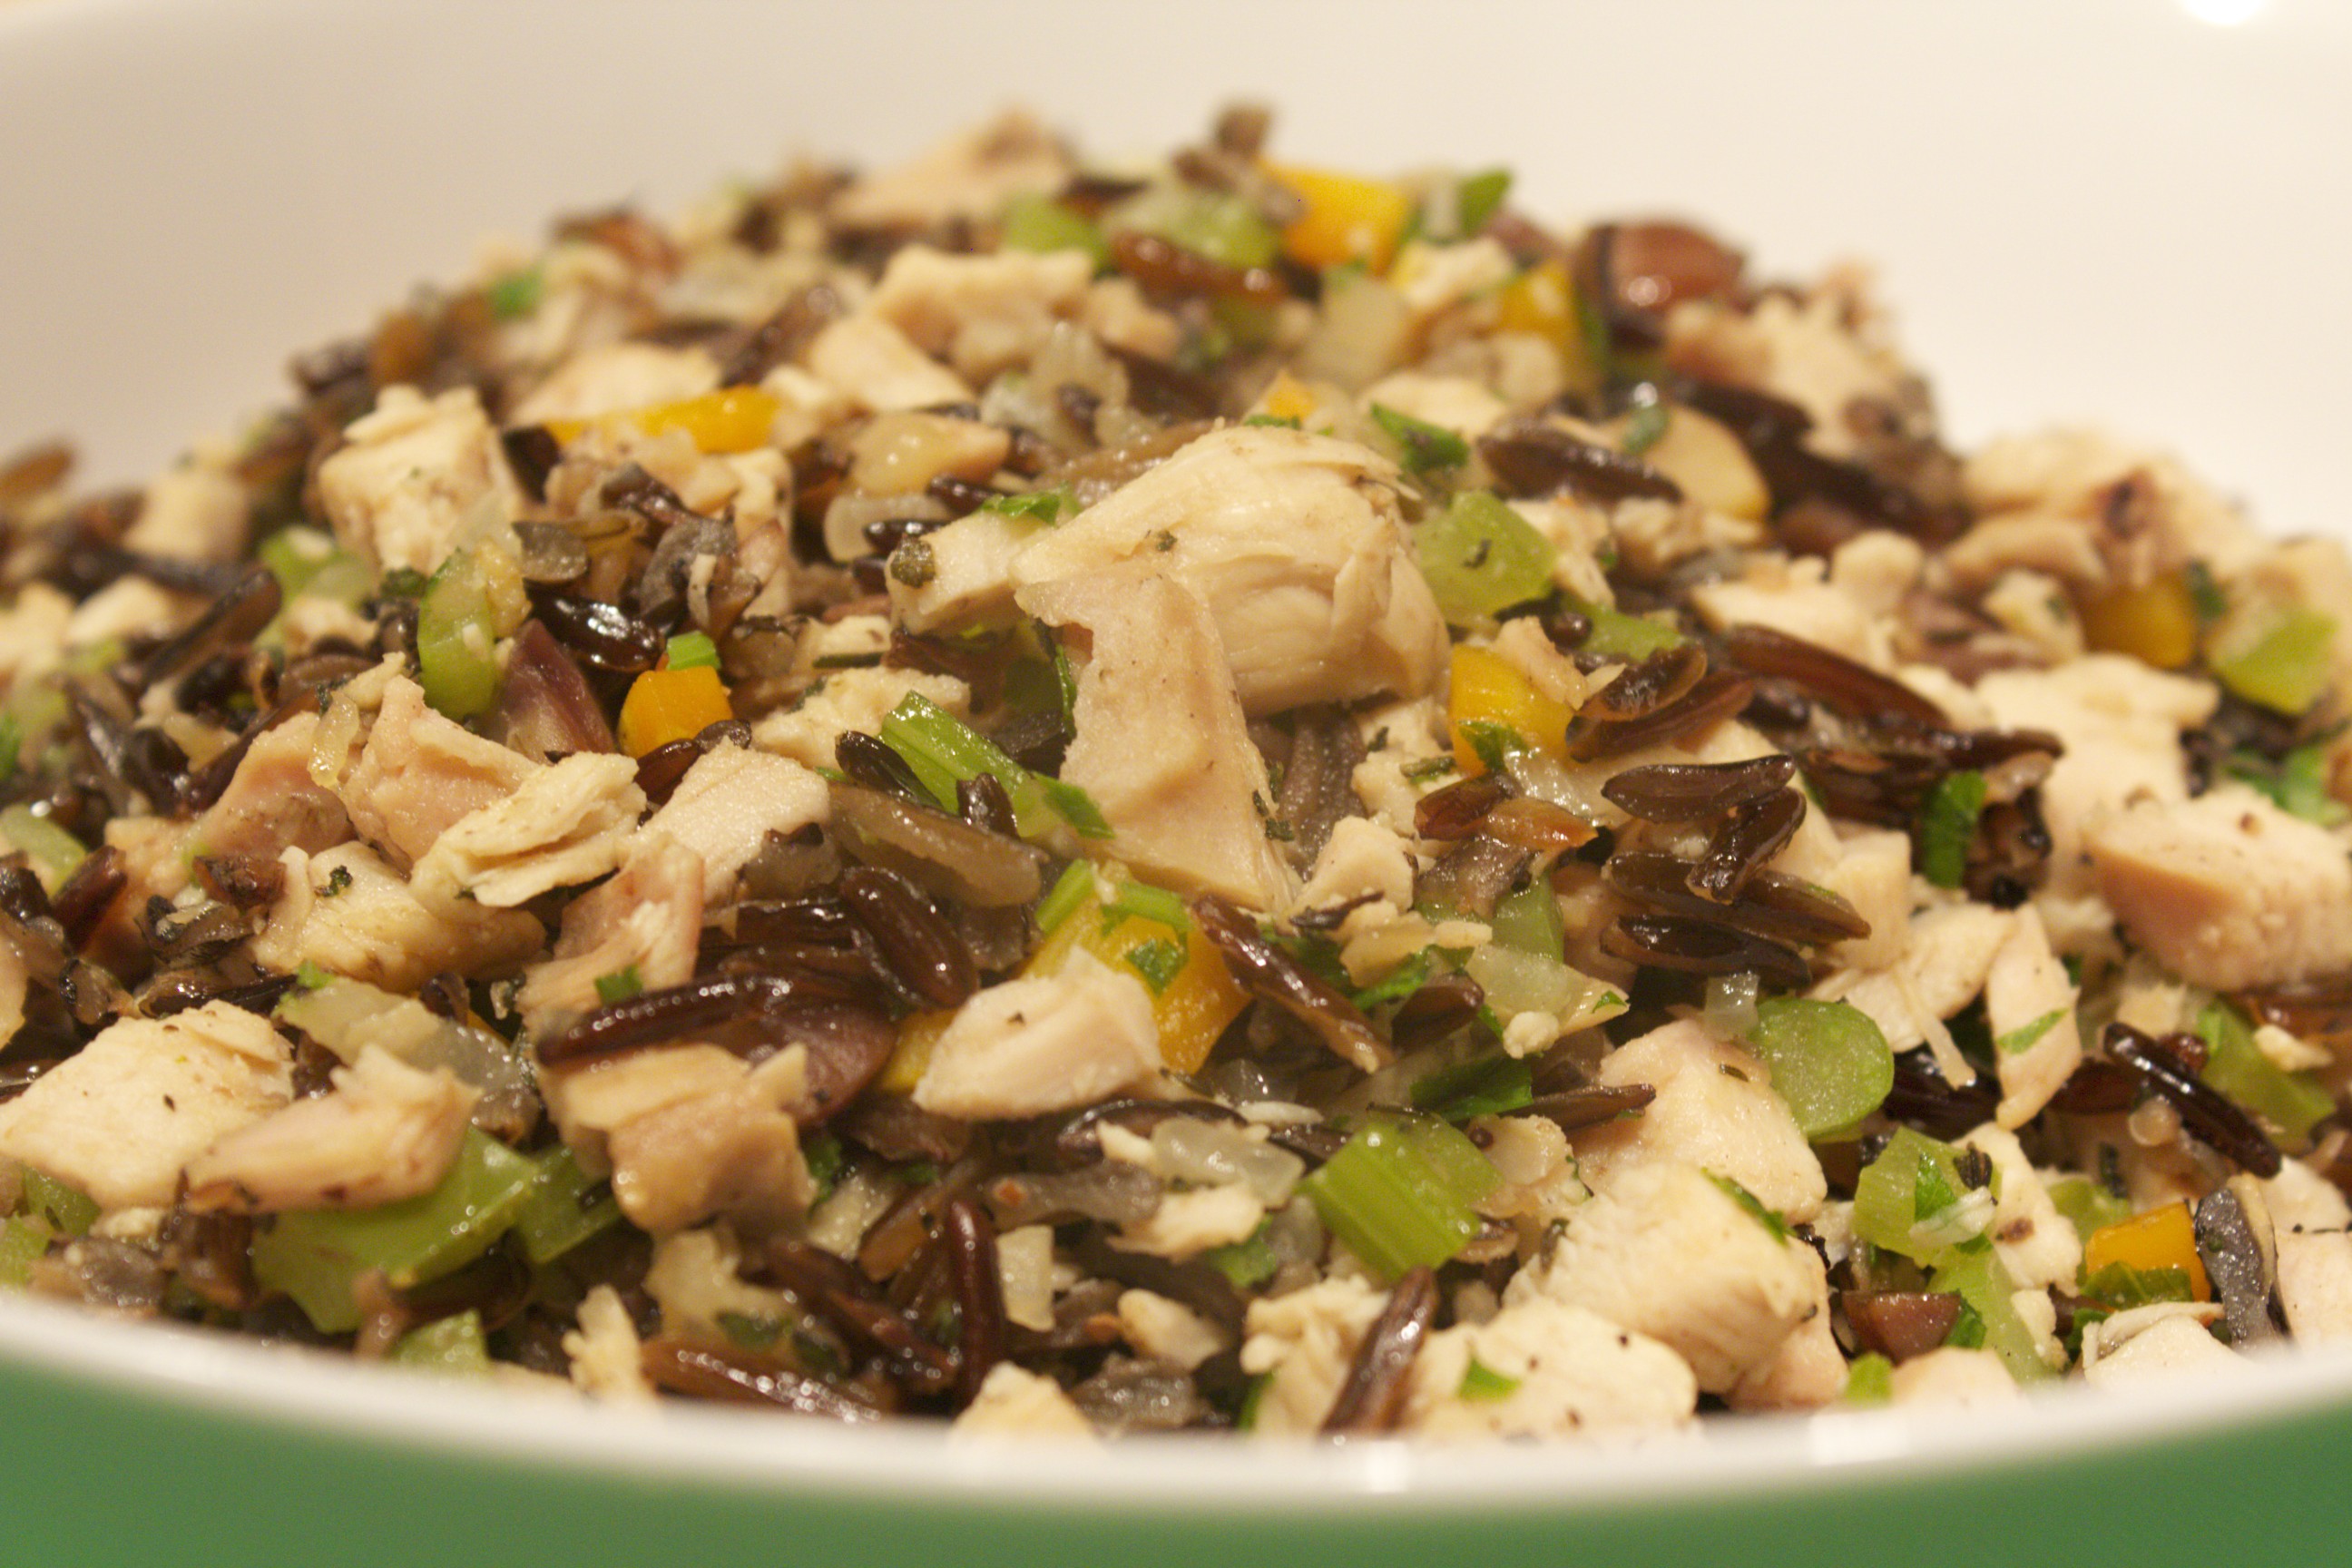 Turkey Hash with Wild Rice Share on Facebook and Twitter | Lunch, Main course | No comments
Glorious Autumn Squash Glorious autumn squashes and pumpkins in a variety of shapes and sizes abound in greenmarkets and grocery stores at this time of year. In the video today, I go over a few ins and outs of cooking with these vegetables as well as demonstrate a delicious and easy recipe that work with many of the varieties available. Here are six of my favorite types of squash among those that you’re likely to see. Two that have sweet dry rich orange flesh include the forest-green kabocha squash and the flaming red kuri pumpkin. These are wonderful for soups, stews, roasting, or mashing. Of course, cutting into one of these tough guys can seem like a dangerous undertaking. Here’s my favorite tip for handling an intimidating squash: turn the oven to between 325˚F and 375˚F (whatever is appropriate for the recipe), and simply toss the whole pumpkin into the oven for 10 to 15 minutes. That little bit of precooking is enough to enable you to be able to cut down the middle of a hard squash with even a thin-bladed knife. You can even peel the skin easily and cube the squash as well. Here’s an alternative method: simply bake the entire pumpkin without cutting into it first at all. If this is what you plan to do, make sure to place your squash on a baking tray, however, or you’re in for a messy oven-cleaning job when the juices start to drip. Another one of my favorite varieties includes the oblong delicata squash, characterized by its pale yellow skin with green stripes. The thin skin is eatable, so no need to peel these. To prep the squash, cut it lengthwise down the center, scoop out the seeds, and cut it into wedges. Toss the wedges in a little olive oil and salt, and roast for 20 minutes or so at 400˚F on a parchment-covered baking sheet. The small sweet dumpling squash is a variety that is perfect for stuffing. Give it a preliminary 10-to 20-minute bake before cutting the top off and scoop out the seeds, then stuff the inside and bake until tender. The football-shaped spaghetti squash is a fun variety with a stringy spaghetti-like texture. Initially, just toss the whole squash in the oven for about an hour. After it sits out of the oven for a few minutes and is soft and cool enough to handle, slice it down the middle, scoop out the seeds, and then scrape out the stringy flesh with a fork. Treat the strands like pasta and toss them with your favorite spaghetti sauce. The workhorse of the squash world is the butternut. This variety is softer than some of the other types, so it doesn’t need a head start in the oven before being cut or peeled. Treat it like two separate vegetables when dicing. The oblong part in the middle is dense, and it can be sliced like a potato: the bulbous bottom part contains all of the seeds, so it’s best to cut that part into wedges first. Use a t-shaped peeler, the kind that takes thick skins off, to make peeling the squash efficient. For the oblong part, first cut a thin piece off the bottom to anchor the squash on your cutting board, then cut downward slabs. Cut the slabs into long “batons,”, then cut the batons into dice. When you roast the butternut squash, do so by slicing it down the center first and placing it face down on a parchment-covered baking sheet. It’s so much easier to take out the seeds after the squash is cooked. The recipe that I demo in the video is sautéed butternut squash with pears and ginger. The pears harmonize beautifully with the squash—they’re both in season at the same time—and the ginger and cayenne add warmth to the dish. I start with some extra virgin olive oil. I warm a couple of tablespoons over medium heat in a large skillet. I then add the cubed squash with one diced pear—comice, Anjou and Barlett are all good—and cook uncovered over medium heat until the pieces are just tender and starting to brown, (about 6 to 8 minutes). I then push the squash to one side of the pan and add a tablespoon or so of butter (you can also use extra virgin olive oil). When the butter melts, I add the ginger and cook it a minute or so until fragrant. I then stir the ginger—along with ½ teaspoon of salt and a pinch of cayenne—into the mix. I finish the dish by stirring in a splash of balsamic vinegar. This dish is fragrant, fast, and flavorful. What a good time to get creative with all of the delicious varieties of squash that are out right now. They’re not difficult at all to use, so have a wonderful time!
Share on Facebook and Twitter | Kitchen Tips, Recipes, Side Dishes, techniques, Uncategorized | No comments
Savory Salmon-Coconut Muffins Breakfast can be a challenge, especially during those hectic mornings when there’s limited time. I find it helpful to have on hand ready-made items that require no more time to prepare than it takes to pop a piece of toast in the toaster oven. That kind of healthy instant breakfast does requires a bit of planning. Today’s video features one of my favorite such breakfasts: savory salmon muffins. Most of the time we associate muffins with a sugary high carbohydrate load, but these muffins are different. They are nutrient-dense little parcels, full of protein and great fat, but low on carbohydrates. They’re filling, but they don’t weigh you down. To start, I whisk together ½ cup of coconut flour, 1 teaspoon baking power, and ¼ teaspoon salt in a medium bowl. Half a cup of coconut flour is not very much; but coconut flour—made from the flesh of the mature coconut after all of the liquid has been squeezed out—really absorbs liquid, so a little goes a long way. In another bowl, I whisk together 6 eggs, along with ½ cup of melted coconut oil. I use the aroma-free variety of coconut oil since I don’t want any coconut flavor coming from the oil. Aroma-free coconut oil still has the great nutritional benefits of the virgin variety: the short list is that it’s good for the thyroid, good for the digestive tract, and great for the metabolism. It keeps the muffins moist as well. Then I pour the wet ingredients into the dry, and whisk the two together. I stir in a large (7.5 ounce) can of salmon. I favor the kind with bones (these are soft enough to eat), which provide a good dose of calcium along with vitamin D, the omega three fatty acids DHA and EPA, and astaxanthin, the antioxidant that gives wild salmon its red-orange color. I add some walnuts, which, besides adding flavor and texture, have a whole host of great health properties, including the omega three fatty acid ALA. I also add ¼ cup of chopped fresh herbs. In the video, I use a combination of dill, tarragon, and chives; but other herbs, such as parsley, sorrel or cilantro, are delicious as well. I’m now ready to add my batter to the muffin tins. Instead of “tins,” I favor silicon muffin holders. This way, there’s no need to grease the tins, and the coconut muffins pop right out. I bake the muffins at 400˚ for 20 minutes, just until springy and lightly browned. It’s best not to over bake these or they run the risk of drying out. This recipe makes 7 large muffins, enough for seven full breakfasts. They keep refrigerated for up to a week, and you can freeze them (slice in half first) as well. I savor them toasted with a few slices of avocado, which lend more good fat, folic acid, vitamin E, and of course, deliciousness. These muffins are truly convenient for those busy mornings when you need to take breakfast on the run. Most importantly, they will keep you humming along all the way until lunch. 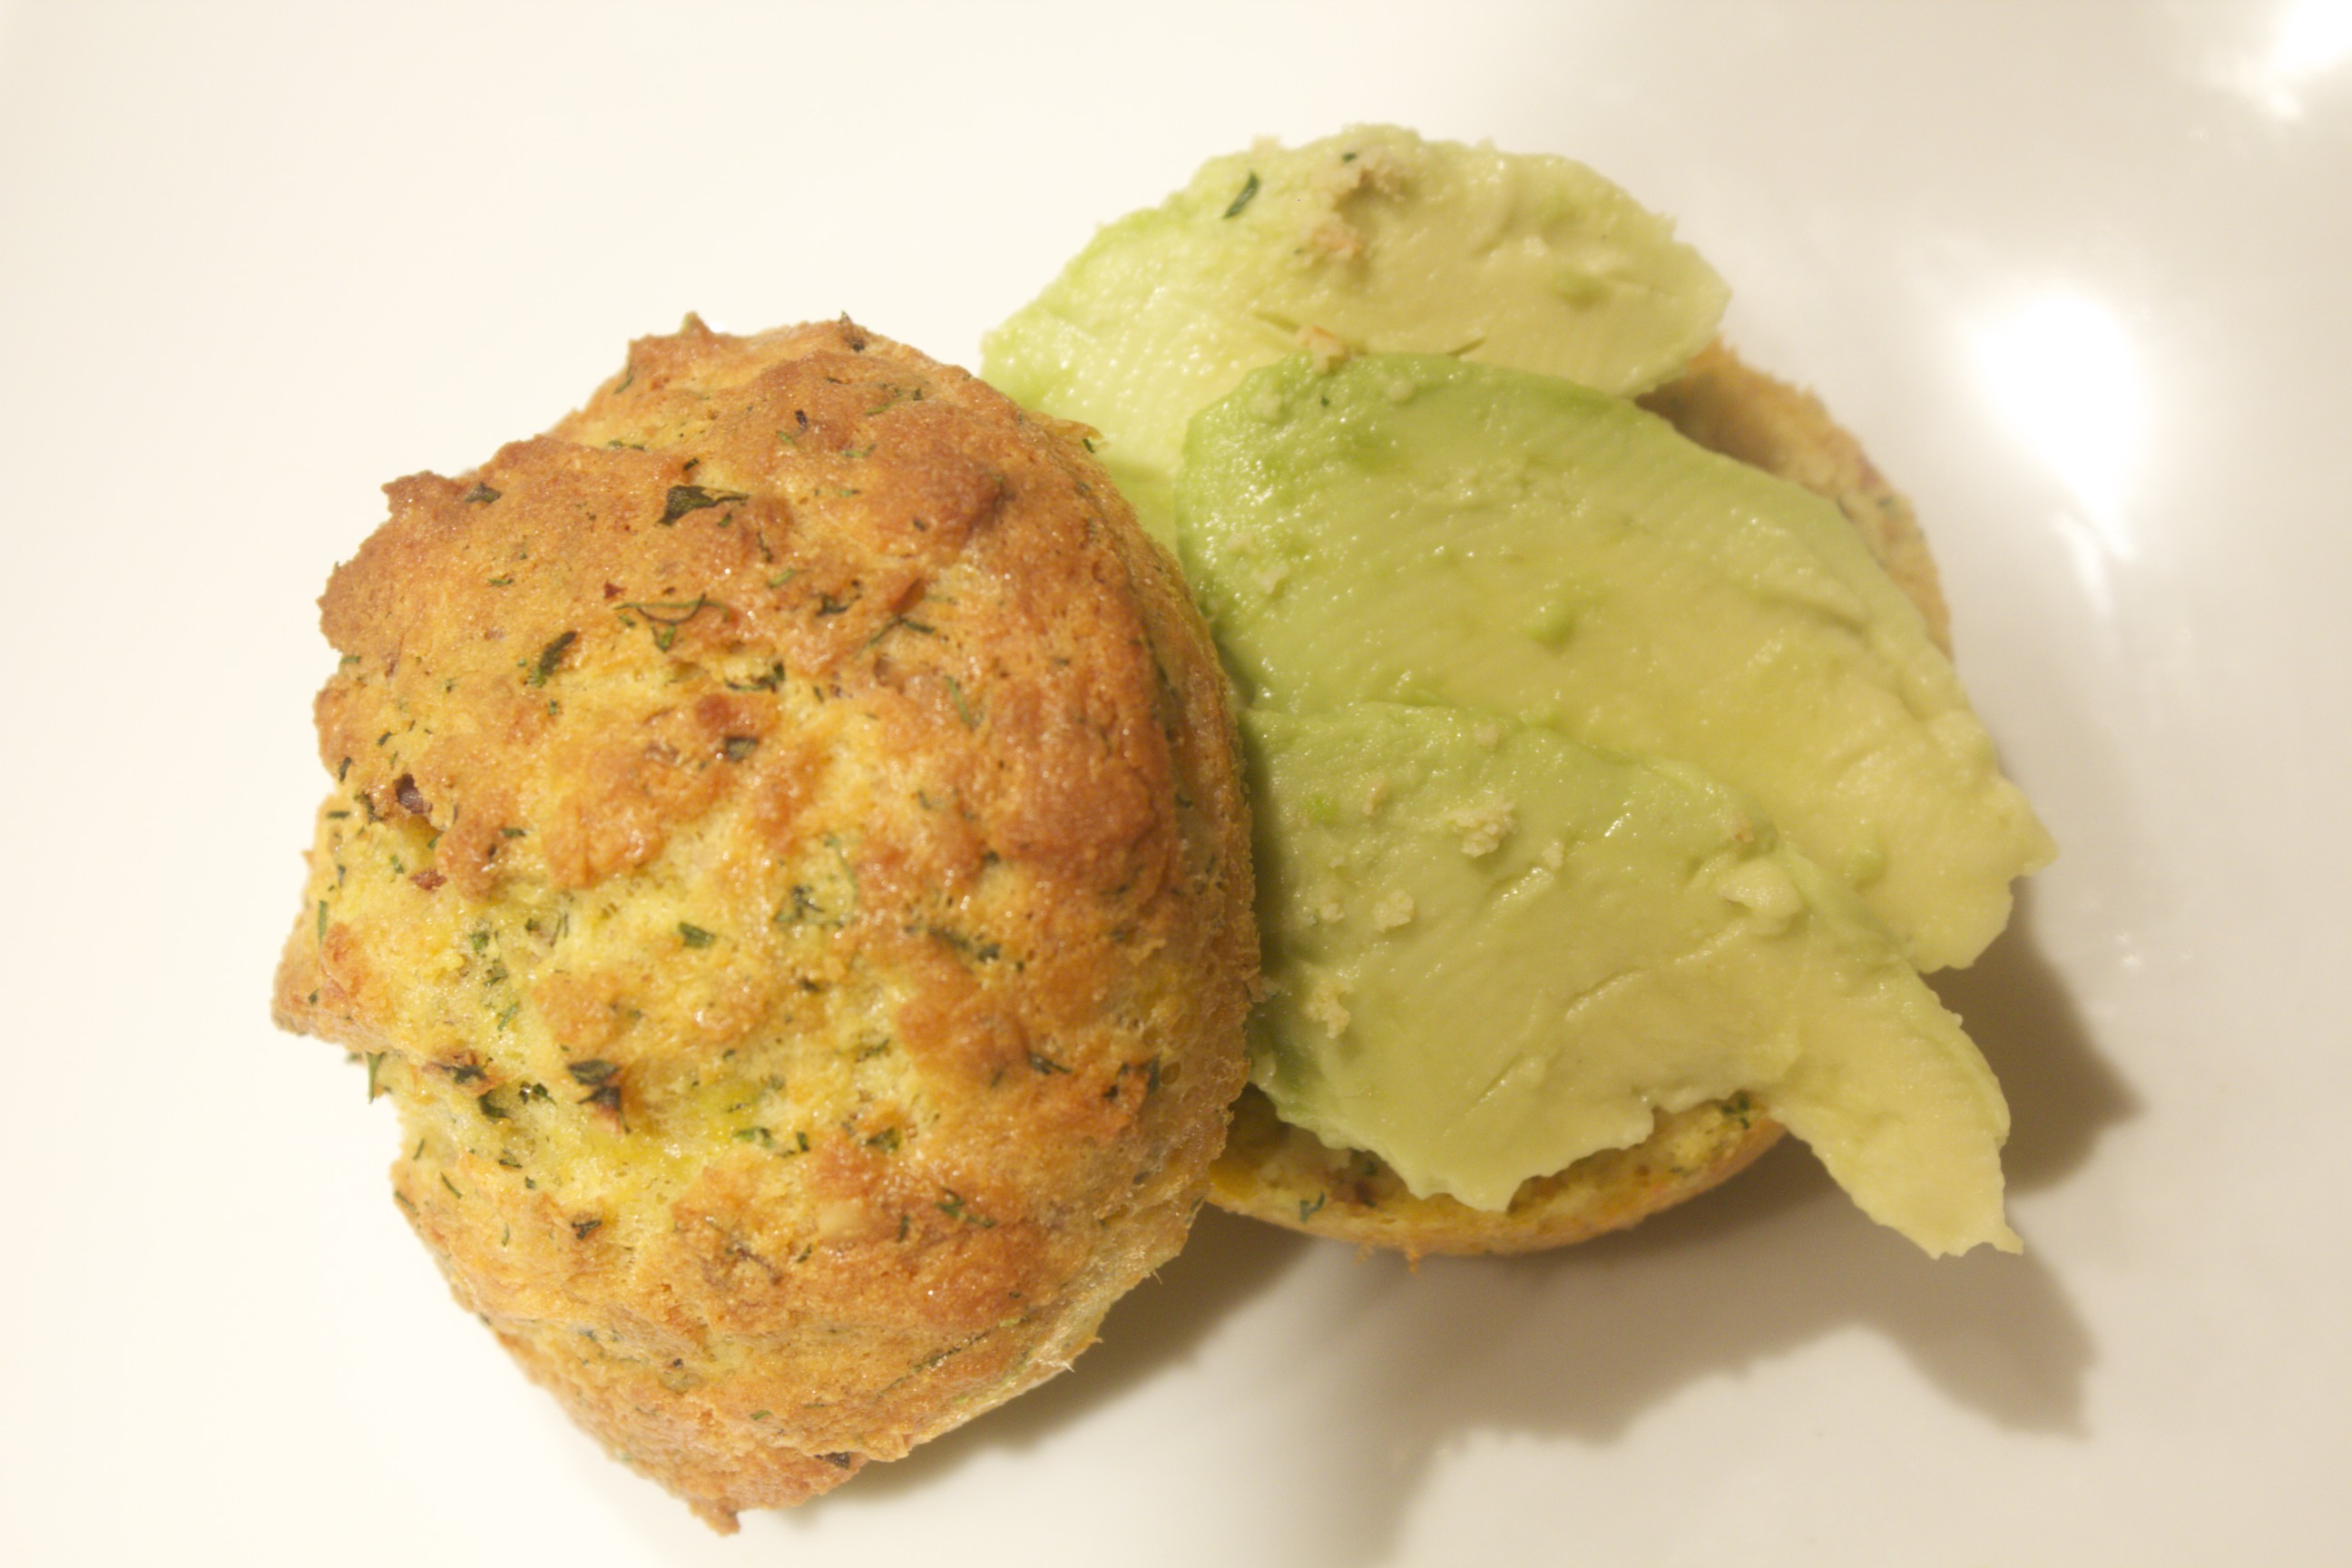 Savory Salmon-Coconut Muffins with Sliced Avocado Share on Facebook and Twitter | Breakfast, Health Tips, Uncategorized | No comments
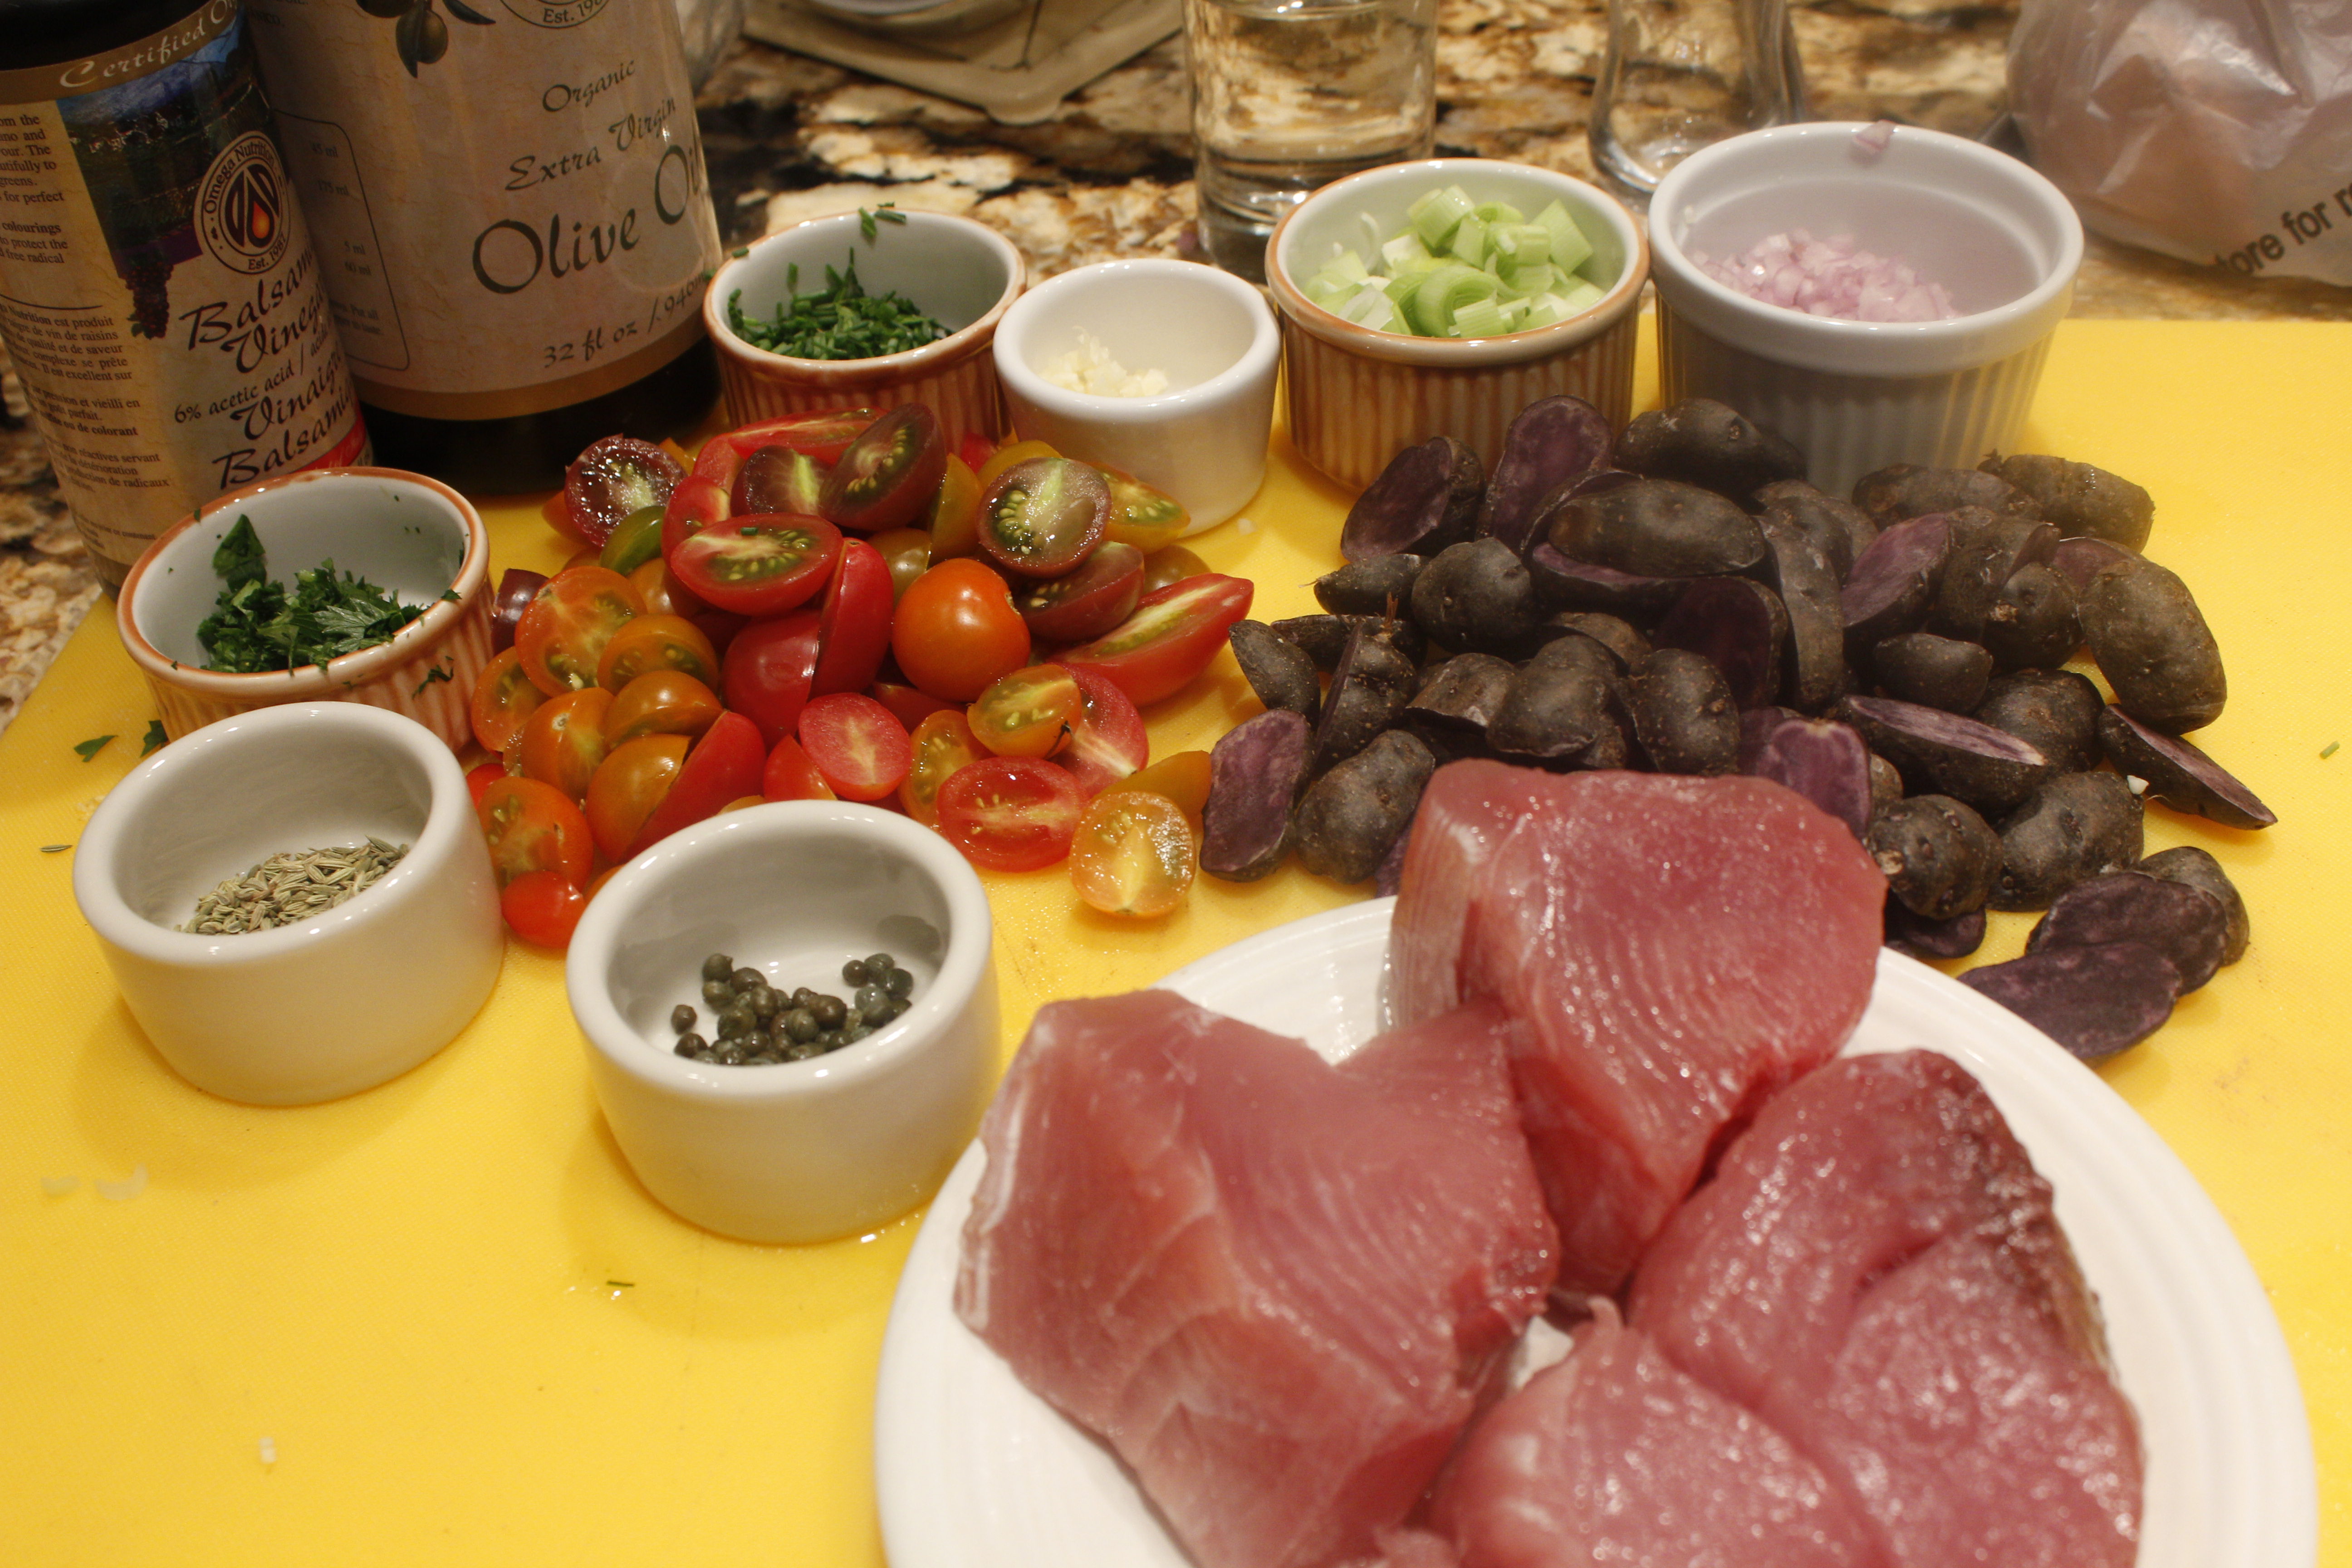
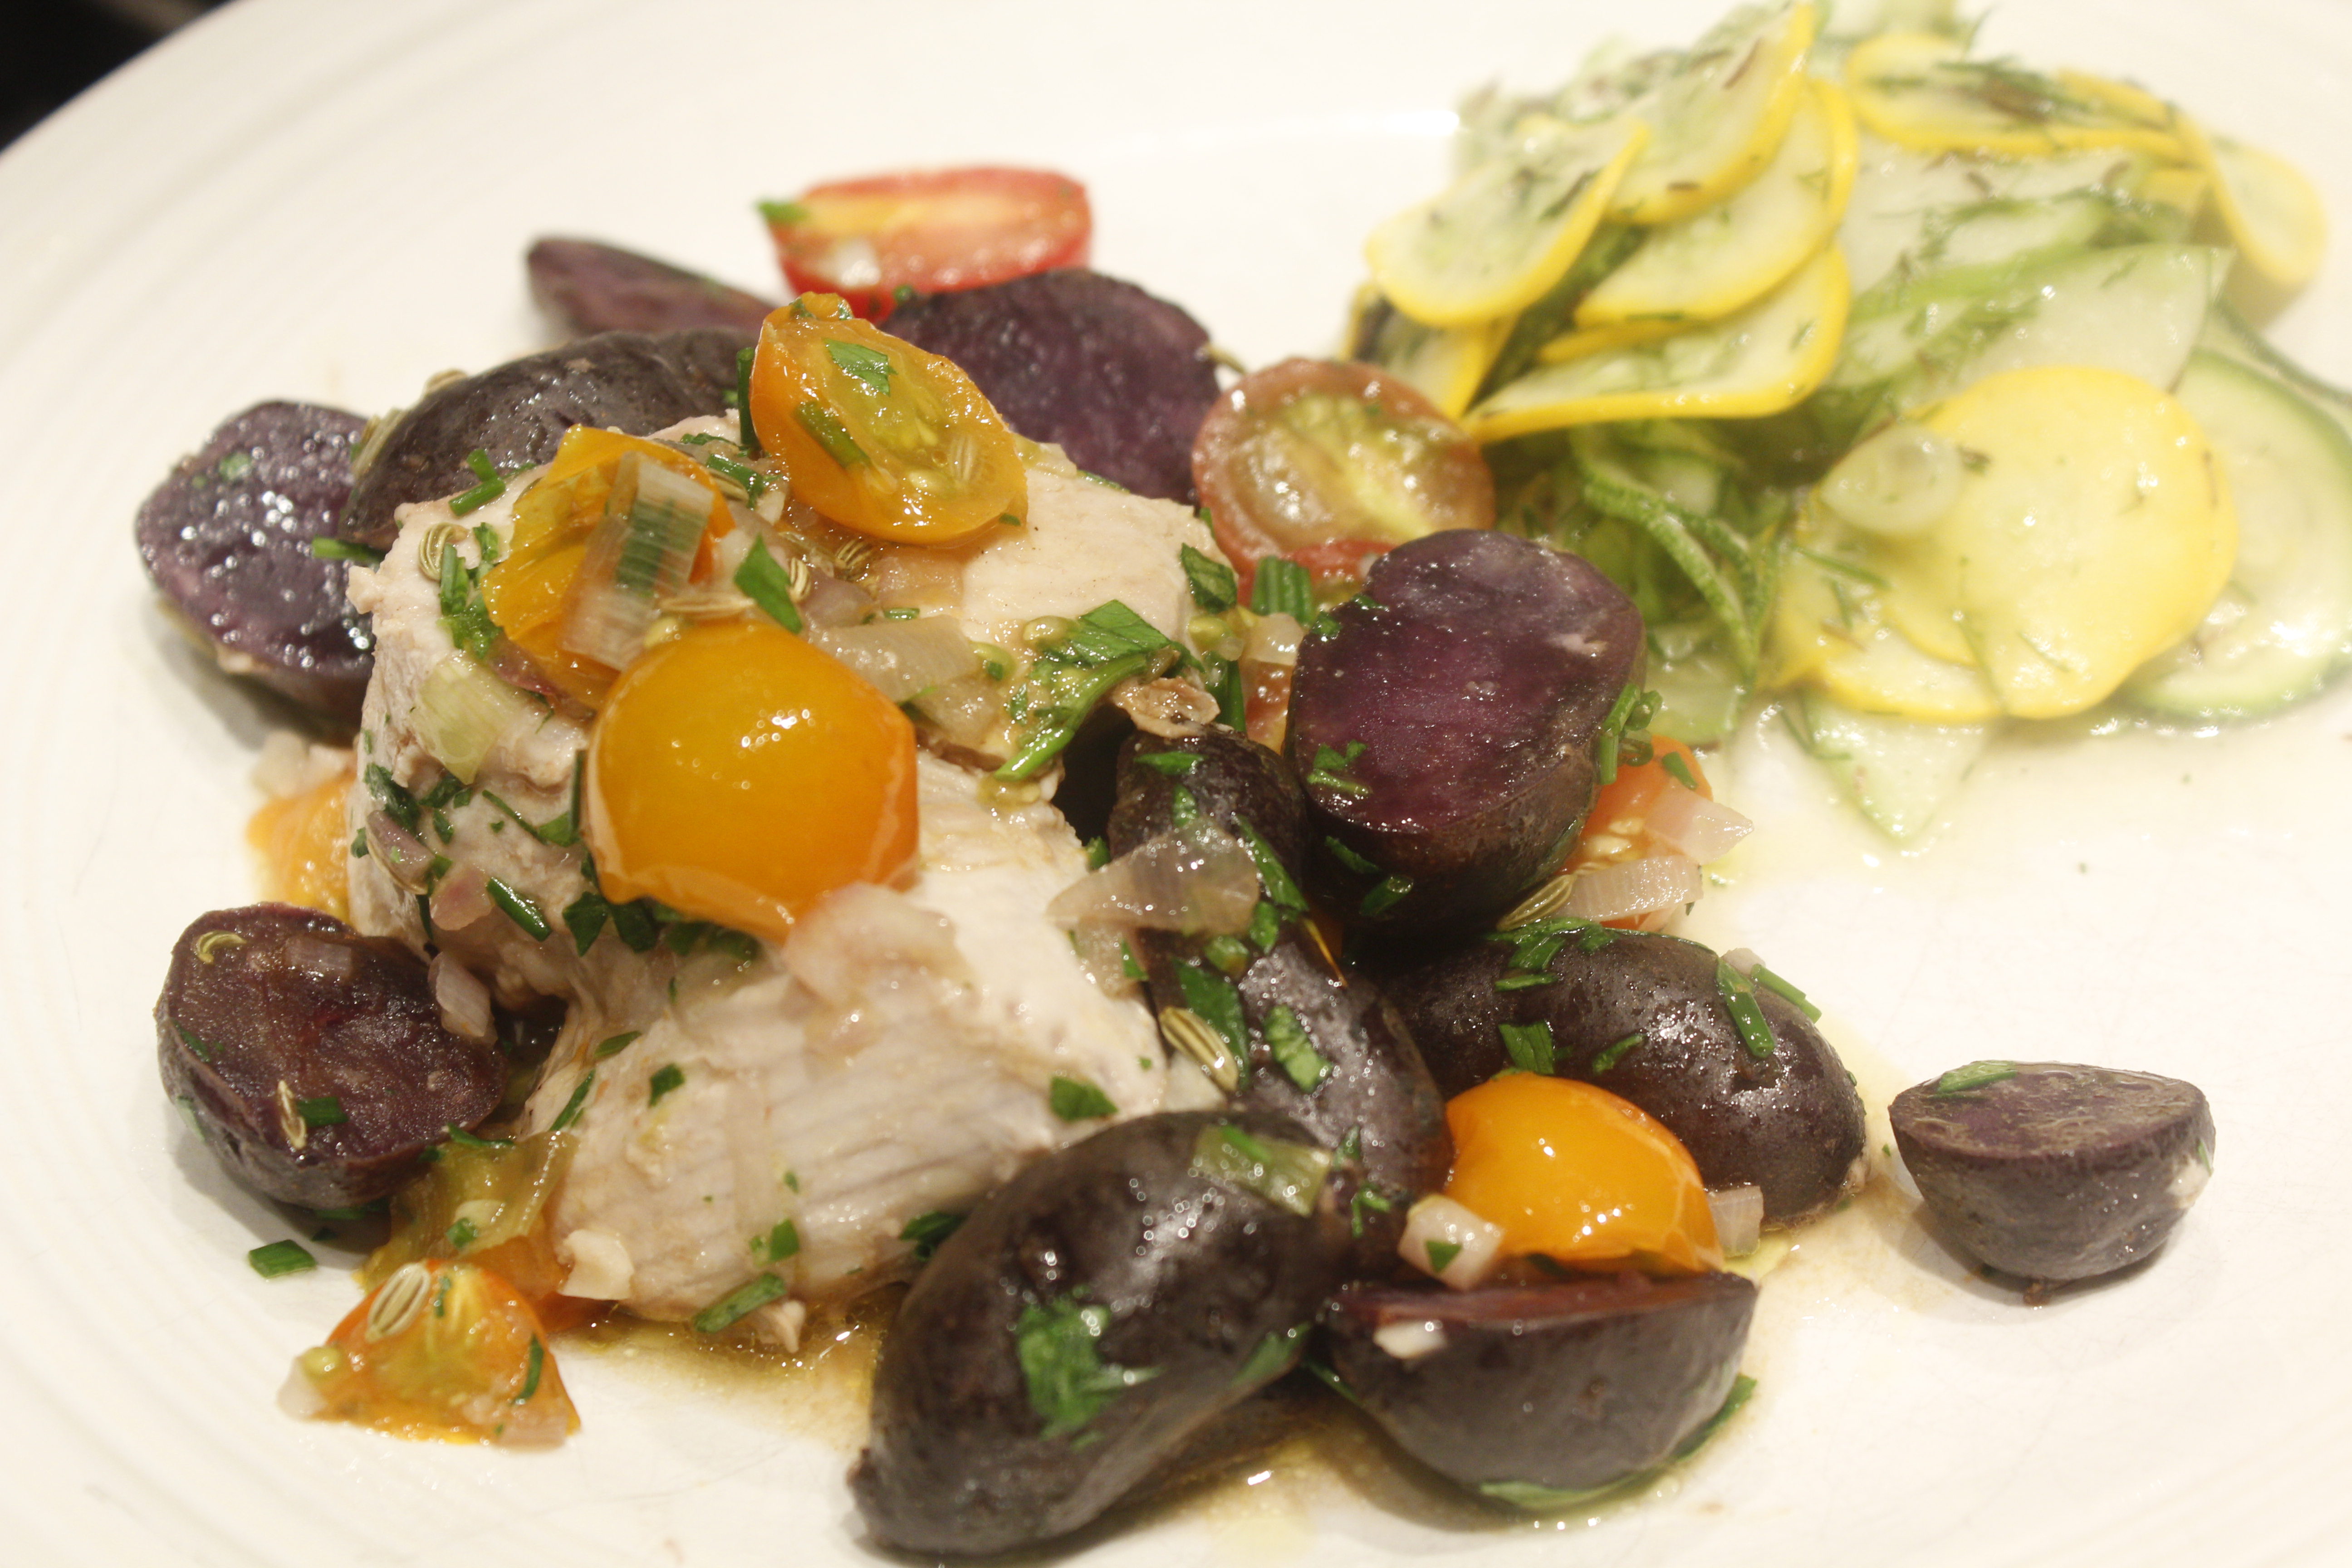
Sun-gold Tomatoes with Purple Peruvian Potatoes Recently, the greenmarket has had beautiful thick slabs of fresh tuna caught off the coast of Long Island. Bins of purple Peruvian potatoes have beckoned me as well. I love their appealing purple flesh and the fact that they are something like 40 times more nutritious than white potatoes. The summer sun gold tomatoes taste like candy, so I haven’t been able to resist buying scores of those. I started the dish in a large pan with a few leeks, then added the potatoes, and cooked the whole lot for about five minutes in a dollop of extra virgin olive oil. I then added the halved tomatoes, shallots, garlic, capers, balsamic vinegar, a bit more olive oil and the tuna. It took only four minutes to cook the dish. I then sprinkled the dish with chives and parsley before serving.
I served the tuna with a thinly shaved zucchini and apple salad with dill and black cumin. It was a delicious lunch!
What I’ve been cooking this week: Breakfast I’ll be teaching a workshop on traditional foods in March at the Natural Gourmet, which will include bone broths and lots of stuff to do with them, as well as lacto-ferments. I’ve been making loads of lacto-ferments lately, with ruby kraut and beet kvass being among my favorite. Here’s one of my go-to breakfasts that includes those two ferments as well as my favorite coconut muffins. These coconut muffins have a healthy amount of tumeric added to them, which serves to give them a vibrant yellow color as well as an anti-inflammatory boost. I split the muffins open, add a dollop of coconut oil and a slab of smoked salmon, and accompany it with the homemade ruby kraut (cabbage, caraway, carrots) and the beet kvass (beets that have fermented with whey, garlic, and ginger.) This is a light, energizing, vibrantly-colored breakfast. (All that deep pink!) To make beet kvass, all you have to do is chop up a beet, grate some ginger, and chop up a clove or two of garlic if desired and add it to a 2-quart jar. Add 1 cup whey (the liquid left when you drain yogurt over a cheesecloth-lined strainer), 1 tablespoon of a very good salt such as celtic, and fill the rest up with water. Leave a one-inch space at the top of the jar, seal the jar tightly, and ferment for 2 to 5 days on the counter. Transfer it to the refrigerator and leave for a couple of weeks. Then strain the liquid if you like and drink a few ounces a day. It will give you a great boost! 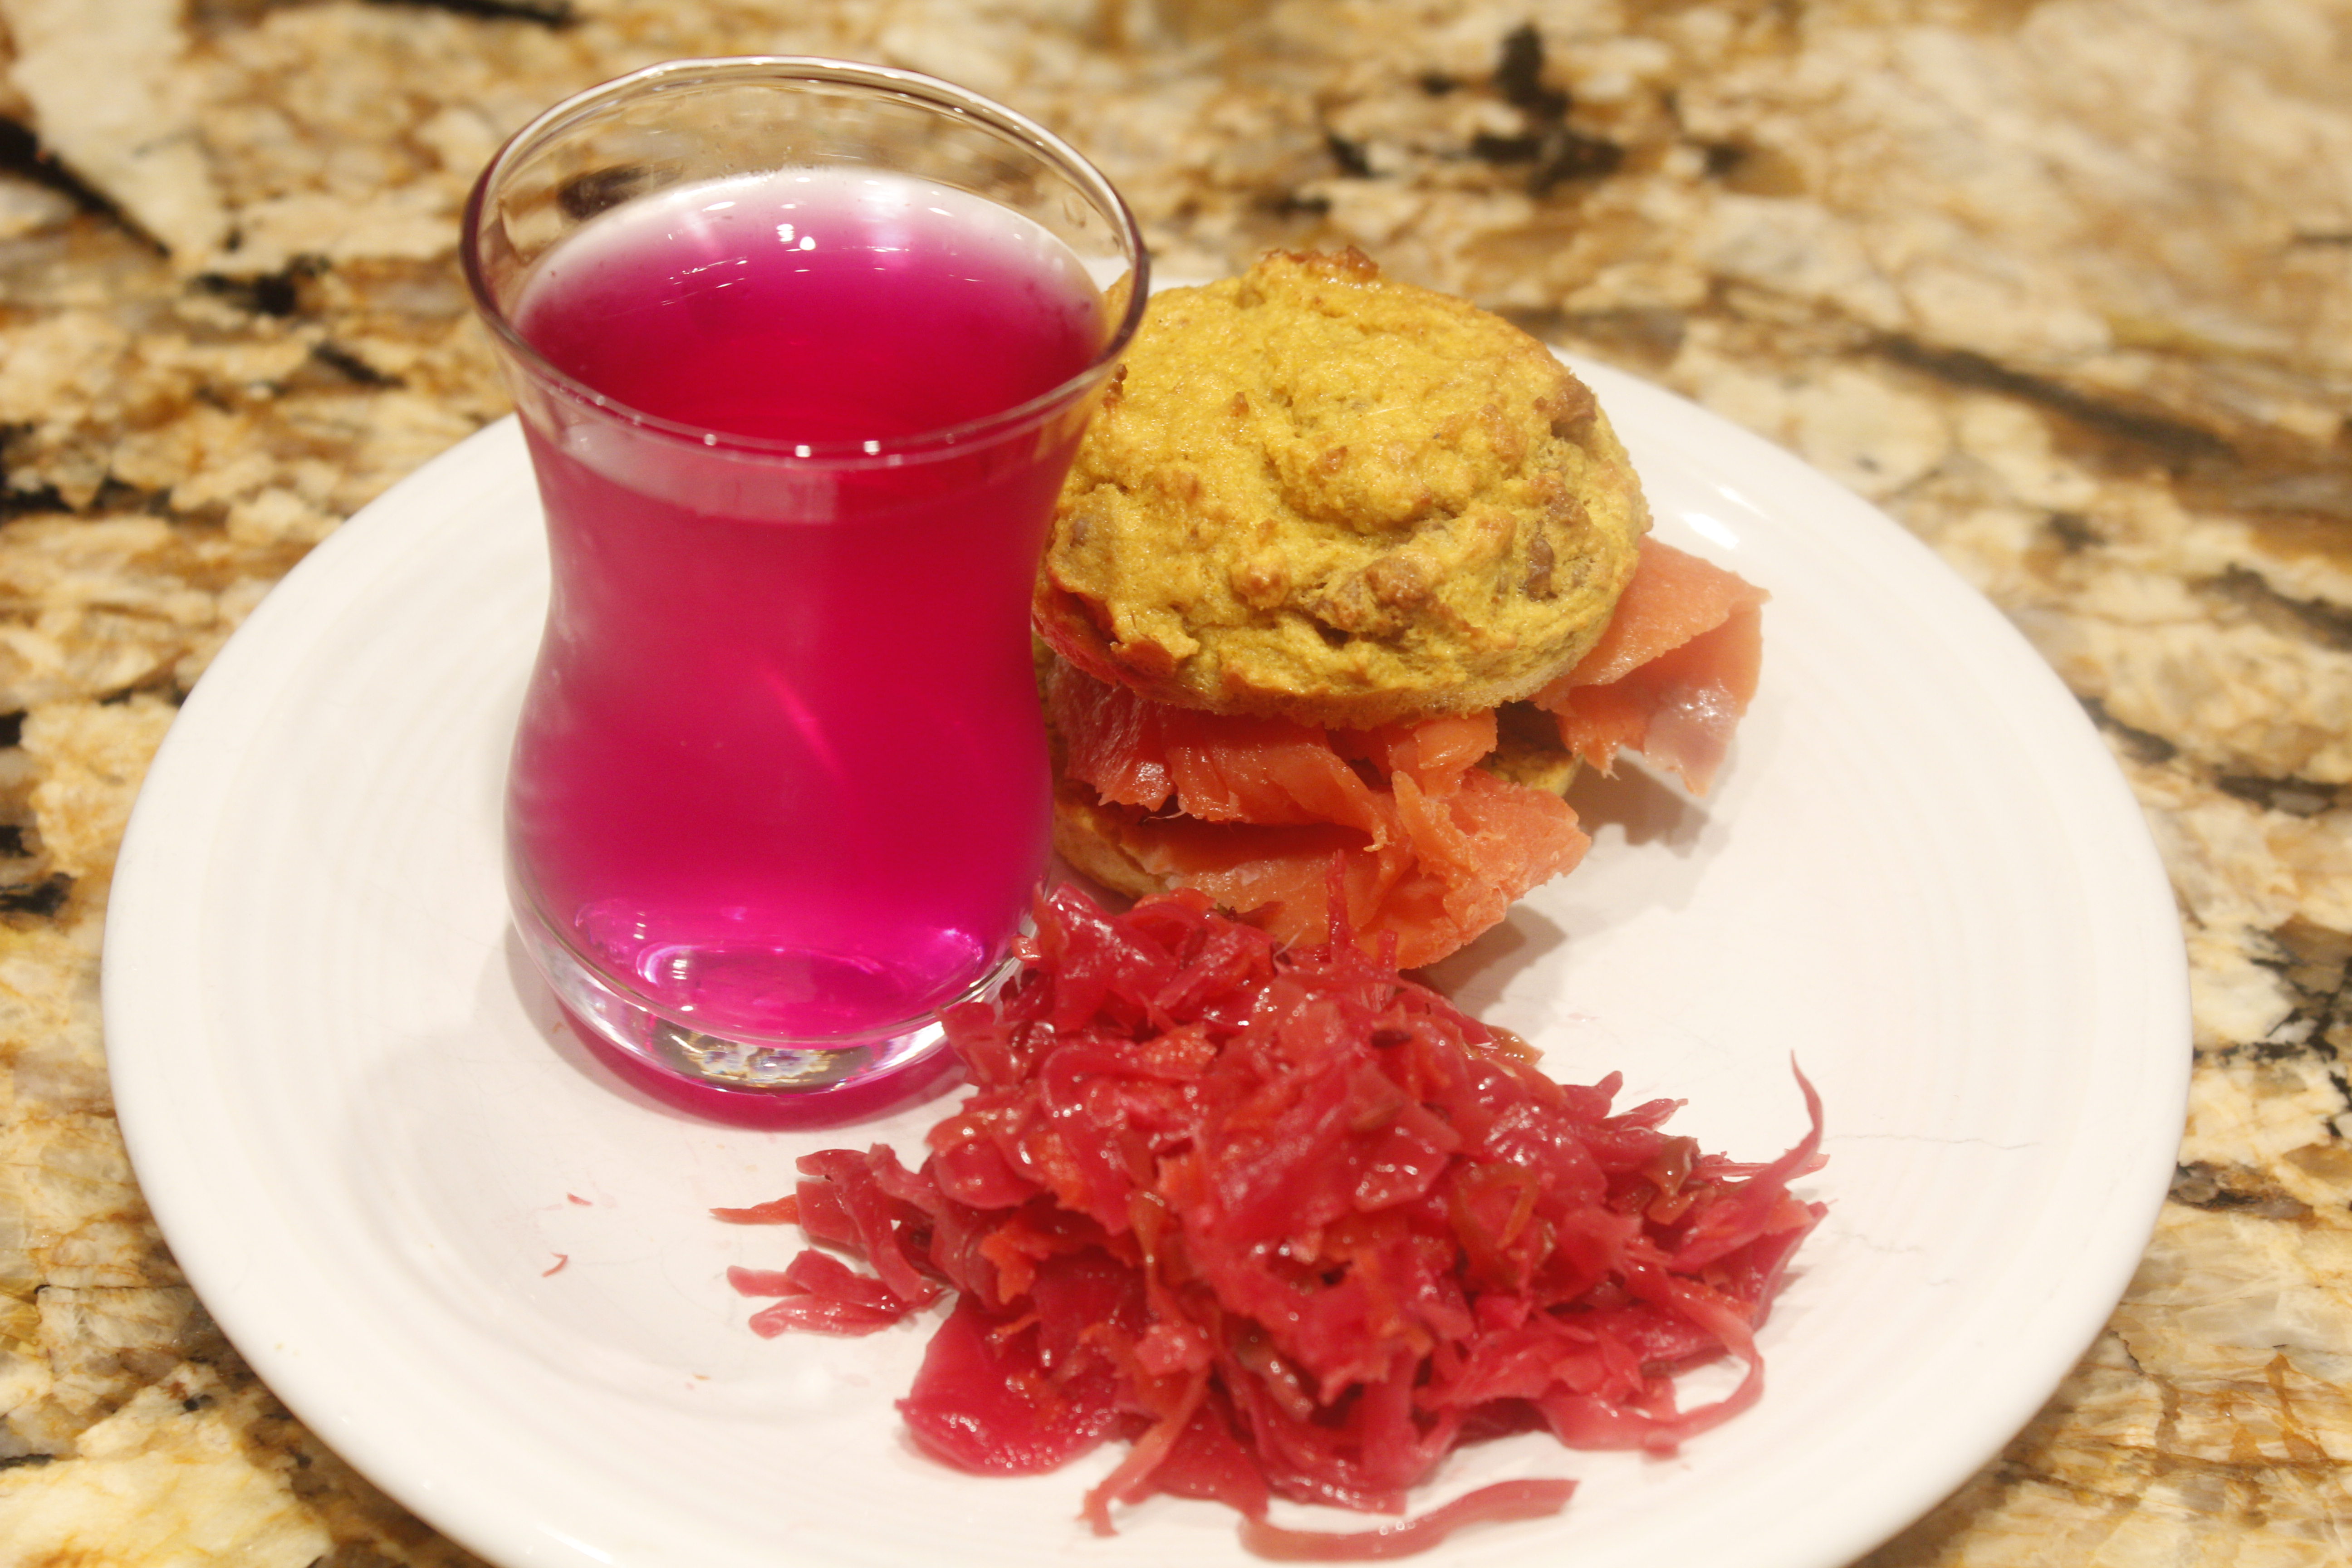 Coconut muffin with smoked salmon, ruby kraut, and beet kvass. Share on Facebook and Twitter | Beverages, Breakfast | No comments
Culinary Roulette Peppers The first time I tried a shishito pepper, I thought that they were unbearably hot. I didn’t know at the time that only about one in ten is hot, while the rest are mild and flavorful. This experience kept me away from these delicious peppers for a good couple of years, until I was seduced by the gorgeous overflowing bins at the Union Square greenmarket. Fortunately, I finally gave them another try, and have been happily eating them ever since. Not only do shishito peppers abound right now, there are another two varieties similar enough that they can be treated the same way. Here’s the rundown on the different types: There’s the shishito pepper, which are very aromatic. They have little ridges. 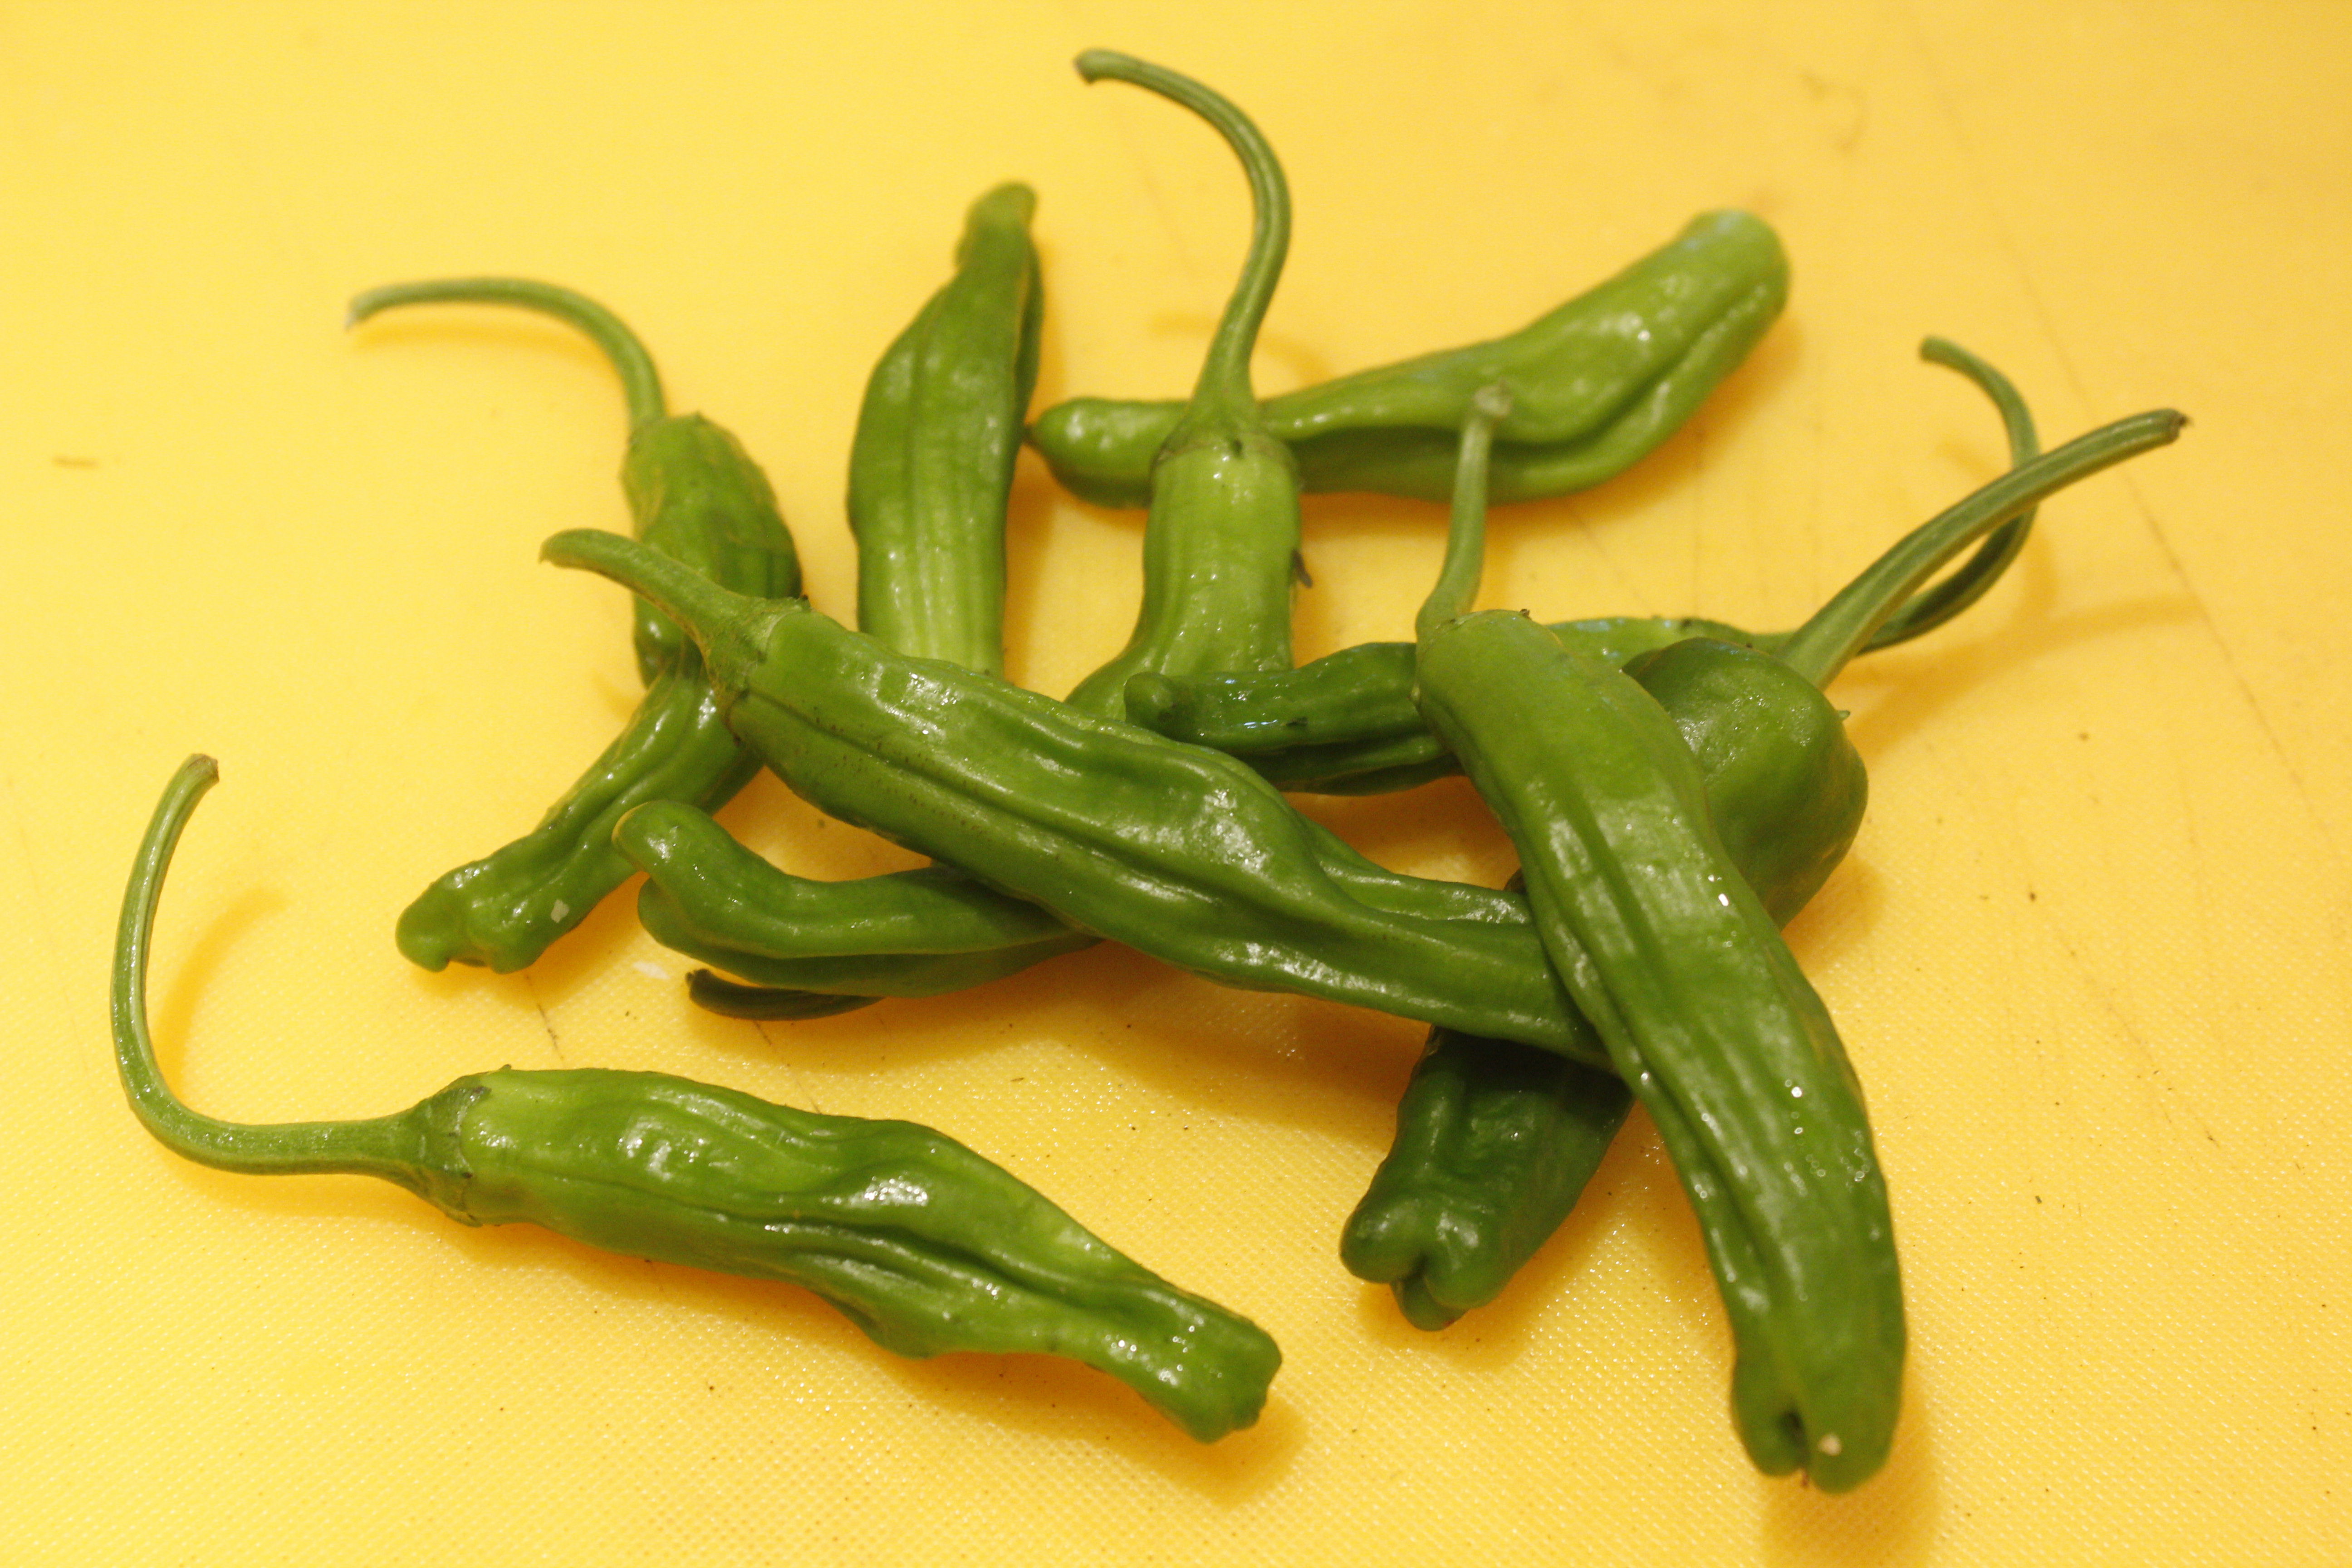 Shishito Peppers A pepper that competes with the shishitos is the Fushimi pepper. They have an even crispier skin and texture. You can eat these raw as well as cooked.  Fushimi Pepper Another squatter horn-shaped pepper with similar characteristics is the Pimento de Padrón, the heirloom variety from Spain. 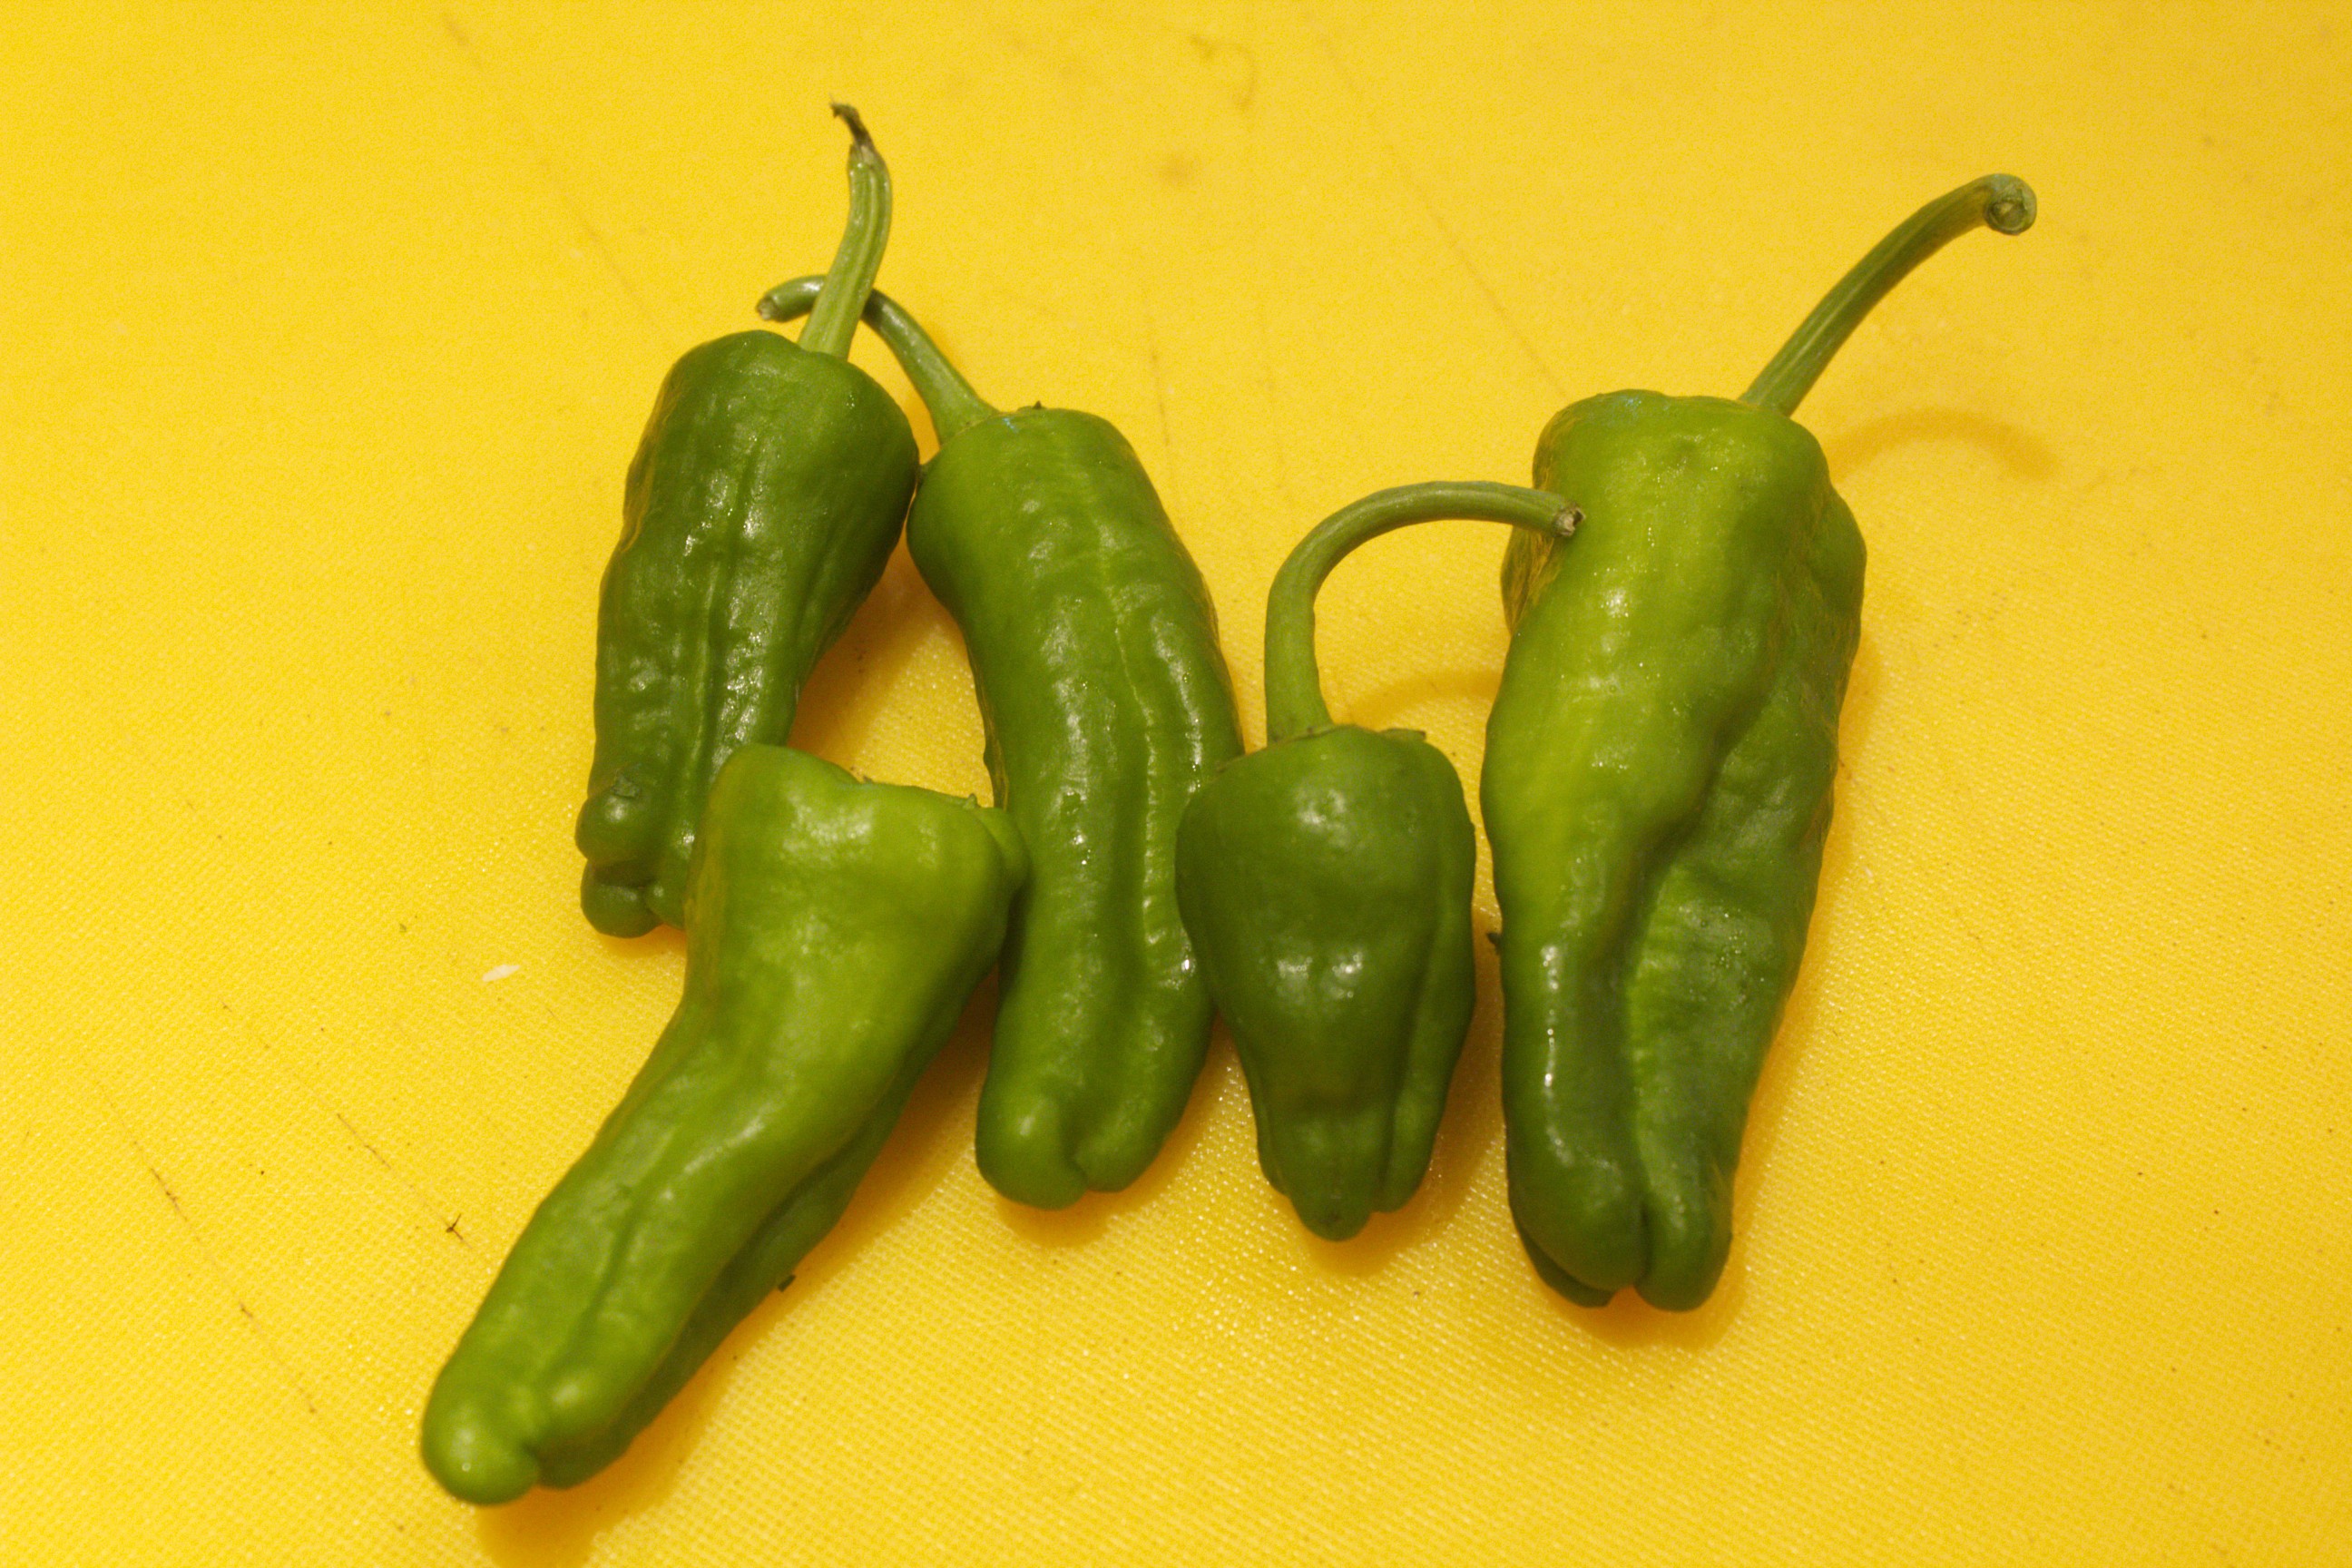 Pimento de Padrón All of the peppers have a lot of health benefits: high levels of vitamin A and C and carotenoids like lutein, which is helpful for maintaing healthy hair and skin, as well as providing resistance to colds. These retain their vitamins when they are pickled as well. My favorite way to cook all of these peppers is to toss them into a hot skillet that is filmed with oil and simply blister them. I then toss them with a course salt. Lately, I’ve been tossing them with lapsong souchong salt, so they have a delicious smokey tea flavor. 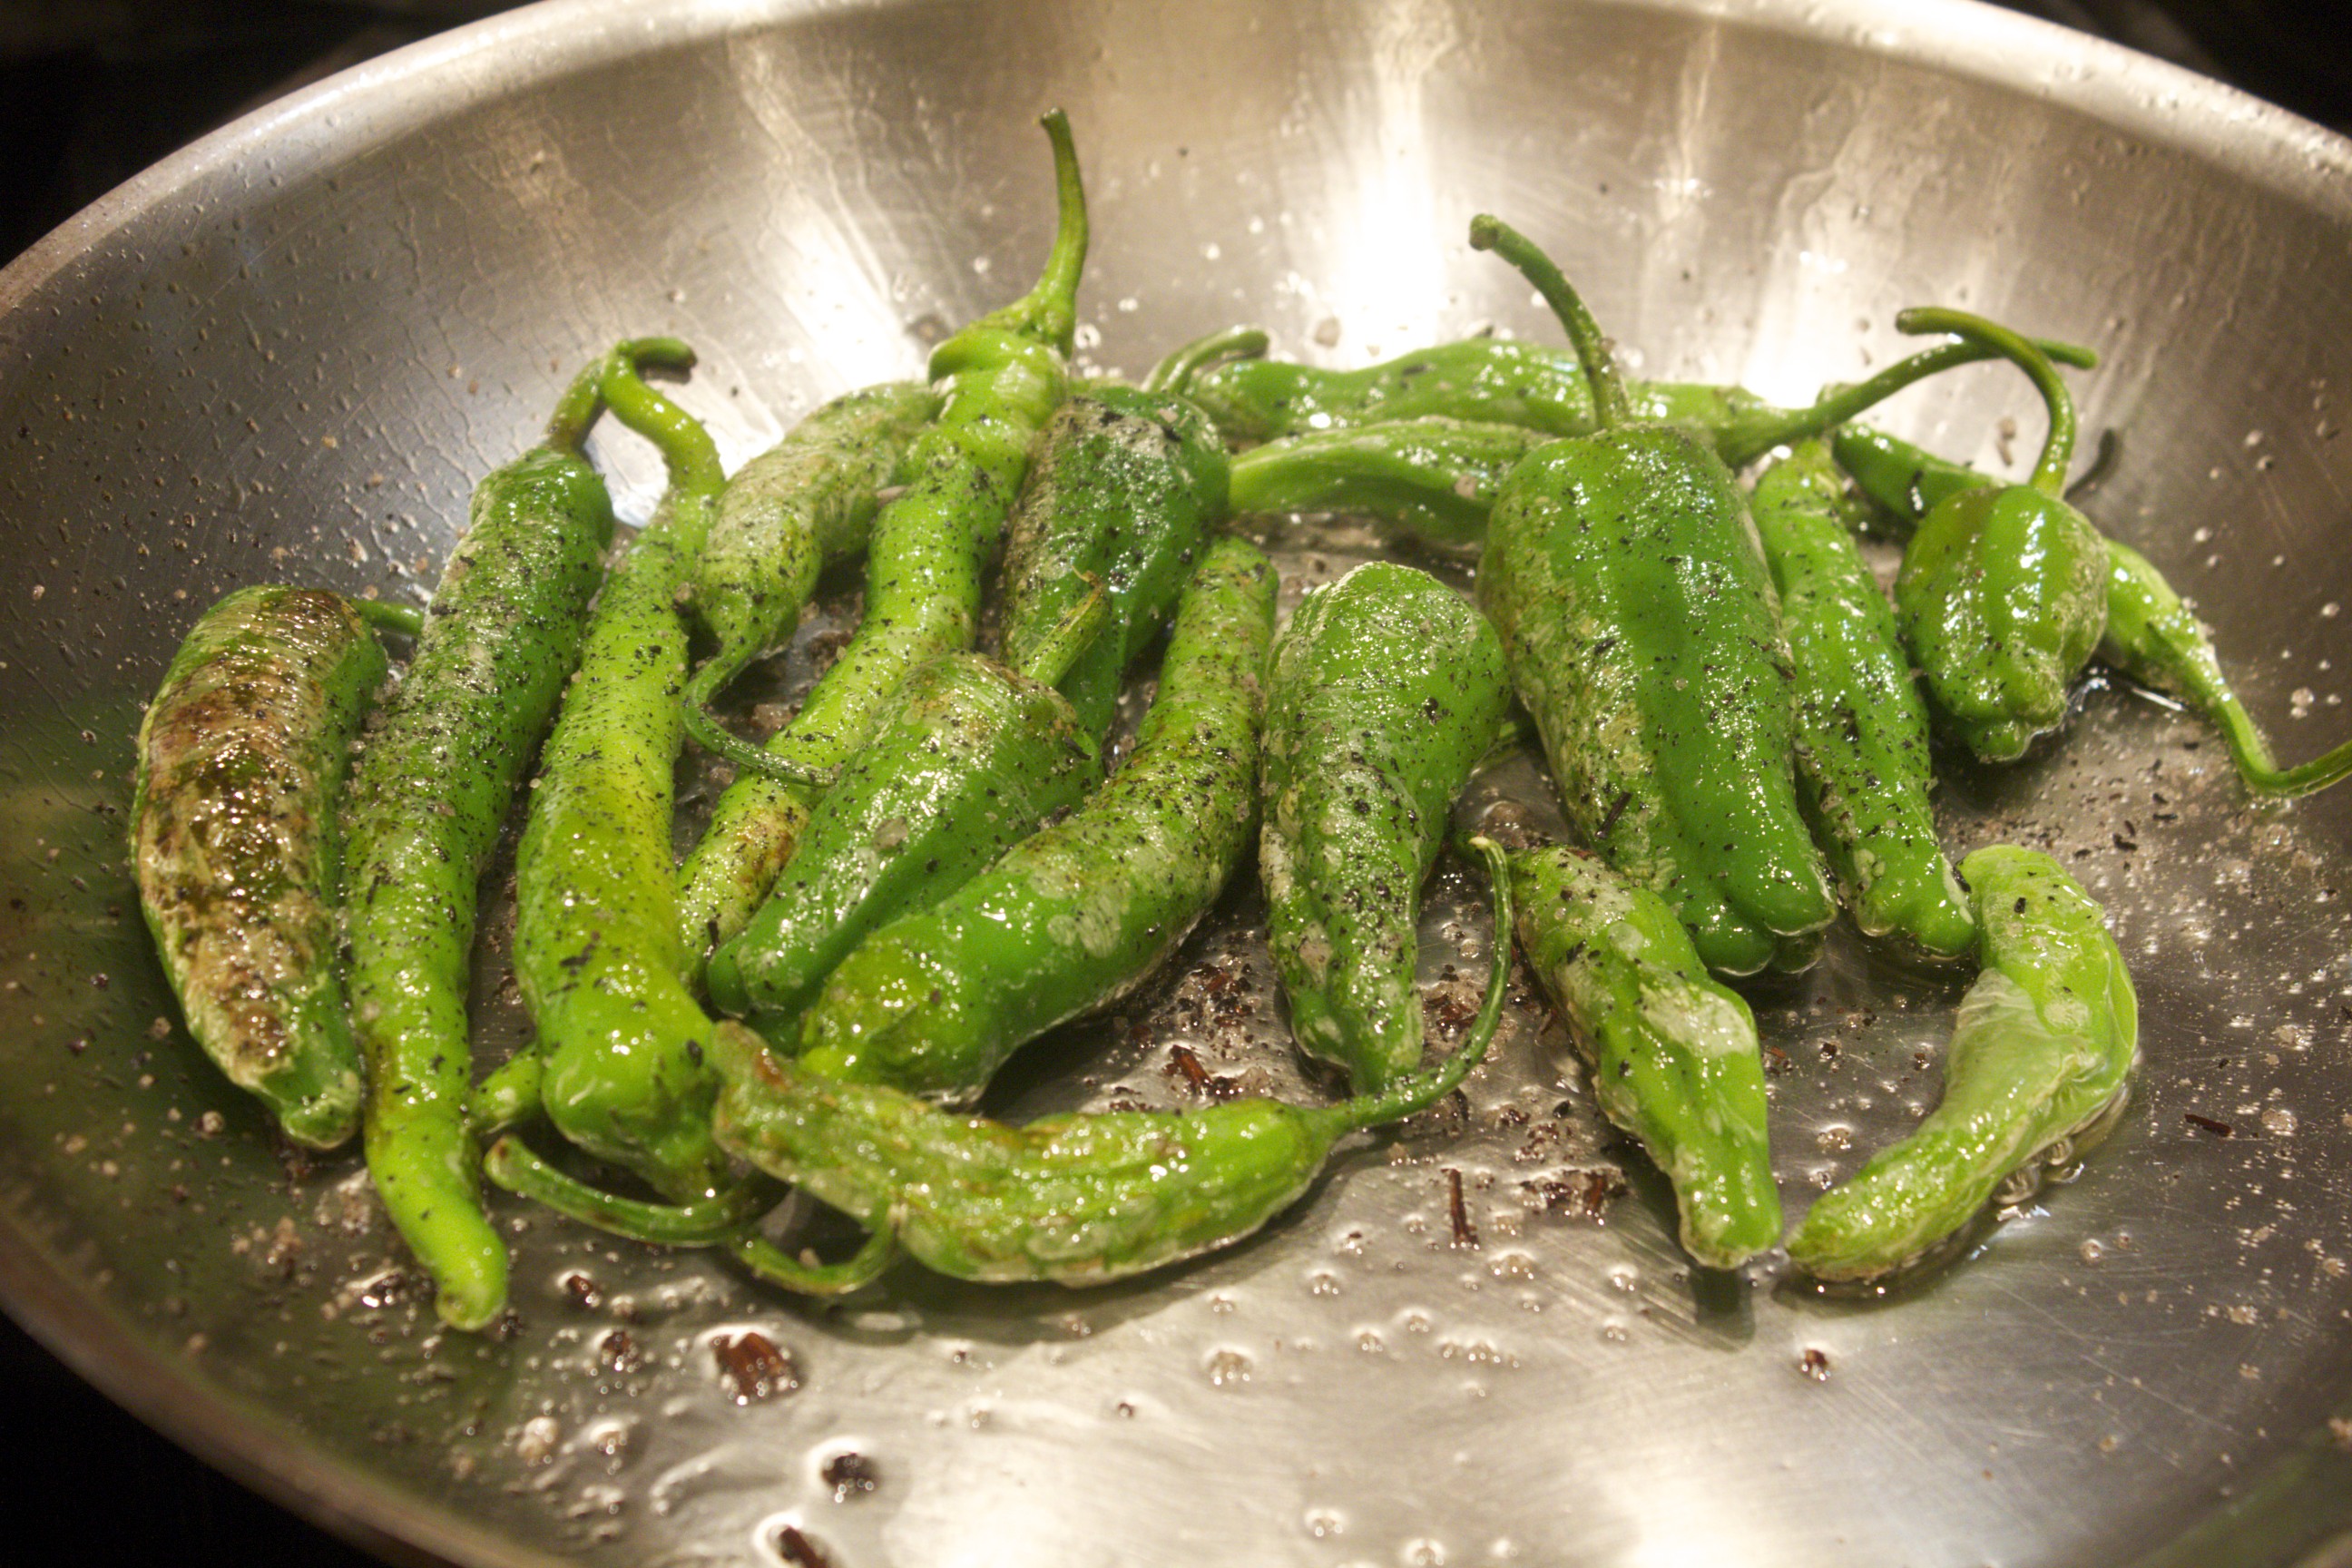 Blistered Peppers For more ideas on exciting salts, visit The Filling Station in Chelsea Market, where you can choose from a variety of flavored coarse salts. All of these peppers make for an exciting game of culinary roulette. I like to serve these to guests sitting around the table and watch their faces as they eat them. Since most of the peppers are sweet and mild, it’s a bit of a surprise when you get that one zinger in ten that is picante. Proceed with caution, and take a small first bite! Share on Facebook and Twitter | Health Tips, Side Dishes, Vegetables | No comments
Stress-Free Entertaining Last week I taught a class in stress-free entertaining. The night before I made food for a party of six with this concept in mind. While hassle-free entertaining might seem difficult to achieve, it is more than possible during the summer. The key is designing a room temperature menu. Nothing has to be juggled on the burners or in the oven at the last minute. Each dish is laid out on a serving dish, making the meal look like an extravagant antipasto bar. You can go over the top and make a huge variety of dishes, like I did for the party the night before my class. This kind of menu lends itself to easy transport as well. Happily, all the dishes packed up well. When they were all laid out on serving dishes, the guests were astounded and delighted at the variety (and of course the flavors!). Here’s some of what was included in the two nights: Poached salmon: Salmon is in season from May through October and well-priced wild Alaskan salmon is readily available. On Wednesday night I poached steaks in a cort bouillion of onions, leeks, carrots, celery, white wine, sliced lemon, thyme, parsley, peppercorns, and bay leaf. I cooked the stock for 25 minutes, then poached the steaks for 10. I served them with the mustard-dill-cucumber sauce from The Healthy Hedonist. We made this in class as well, only we sliced thick fillets into 1-inch pieces, and rolled them into even rounds that we tied with strings.  Poached Salmon Steaks Roasted Cauliflower with Fennel and Garlic Cloves. I used a variety of white and bright yellow cauliflower.  Roasted Cauliflower with Fennel and Garlic One basic crowd-pleaser was heirloom tomatoes with sliced fresh mozzarella with basil chiffonade, balsamic and olive oil. 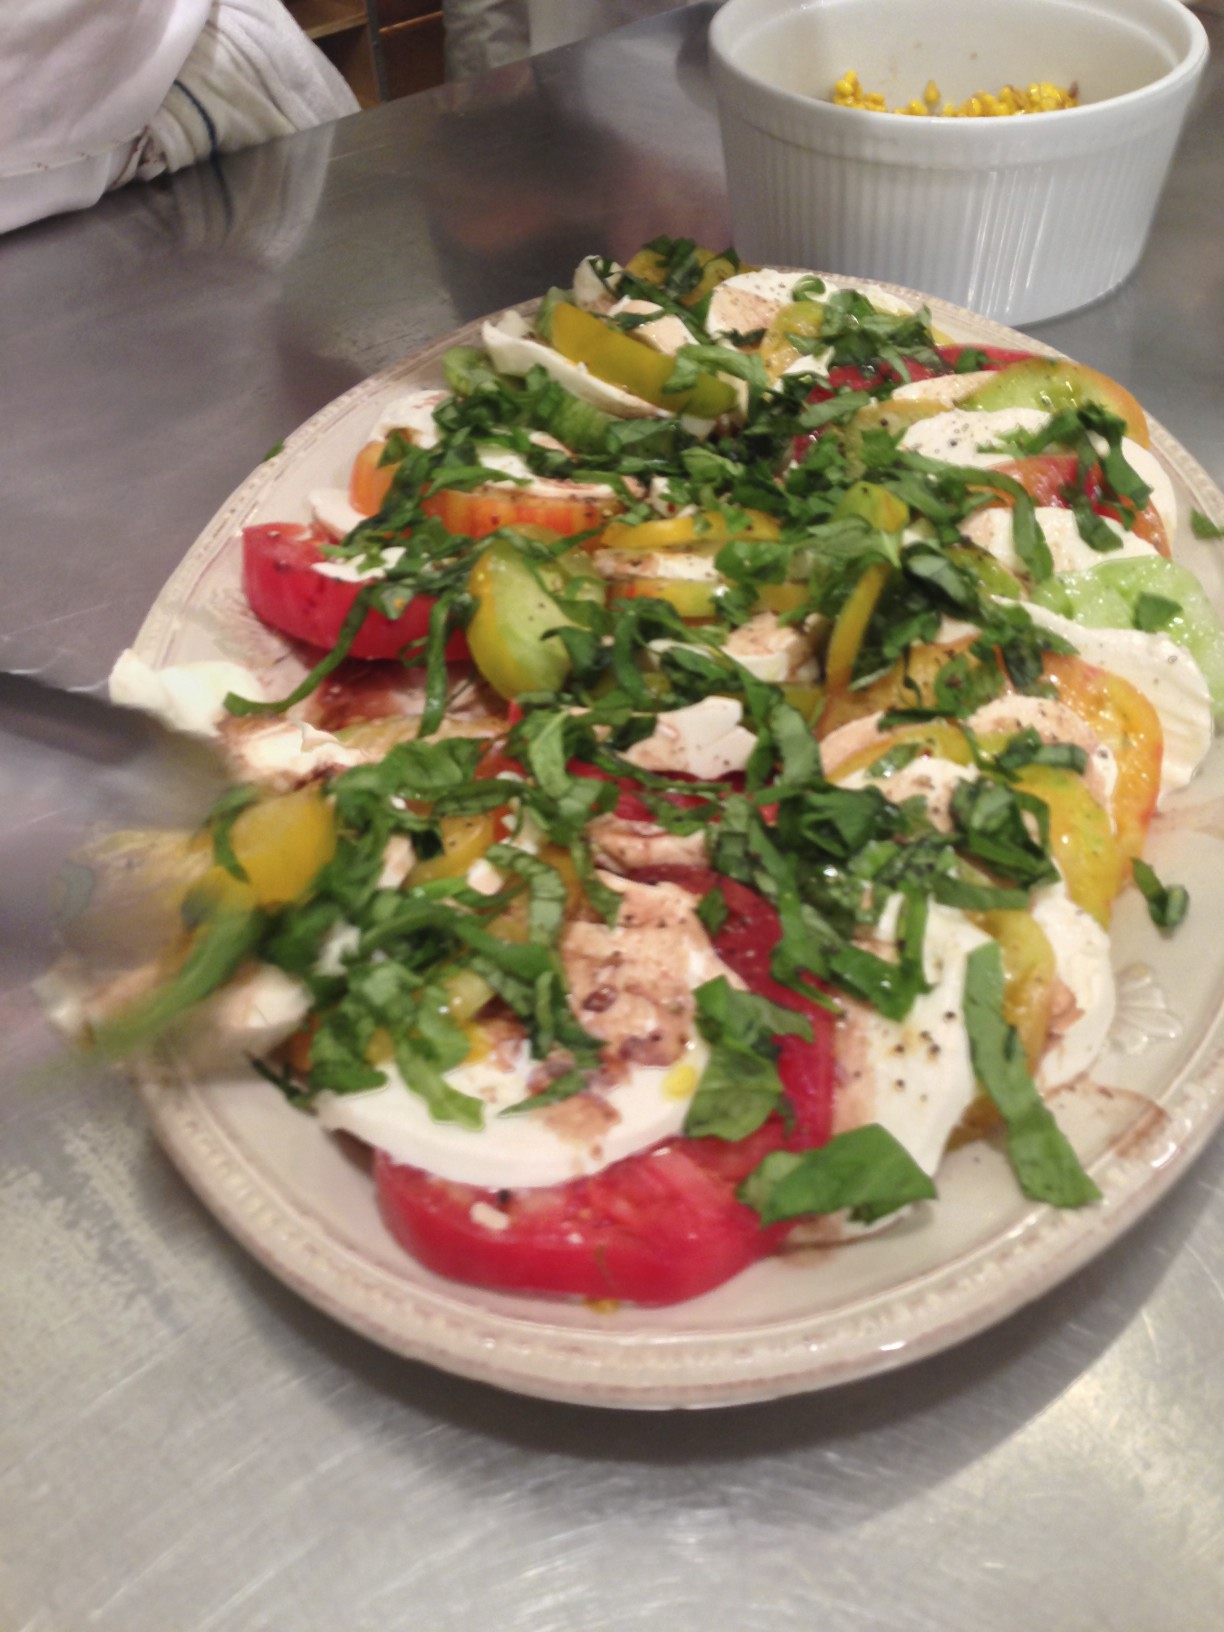 Mozarella and Tomatoes with Basil Beets with fig-balsamic vinegar, walnuts, and purslane.  Beets with Fig Balsamic, Walnuts, and Purslane Sautéed shallots and corn, pan deglazed with balsamic vinegar.  Sautéed Corn and Shallots with Balsamic Vinegar Marinated roasted red peppers with anchovy breadcrumbs.
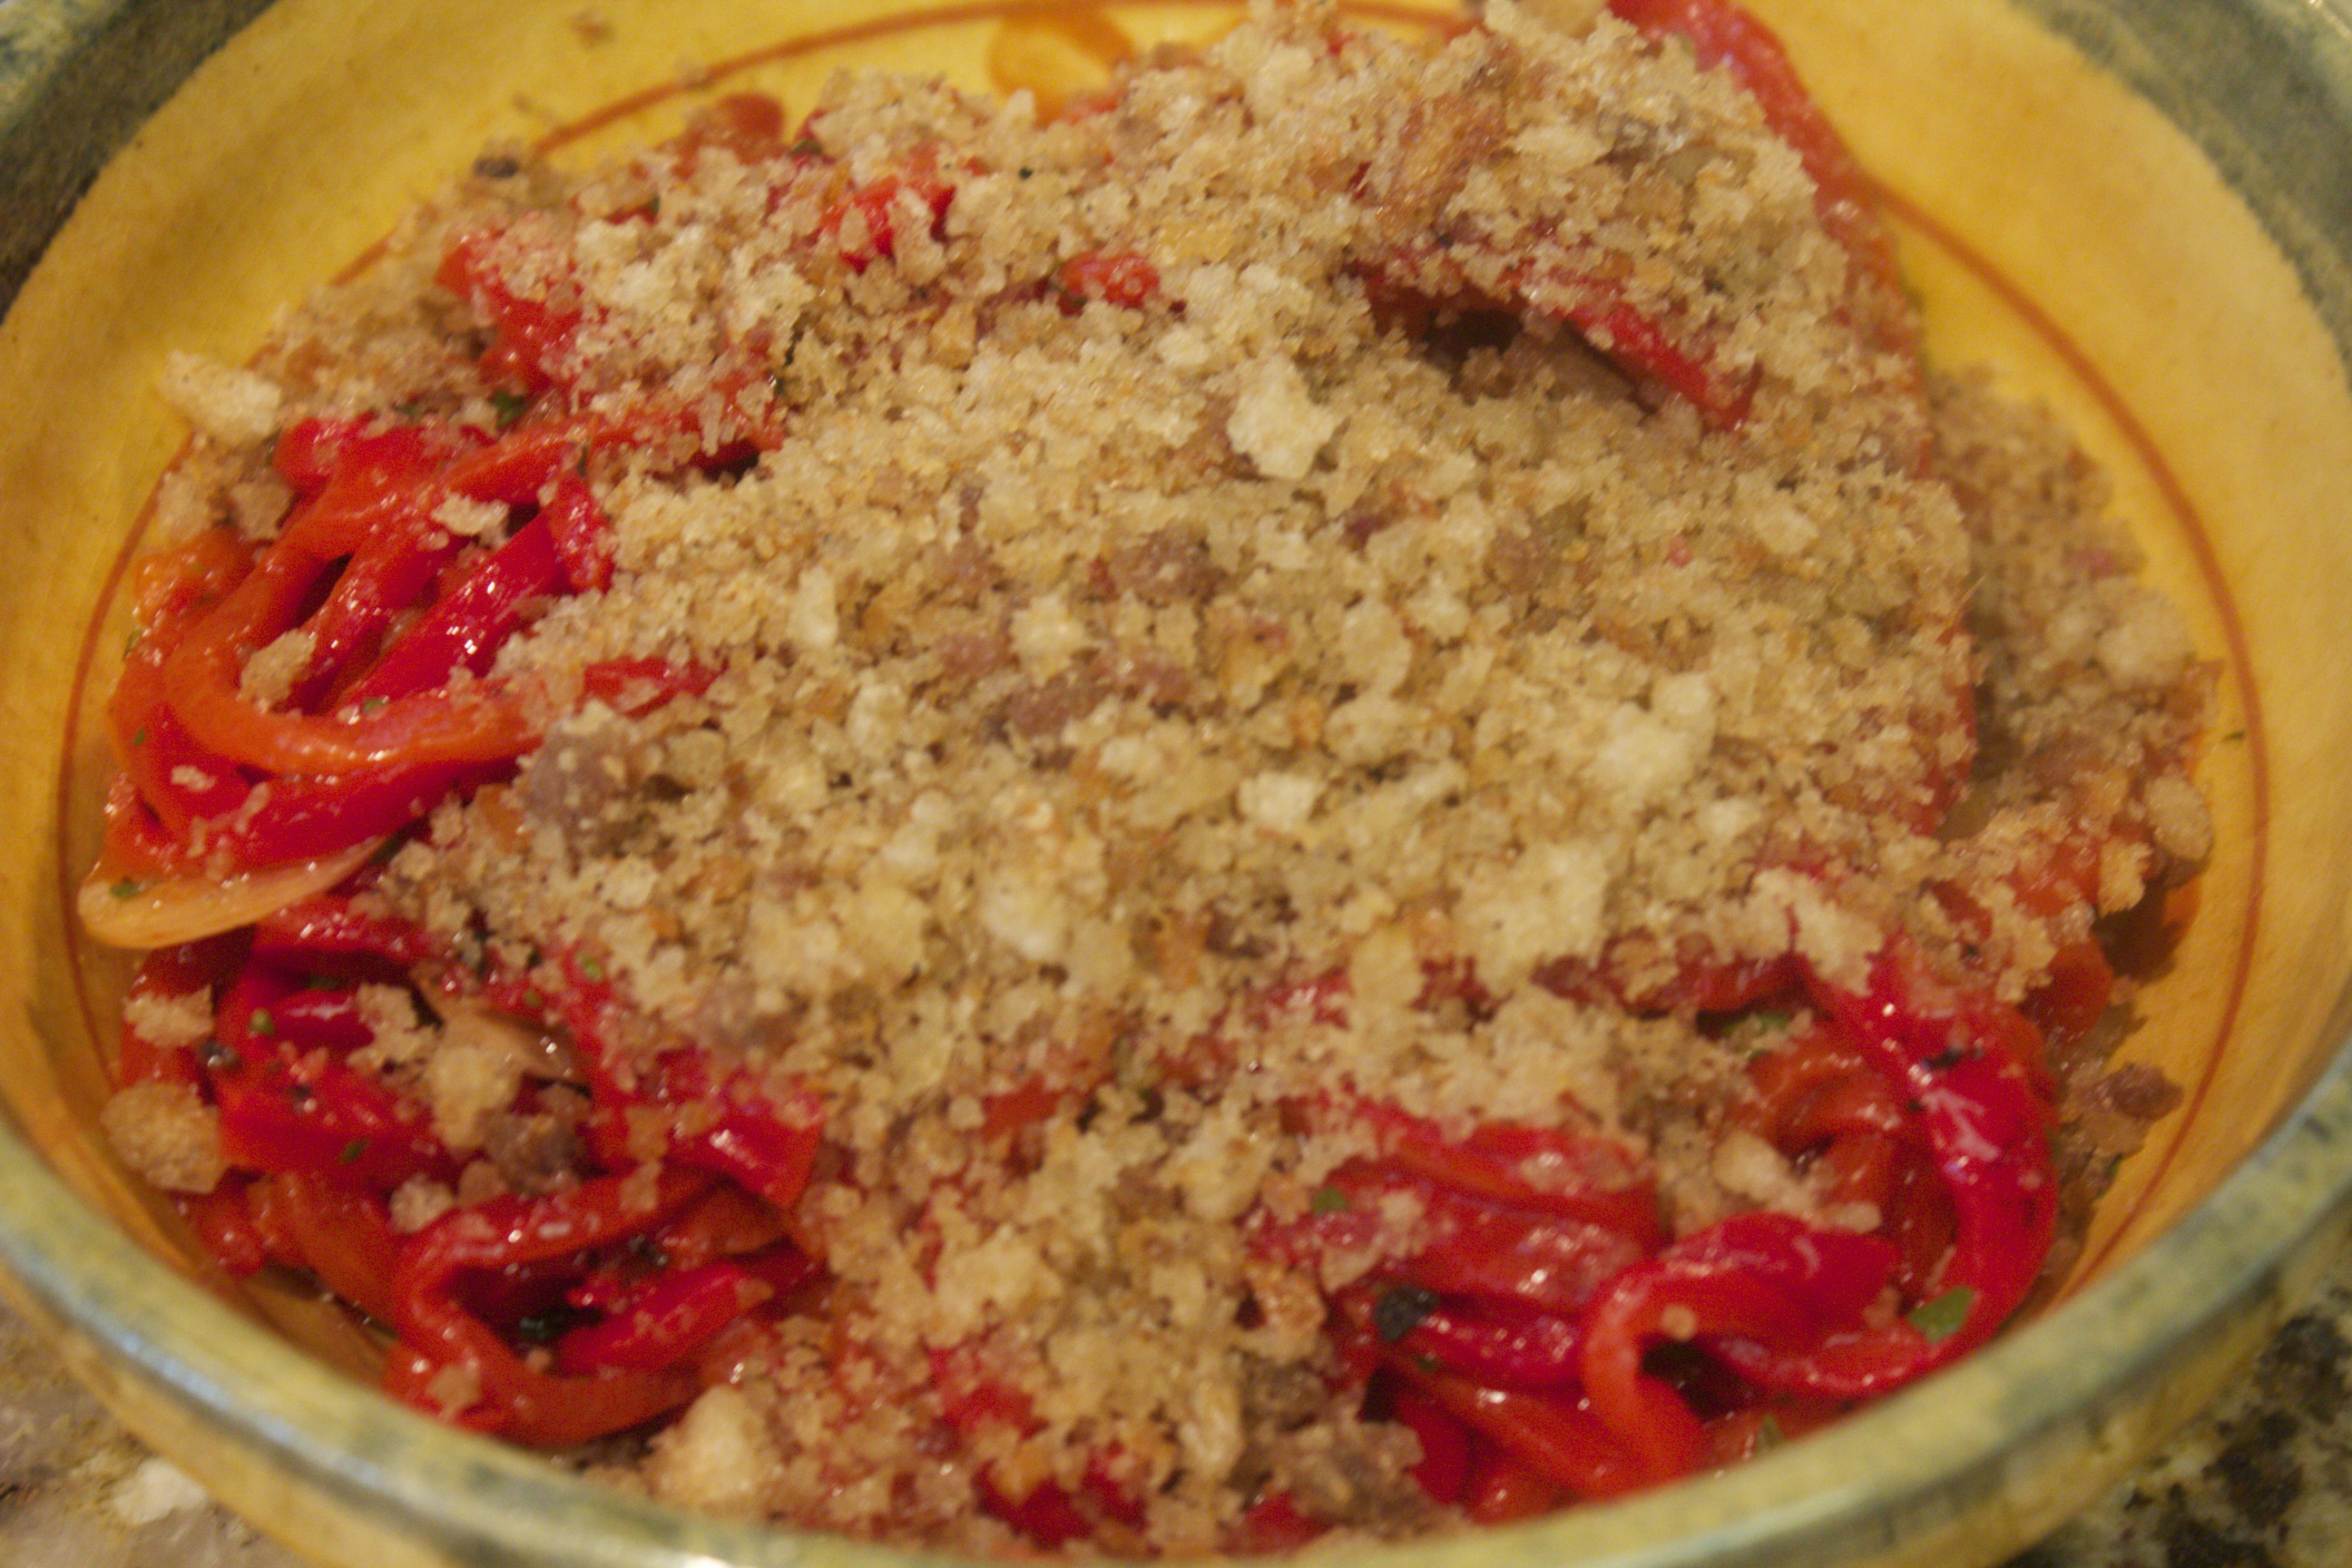 Roasted Red Peppers with Anchovy Breadcrumbs Crab salad featuring Tanner crab from Vital Choice with buttered brioche. It’s kind of like a lobster roll, only with crab. The salad had homemade mayonnaise, tarragon, celery and a touch hot sauce. 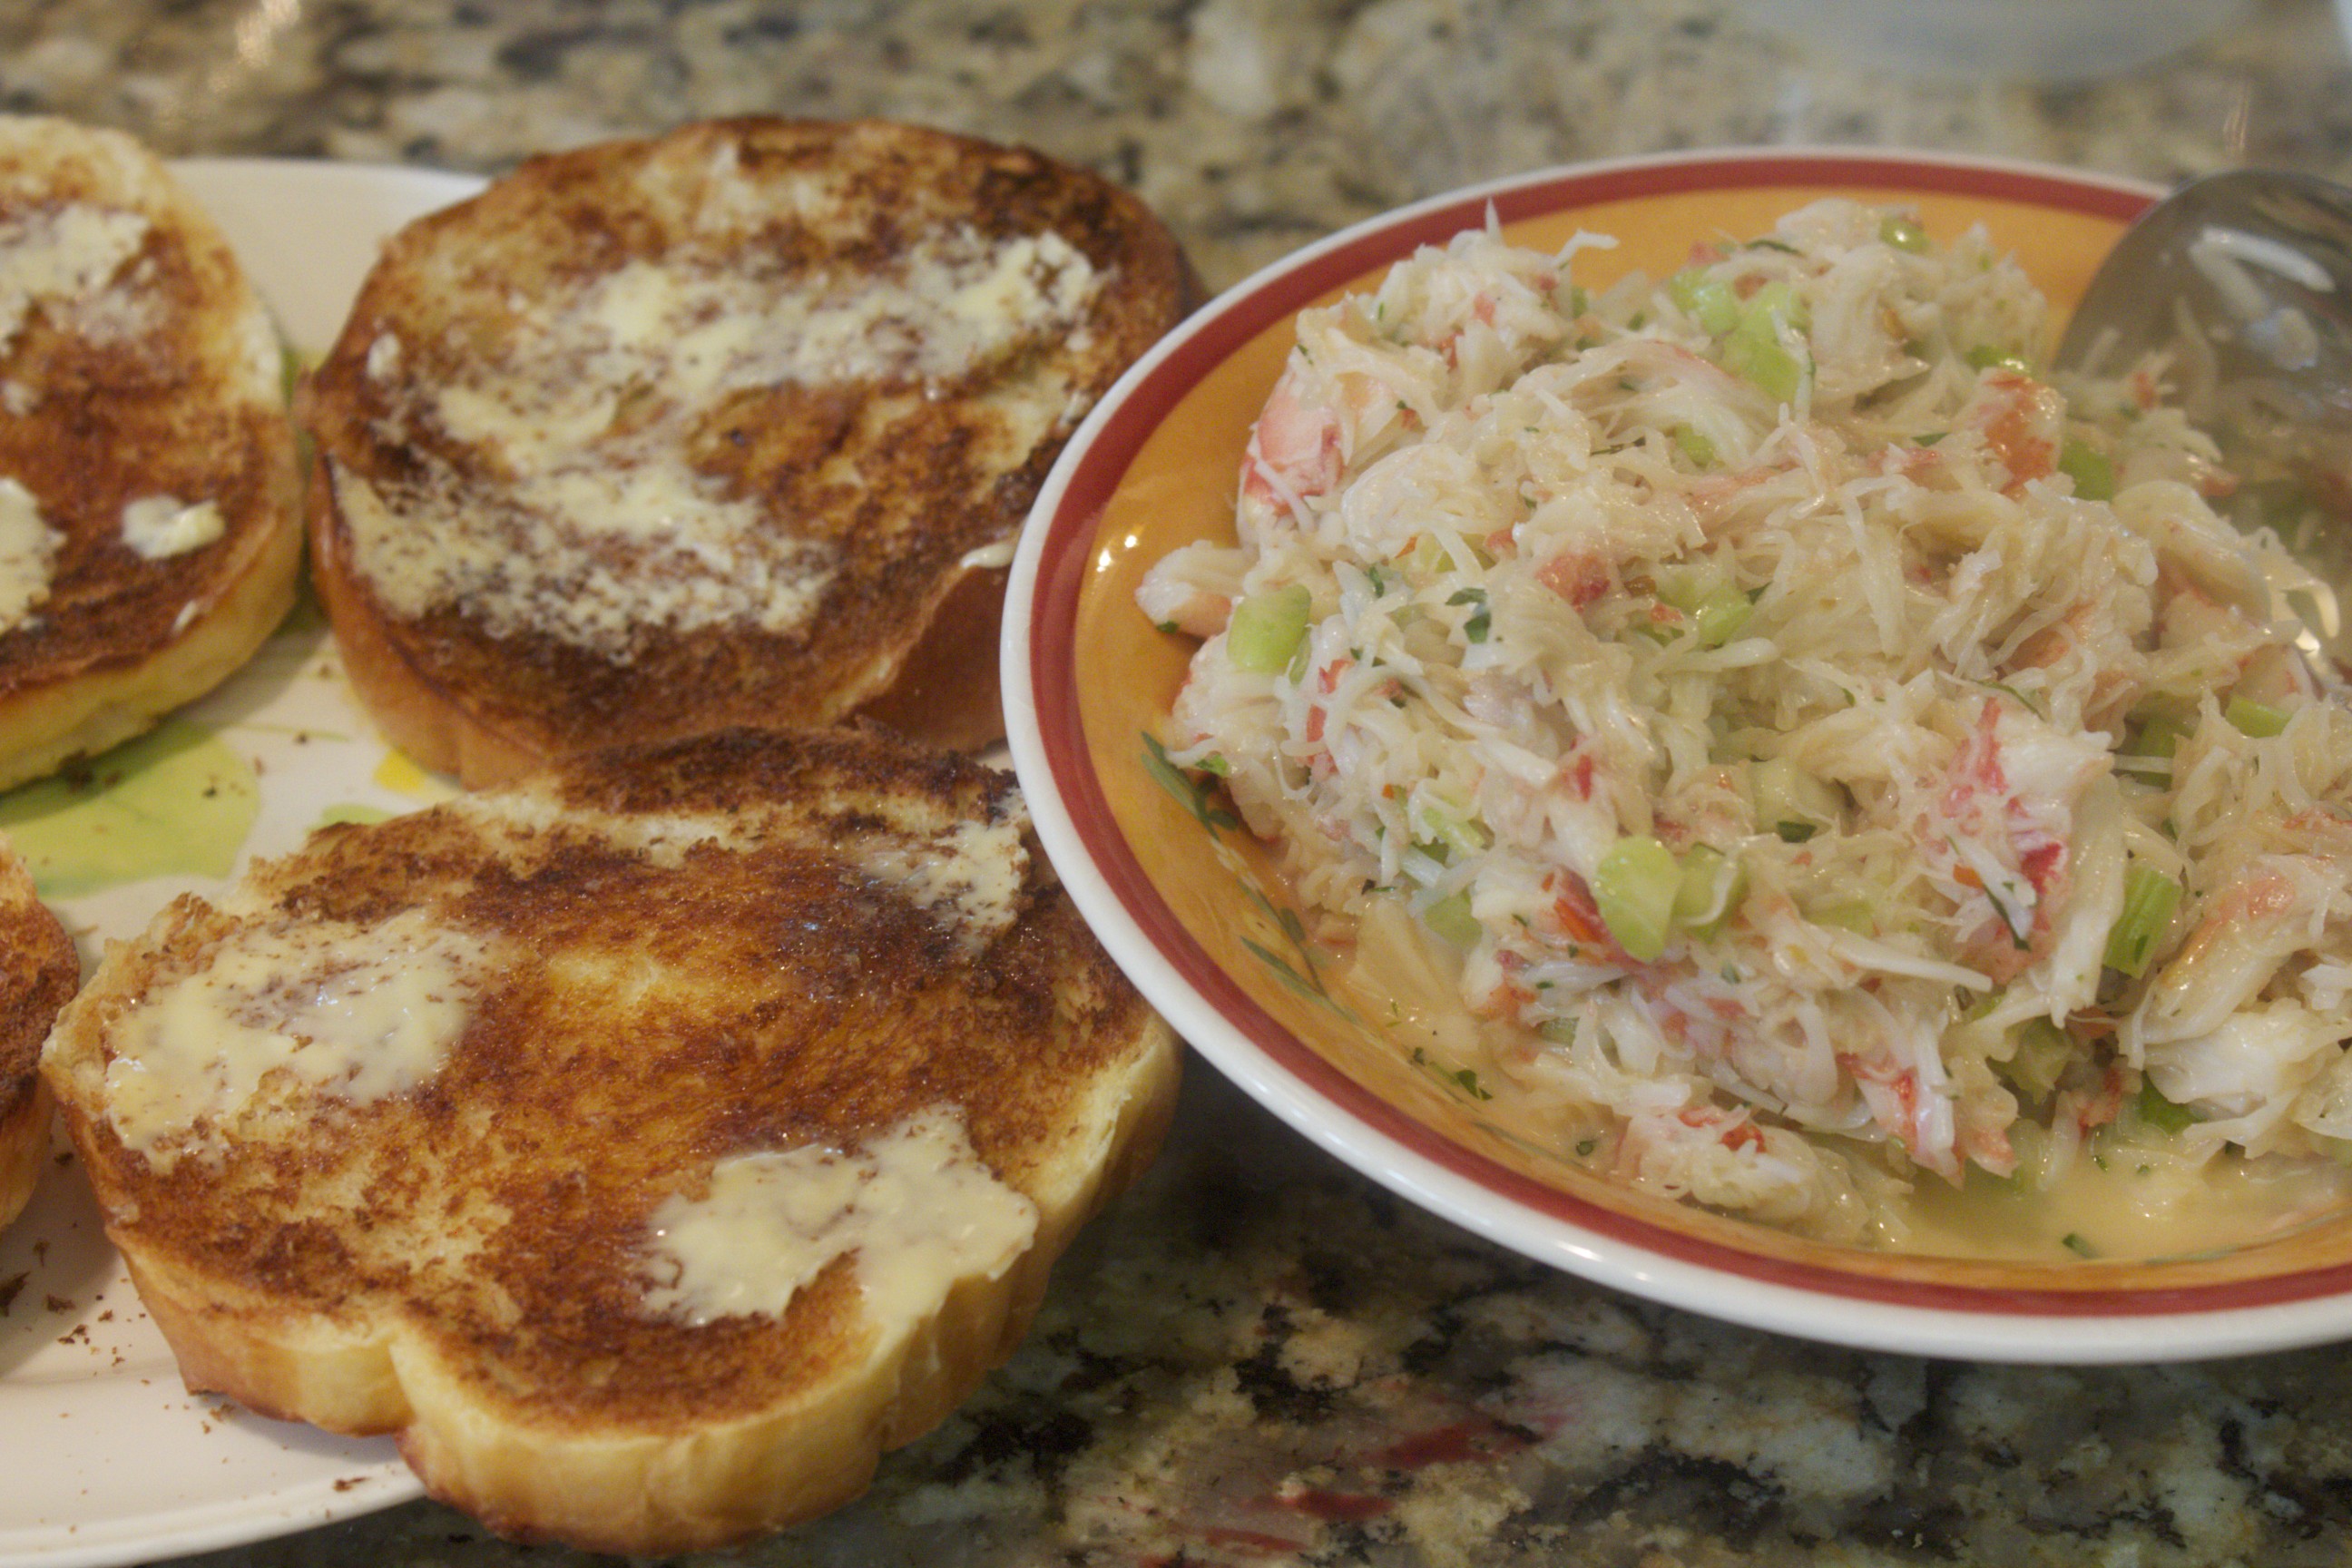 Crab Salad with Buttered Brioche From class: Shaved zucchini salad with arugula and parmesan. 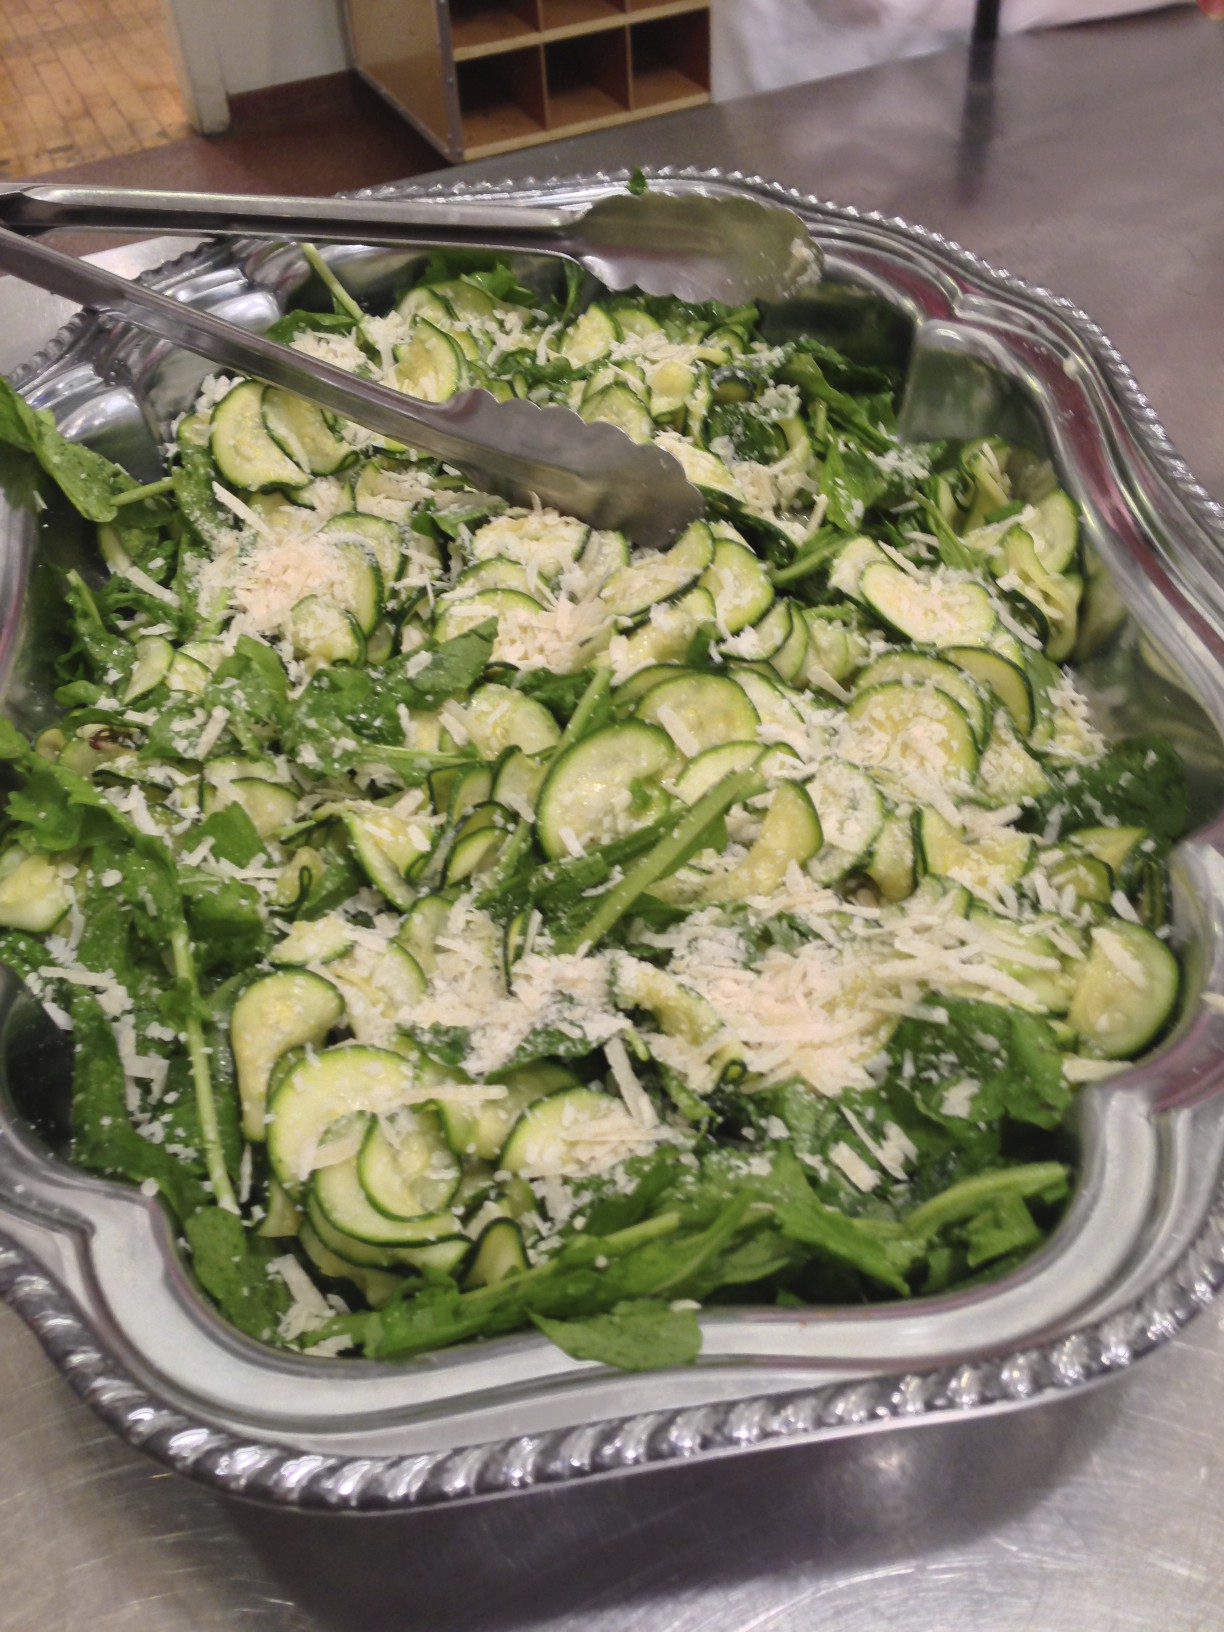 Shaved Zucchini Salad with Arugula and Parmesan Yellow tomato and golden beet Gazpacho.  Yellow Tomato and Golden Beet Gazpacho The one dish I did serve hot was an onion tart made with caramelized spring onions, spring garlic, egg yolks, and a tad parmesan, cream, and milk. 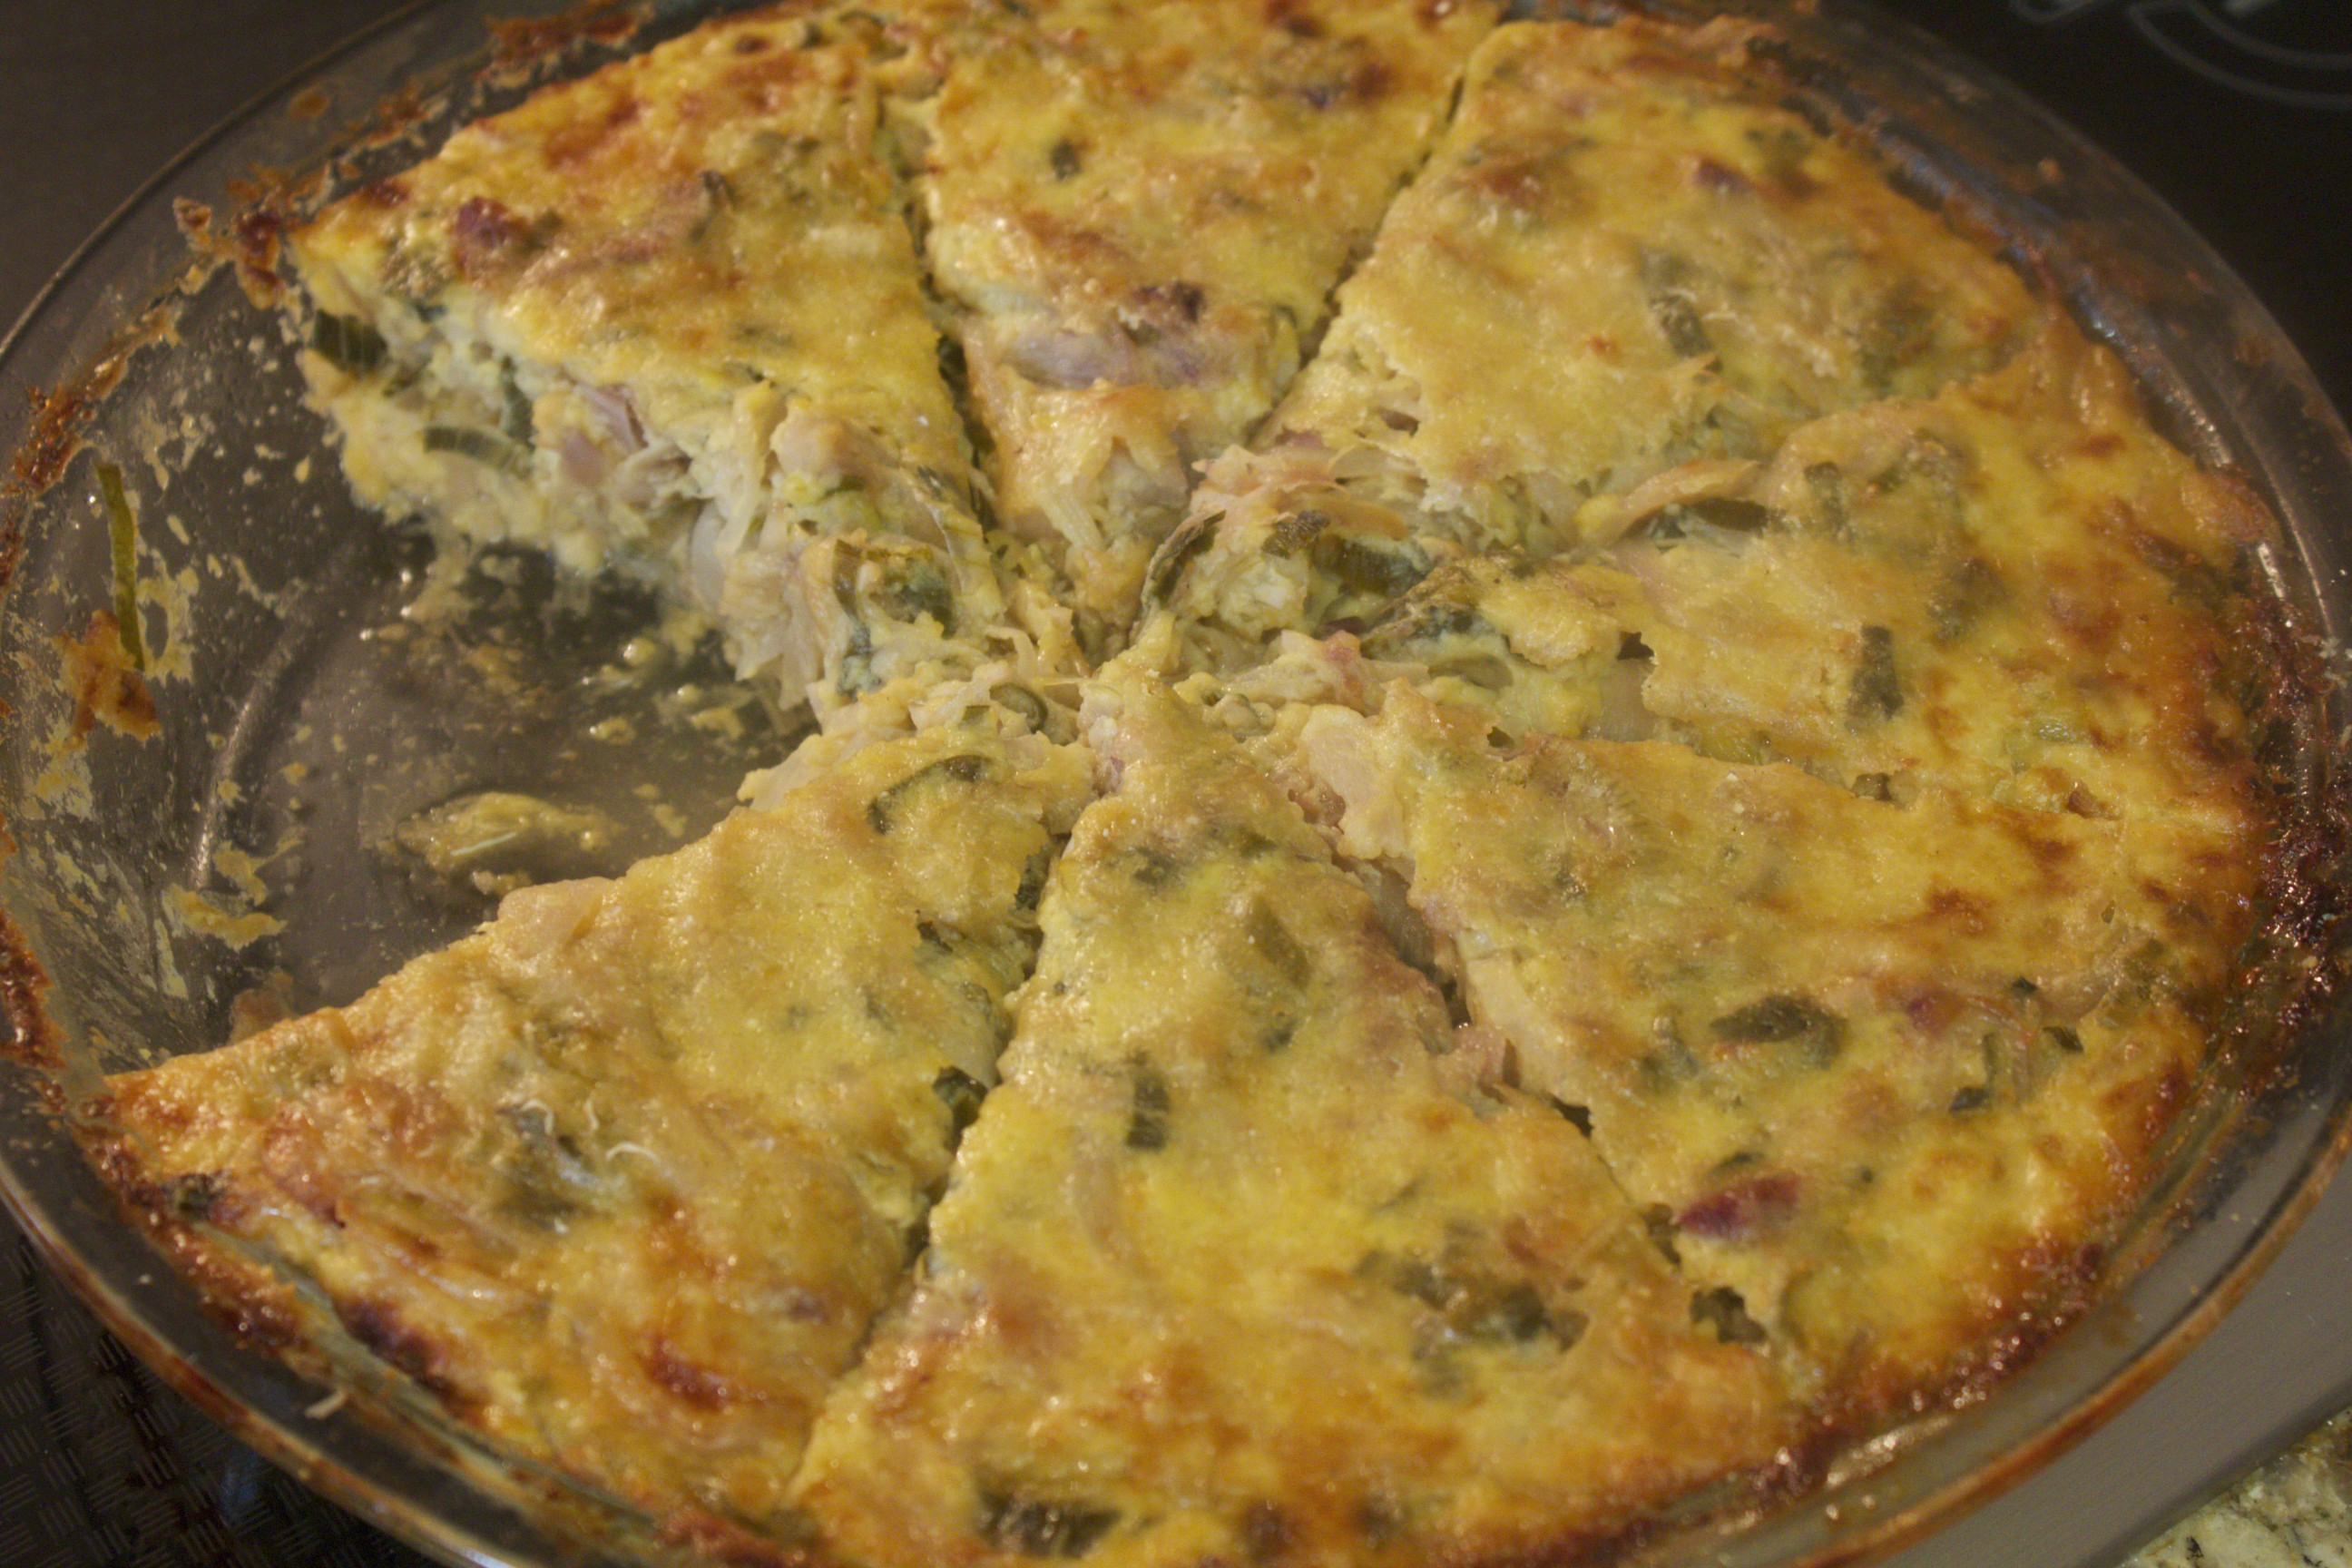 Caramelized Onion Tart Also included on this plate were marinated olives, Tuscan white beans, marinated grilled portobellos, and parmesan biscotti.  On the Plate I also included romano beans with a tahini and pomegranate dressing as well as parfaits with blackberries and cream! A good time was had by all!  Time to Eat! Share on Facebook and Twitter | Dinner, Happenings/Events | No comments
Greensquare Tavern Do you know about Greensquare Tavern? Words like “organic” are thrown around too loosely these days. So-called “organic” and “free-range” chickens, for instance, are not raised outside on pasture, and they don’t have a natural diet. I buy pastured-raised meat and eggs myself, so when I find a restaurant that carries pasture-raised food, I know that’s a place that I can really trust. Greensquare Tavern is one such place. At Greensquare, the quality of the ingredients is among the best in New York, and the prices are quite reasonable in light of this extraordinary quality. Chef Proprietor John Marsh doesn’t toot his own horn nearly enough. The menu tells us that the eggs come from Clearview Farm, in Lancaster County. What it doesn’t say is that these are superlative eggs provided by Abner Lapp, an Amish Farmer who raises his chickens the traditional way, which means they move around outdoors and peck in the ground. These chickens produce nutrient-dense eggs with deep orange yolks. These eggs taste delicious. I know Abner, and he’s one of the true independents. The other ingredients are just as high-quality. In fact, John sources everything from local farms. The beef is from Creekstone Ranch; the Turkey is from Plainville Farms; and all the vegetables are from the local farms as well. He even fries his French fries in tallow, a traditional, healthy oil, which is remarkable for a restaurant. Don’t be fooled about the much-hyped move away from hydrogenated oils. Most venues today, even the most high-end restaurants, use the junkiest fry oil (in New York it’s called “interestified” oil), which is arguably one of the worst culprits when it comes to health concerns. The folks at Greensquare also make sure that there are good vegetarian and vegan choices. These include a good house-made vege burger and a delicious chipotle- marinated tofu with spiced portobello mushrooms and crispy kale. I want to see good neighborhood restaurants thrive, so please spread the word about this gem; and if you get a chance, stop by, and help it prosper. Share on Facebook and Twitter | Uncategorized, Where To Eat (Restaurants) | No comments
|